Learn how to build the DIY smoker stand that will work best for you!
We look at multiple styles and features to consider with step by step video walkthroughs.
Let's get started!
Why you Need a DIY Smoker Stand
Why do you even need a smoker stand?
There are a lot of different reasons, but here are some of the more common reasons.
Elevate Your Game
Does anyone love breaking their back bending over dealing with a smoker?
If a smoker is stored on the ground, you’ll wind up crouching and crawling around while you tend to your meat.
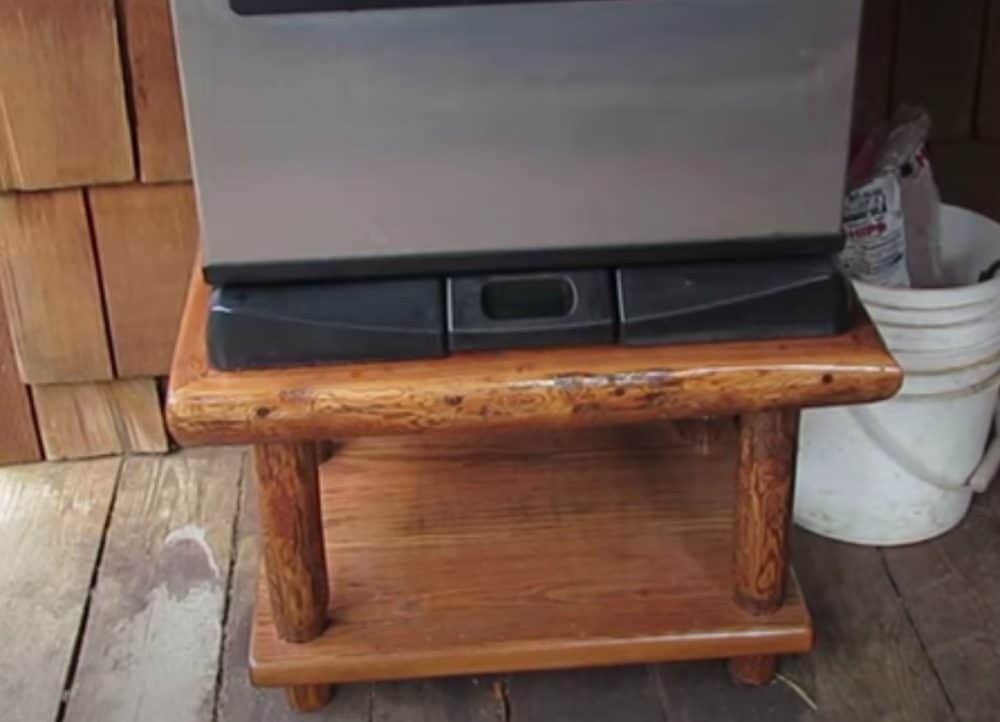
A stand is a quick and easy way to elevate your smoker and make it more ergonomic and convenient.
It also keeps your smoker away from critters and any pooling water on your patio or deck.
It’s not a huge deal, but adding some separation between your smoker and the wet concrete floor is always a good thing.
Extra Storage
A stand will also give you an opportunity to add some extra storage.
It’s a pain in the neck to find a place to store all the bbq accessories and equipment you need for your smoker.
On top of that, you’ll wind up running between the kitchen and your smoker as you inevitably forget something while smoking.
A well designed stand gives you the opportunity to add shelves or drawers for extra storage.
A Surface to Work On
Along the same vein, a stand also gives you a surface to work on.
No more putting that big awkward ham, turkey, or leg of lamb on the ground while you prep your smoker.
Instead why not create some work space right on the side of your smoker to place your meats and accessories?
You can salt and pepper your meat before putting it in the smoker, or simply put down your tray so your hands are available to open the smoker up.
Since you’ll be building the stand yourself, you can put together a massive workstation area that lets you do all the work to your meat before putting it in the smoker.
Check out this great DIY smoker stand design for a Weber Smokey Mountain Charcoal Smoker that includes both extra work space AND storage.
You can see it includes space for your charcoal, wood chips, charcoal chimneys, an any other smoking gadgets you need to keep organized.
Boost the Aesthetics
You already spent a lot of time picking out the best smoker and you definitely have pride in your machine.
Why not do something to boost the aesthetics of your space?
A well-built stand can complement your smoker. It will make your smoker look less of a toy or a hobby piece, and it will transform it into a professional, industrial piece of equipment.
Guests will understand how seriously you take smoking, and they’ll respect the time you put in.
If nothing else, a stand acts as a piece of art under your smoker – built with your own two hands.
What to Consider Before Building a DIY Smoker Stand
Every smoker stand needs to be individual to your needs. Since there is no smoker stand design that’s set in stone, you have the ability to customize the stand to accommodate your specific needs.
Read the following considerations and determine if you want to incorporate something special into your smoker stand design.
Here are a few questions to consider before getting started. The answer to these questions will decide how your smoker stand turns out.
How Large Is Your Smoker?
Knowing the overall dimensions of your smoker is the most important step here. If you have a little bit of structural design knowledge, you also want to know how heavy your smoker is.

A large competition style smoker is going to have different requirements than a small entry level electric or propane smoker.
Your stand will need to be built to the specific dimensions and weight of your smoker.
Don't forget to consider the weight of a filled water pan, the meat, and the fuel.
What Style of Smoker Do You Have?
Do you have a barrel-type smoker that looks like an oil tank, or a vertical electric smoker?
That will influence the kind of stand you put together.
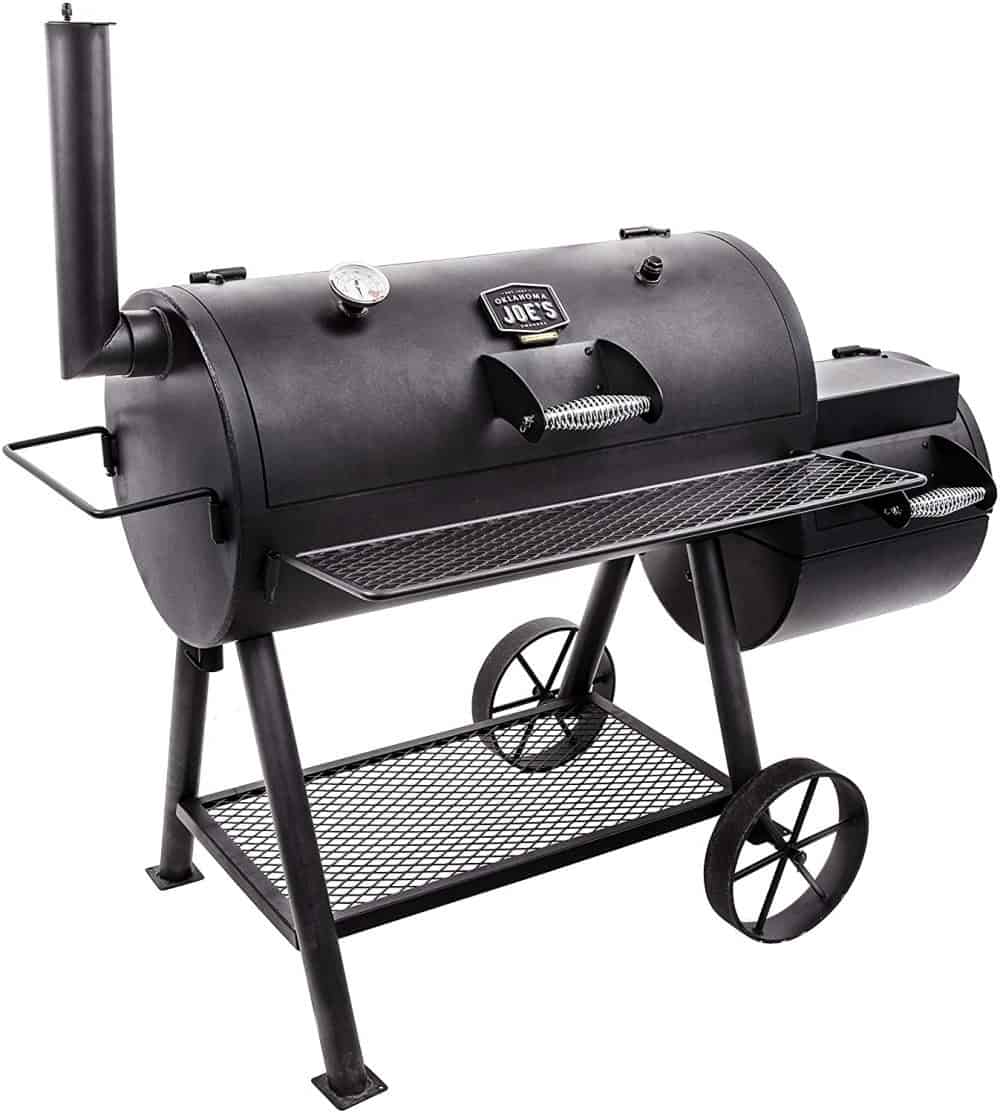
It’s important to make sure the stand design you’re going with is compatible with your smoker style. Since there are so many styles on the market, make sure you think this process through.
Do You Want to Move Your Smoker Around?
If you want to move around your smoker, then you’ll want to put casters (wheels) on your stand.
Make sure you position them at the outside corners of your stand for maximum stability.
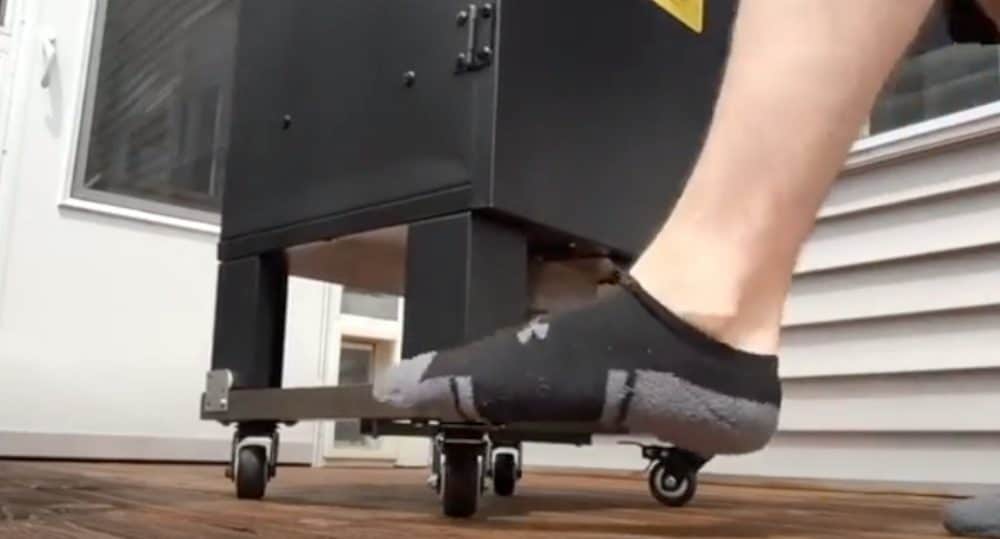
Choose wheels that are at least 4 inches in diameter so that they roll easily over divots and cracks in your concrete.
- Heavy Duty Construction and Material -- The support frame and top plate are made of high quality steel. With double ball bearing for each wheel, moving smooth, the load capacity for each casters is more than 350lbs, and its up to 1200lbs for 4pcs caster wheels.
- 360 Degree Rotate Swivel Casters -- Transform the mating equipment to any directions in the most efficient and labor-saving way, our caster wheels are the best accessories for the heavy furniture, desktop, table, cabinet or trolley.
How Much Space Do You Have to Work With?
If your smoker goes into a little cubby hole that’s made specifically for your smoker, then you’ll need a low-profile stand.
If you have more space, then you have more room to add additional storage and workspace on your stand.
How Much Additional Surface Space Do You Need?
How much of a work surface do you even want to include?
This gives you the ability to put down the tray of meat and open the smoker.
You can also use this space to prepare and check on your meat. Who doesn’t love extra working space?
How to Build a DIY Vertical Electric Smoker Stand with Wheels
If you have access to some spare wood, you can build yourself a stand with wheels.
Measure the base of your smoker so you understand how large you need the stand to be.
Use two parallel 2x4s and cut them to length. You want them to be about an inch longer than the length of your smoker.
Get another 2x4 and use it as a brace between the two parallel 2x4s. Use a pilot hole and screws to drill the brace into the parallel 2x4s. In the end, the structure should be robust.
Pick up eight sheet metal tabs or a little bit of plywood to make bumpers. With the stand in front of you, you want to put two tabs on each corner of the stand.
For example, the top-left corner of your frame should have a tab at the top and the left.
Put some furniture pads on the inside of each of these tabs so your smoker doesn’t get damaged when it bumps into the tabs.
Fasten the tabs to the framework. The end result should be tabs that keep the smoker from falling over.
Flip the stand over and fasten casters to the bottom of the frame. You want to use casters that are lockable so your smoker won’t roll around when it gets windy or if someone bumps into it.
For best results, the rear two casters should be 360-degree swivel casters. The front two should be one-directional wheels that only go forward and backward.
This is the best way to orient the wheels so you can move your smoker around comfortably, almost like a grocery store shopping cart.
With the stand complete, put your smoker on the stand and give it a whirl. Make corrections as needed.
Building a Standard DIY Smoker Stand Using Lumber
Here's another opportunity to build a little table for your smoker stand using only lumber.
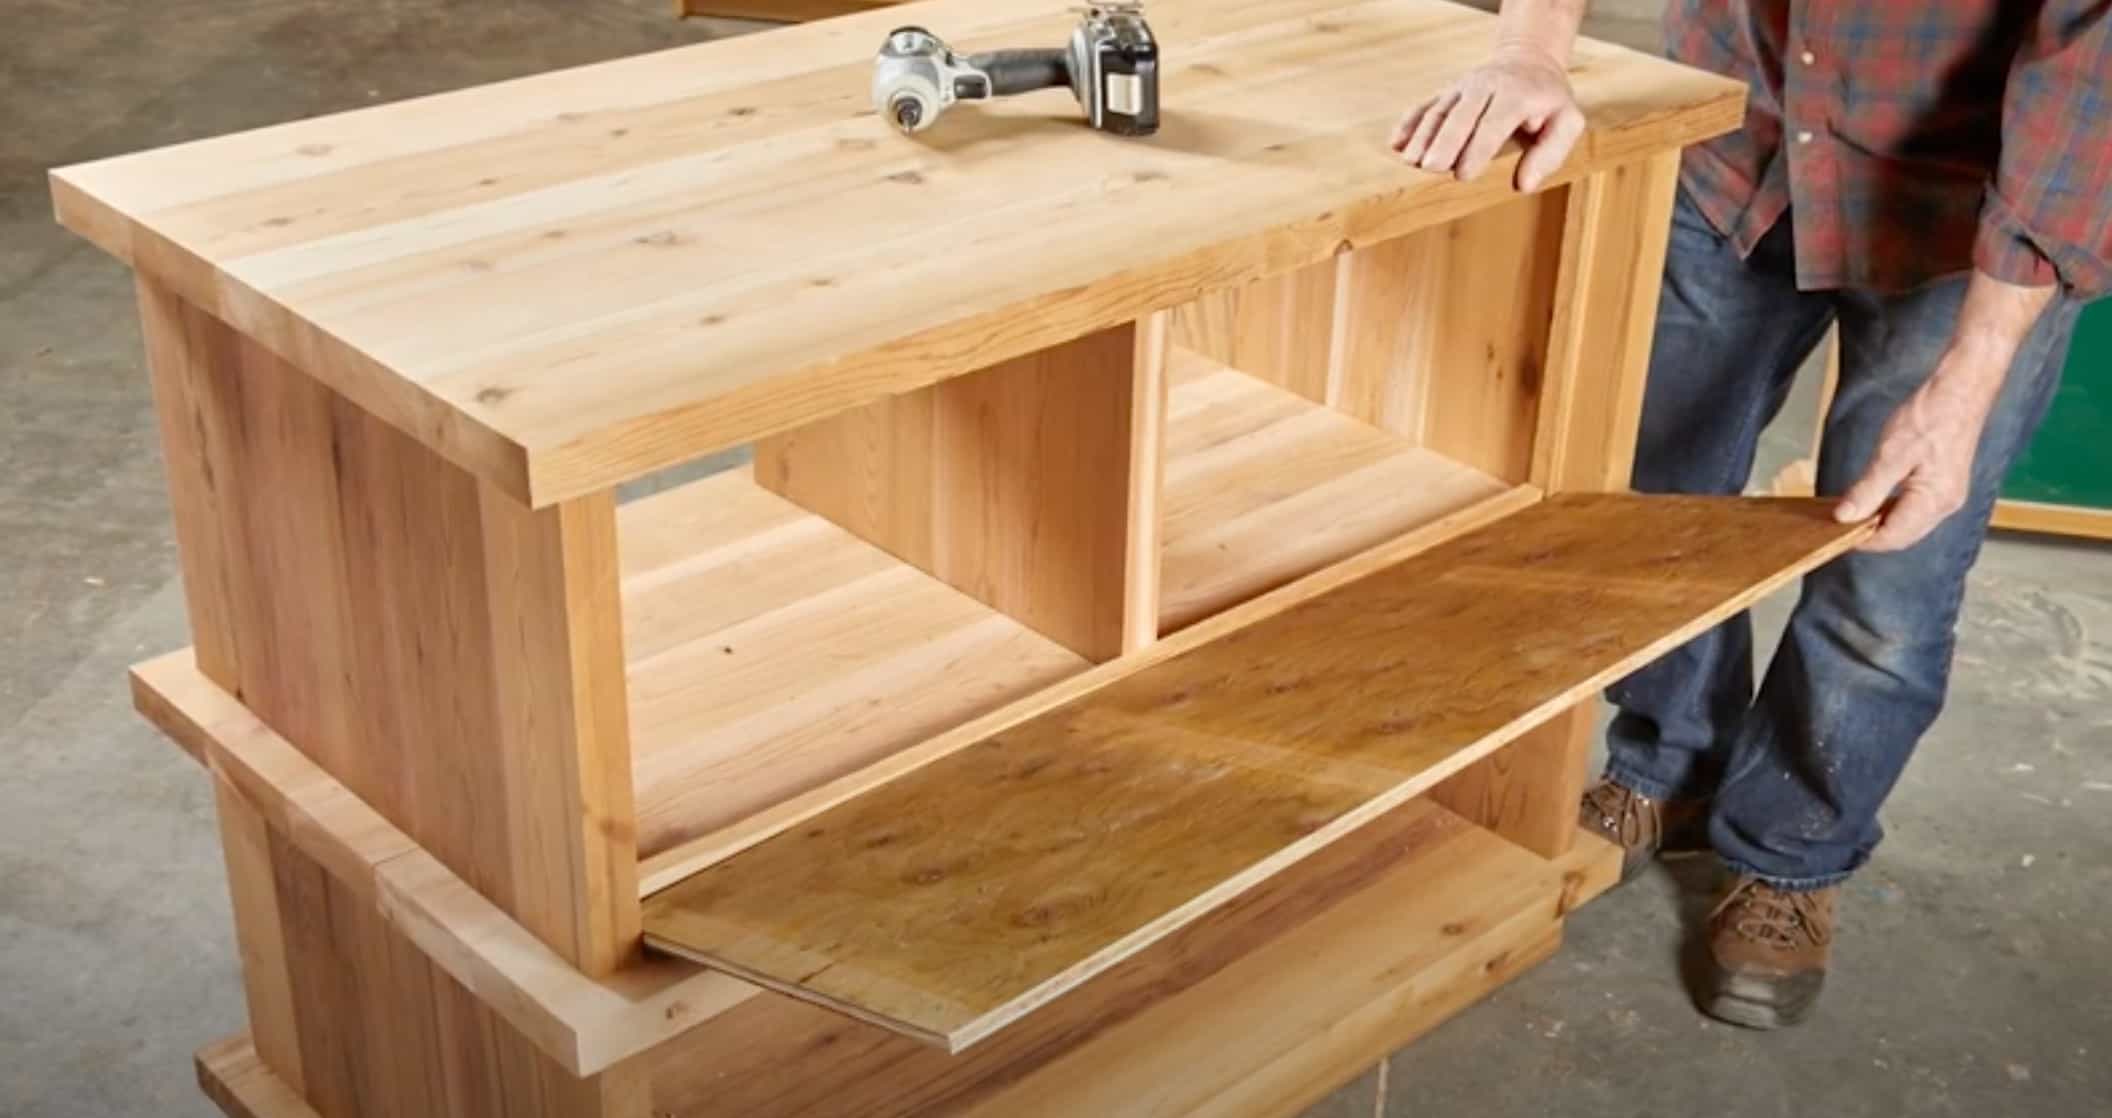
Use four 4x4s to act as vertical legs to the stand. Create outer and inner supports and aprons to your table, fastening them to an offset block between each vertical leg.
Add a 1” overhang to both sets of legs.
Between the overhangs, lay perpendicular planks. Line them up so there are no gaps and fasten all of the pieces. You can find detailed plans here.
There’s also an opportunity to get creative with this build. You can add additional tabletop space which gives you room to prepare the meat and handle things as they go into the smoker.
You might also opt to put cabinets on the front face of the stand so you can store equipment and tools that you need for your smoker.
Using a Mini-Fridge For a DIY Vertical Electric Smoker Stand
In some cases, you might be able to use a marine-type mini fridge.
They add enough height so you won’t break your back using the smoker, and then you obviously have the benefit of a built in patio cooler to keep drinks in as well!
This works best for compact vertical syle electric smokers. If your smoker has wheels, make sure you either remove them or chock them so they don’t slide off the mini fridge.
You can also use this as additional storage space for paper towels, pellets and chips, and thermometers if you don’t plan on plugging in the fridge.
How to Build a DIY Smoker Stand for a Barrel Type or Drum Smoker
For barrel type smokers, there’s no real way to simply place it on top of a surface. You’ll need to create a clever structure that works around the smoker.
The best example around is a smoker that looks like it has a desk build around it.
Use 1” square tubing with ⅛” walls to build the framework. Add wheels on one end so you can still move the smoker if you want to.
The final product should feature the smoker in the middle, and a raised platform on either side of it. Since it’s a barrel type smoker, you don’t have to worry about raising the equipment to use it.
In this case you are more concerned with expanding your work area.
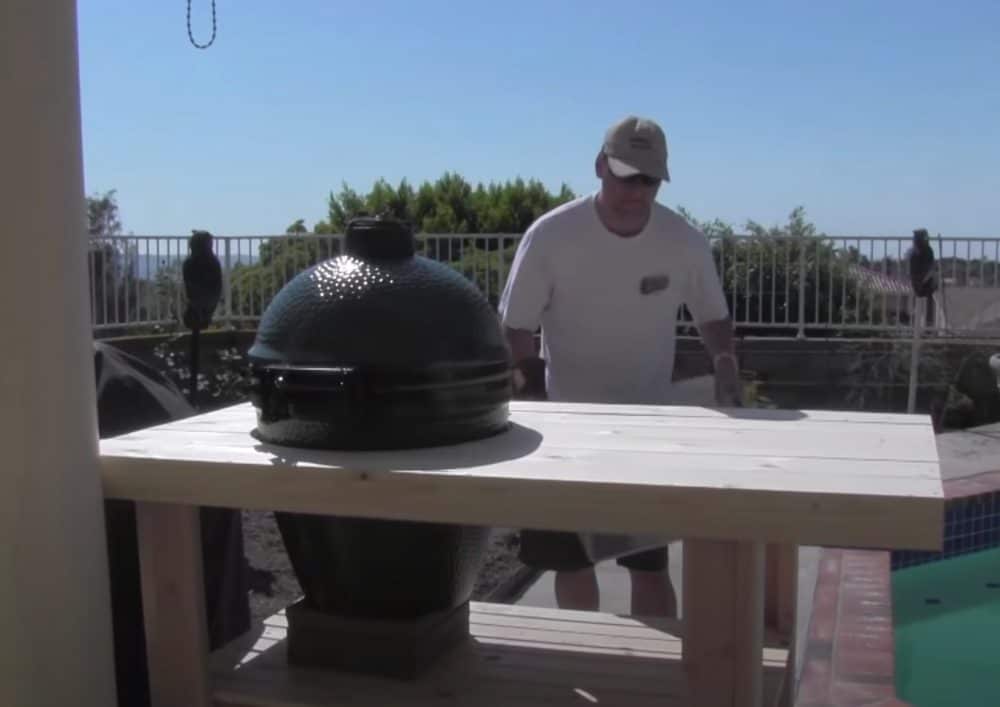
Another example following this type of build is if you want to build a table or "nest" for a kamado style smoker like the kamado joe or big green egg.
Both raised platforms should have a countertop and can feature a cabinet or drawer on the front face.
Don’t forget gussets and shelves for added stability!
See the full walkthrough here.

