We explore how to build an oil tank smoker at home out of an old or new oil tank, propane tank, or air compressor tank.
Gather some great ideas to get started today!
Where do you turn when you want to get a really big smoker?
Like...60 gallon, 120 gallon, or even 275 gallon big?
Like...not just cook for the whole family big, but cook for the whole neighborhood big?
We're not talking about consumer level smokers today.
We are talking about the real deal, full size, offset barrel smokers like the kinds used by the best of the best on the competition circuit.
But made in your own backyard for a fraction of the price.
Sure, if you would like to just purchase a custom made barrel smoker of that size, by all means.
Financing is available.
Or, you can roll up your sleeves and take on a really fun project by converting an empty oil tank or propane tank into a giant working meat smoker!
Because if you've got the time, the know-how, the materials, and the tools at your disposal you can create something pretty extraordinary right in your own backyard.
This guide will walk you through some of the best processes for turning an oil or propane tank into a fantastic giant smoker!
Jump to:
A Note from Mad Backyard
Please note, this guide is not meant to be an all-inclusive step by step guide, but more to inspire and educate you on the things you will need to consider when embarking on this project.
There are many designs and videos available online to inspire you to find the best path forward for YOUR oil tank smoker. (One of the best videos we found we've shared below).
You'll notice no two oil tank smokers built are exactly the same.
Be safe, be creative, use what's at your disposal, and make it your own.
Step 1 – Clean the Oil Tank
Your oil tank was previously used to carry materials and chemicals that could make you seriously sick if you ingest them.
To turn this tank into a place where we make food, we need to first make sure to clean it well.
There are a few different ways how to get oil out of a tank for building a smoker.
The safest option is to ask a professional to clean the oil tank, but you can try to clean it on your own.
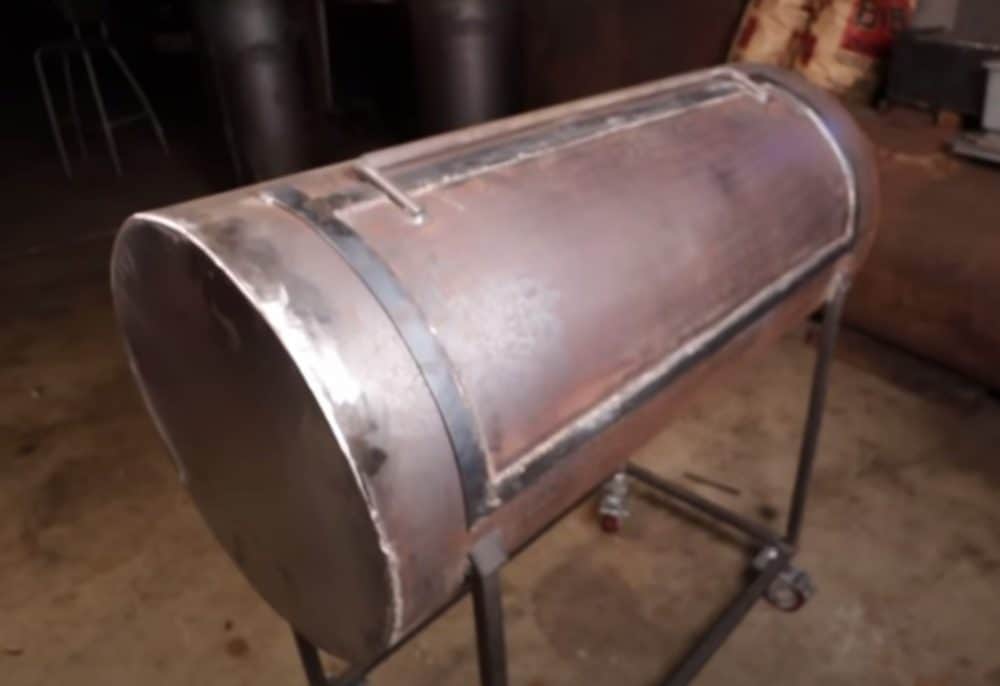
Another option is rather than using an oil tank, use a compressed air tank instead like this guy did.
A lot less mess to deal with and you can get skip right to the fun part of building!
Cleaning the Interior
If you ARE using an actual old oil tank first you'll need to safely dump and dispose of whatever is inside of the oil tank.
Even after it’s fully empty, there are still dangerous fumes in the tank. Let’s purge the air.
Use a pipe wrench and open that sucker up.
Grab an air compressor, connect a tube to it, and throw the tube in the opening in the oil tank. Seal the tube in the tank by using a bunch of duct tape.
Turn on the compressor and let the tank purge for a minimum of an hour.
Later in these steps you’ll be cutting the oil tank open. During those steps, use a wire brush, bleach, and tons of soap and water to thoroughly clean the inside.
When the oil tank smoker is finished, you should let it smoke with no meat inside for a few hours to make sure everything is burned off.
Cleaning the Exterior
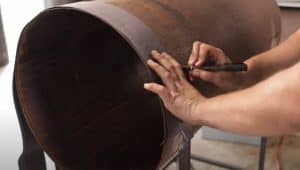
Use a wire brush and some elbow grease to smooth the exterior of the oil tank.
The last step is going to be painting it, so you want to get the tank paint-ready in this step.
Step 2 – Make the Doors
Depending on the size of the oil tank, you’ll add either one or two doors.

Cutting the Doors
The best size for doors will be ¼ of the circumference (distance around) your tank.
For a 48” diameter tank, the door should be 12” wide, and as long as you see fit.
If you are cutting 2 doors make sure to leave at least a 6" strip between them.
Use a reciprocating or circular saw with the appropriate metal cutting blades to cut out a section for your door.
- Compact and lightweight design
- Variable speed trigger with 0-2900 SPM
- Pivoting Shoe
- Bright LED Light
- Backed by dewalts 3 year limited warranty
- Combination set provides a selection of blades for common applications
- Compatible with all reciprocating saw brands Ideal for use with metal, plastic, wood, and drywall
- Raker tooth design increases the tooth contact area for faster c
Don’t completely cut out the doors yet, leave a little material left to keep them in place.
Add Hinges
With your doors still in place, add your hinges to the outside face of the oil tank.
Weld these in place so now your doors are connected and hinged to the body.
Finish the cuts on the door so they’re free to swing open.
Add Door Seals
Right now your doors are the same width as the hole and will swing through freely.
To make sure the smoke doesn’t escape and that the doors make contact with something to close, you'll need to add some seals.
Spot-weld some flat bar stock to the inside of the door opening. This allows the doors to close fully and seal better.
This will also help the doors close properly without swinging too far inwards and destroying your hinges.
- Easy to machine or weld aluminum rod and bar for milling or lathe work in a variety of applications and industries
- All aluminum is sourced from 100% domestic products and mill certifications are available upon request
- Aluminum bar stock is an exceptional building and project material that will not rust and will last for years to c
Step 3 – Make a Stand
Time to make the smoker stand for your oil tank smoker. The size of your tank will determine what kind of stand or framework you’ll use.
For smaller options, like a 120 gallon propane tank smoker, you might be able to get away with making an oil tank smoker on wheels.
For anything larger, make sure the stand is sturdy enough to support the weight of the assembly plus your firebox, fuel, and food.
If you aren't sure where to begin, here's our step by step guide to building a basic DIY smoker stand.
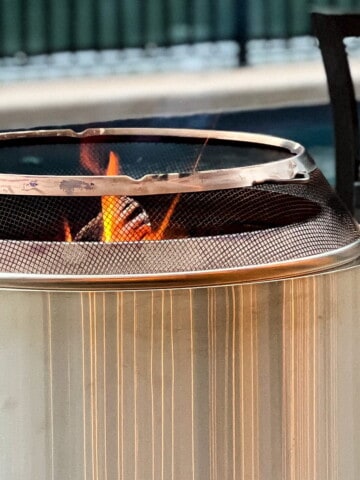
Step 4- Prep the Firebox
Let’s get the firebox ready. This is where all the burning of your wood and coals will happen to supply heat and smoke to the cooking chamber.
This is the essence of how an offset barrel smoker works.
Creating your Firebox
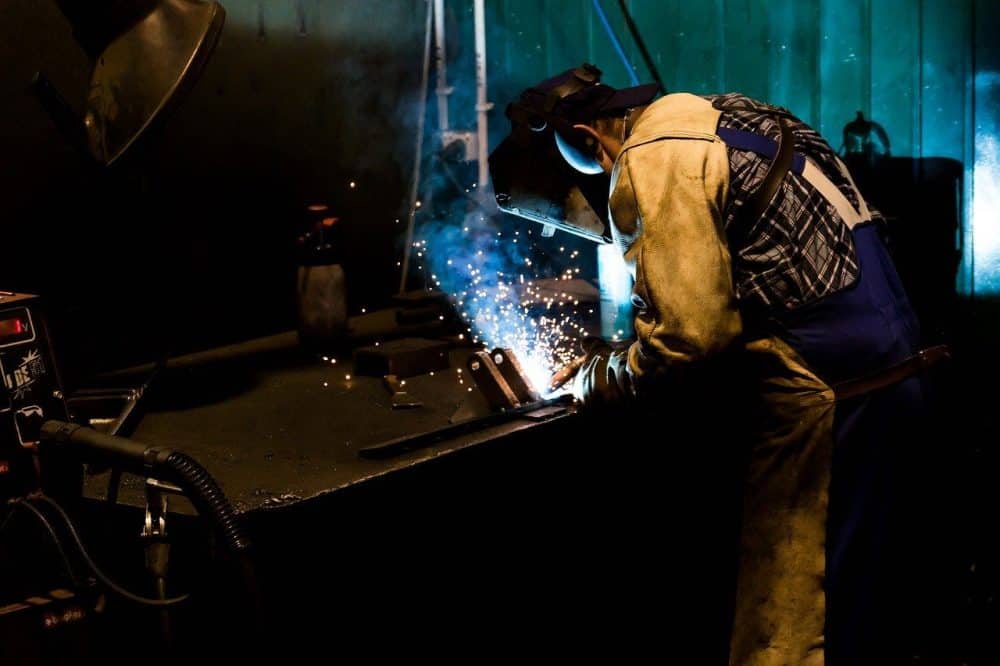
Depending on your welding skills, you can either buy a premade firebox or make one from scratch like they do in the video below.
- TOTAL cooking area is 287 square inches
- Heavy-Gauge Steel Body Construction
- Porcelain Enameled Steel Charcoal Tray
- Side Handles
- Cool-Touch Spring Lid Hand
You will need an iron or steel box to weld on to your oil tank smoker. Choose a size that is roughly ¼ to ⅓ the size of your oil tank (the cooking chamber).
You will create a damper on one side to control your oxygen flow to the logs and coals, and a sliding gate on the other side connecting to the cooking chamber to control how much heat and smoke are entering the chamber.
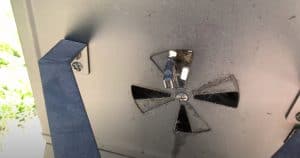
Making the Damper
Cut a D-shaped hole in the side of the firebox to act as your damper.
Tack weld the flat side of the shape to the cutout area. You want to make sure it can freely open and close so it can properly dampen.
Make a hinge and a long handle that can operate the door from outside of the assembly.
Weld and assemble the damper to the outside wall of the firebox.
Another option is to purchase some sort of a pre-made damper, cut your hole according to the shape of the damper you've purchased, and install it on the side of the firebox.
- 8 aluminum bbq smoker grill damper
- rust proof
- bolt on damper
- Always in stock, quick ship item.
Make sure to attach a handle of some sort to control the damper opening as the outside of the firebox will get VERY hot!
Step 5 – Connect the Tanks
Now that the doors are finished on the oil tank is mostly finished, let’s get it ready to attach the firebox.
The horizontal tank will have a cut on one of its ends, and the firebox will have a matching cut in its side at the correct height.
Take some time looking at how conventional offset smokers are designed to get an idea of how and where to position your firebox.
Choose a side and attach it as low in the corner of the oil tank as you can. The idea is to keep the burning fuel far away from your meat which needs to cook indirectly.
Add the Top Exhaust Chimney Vent
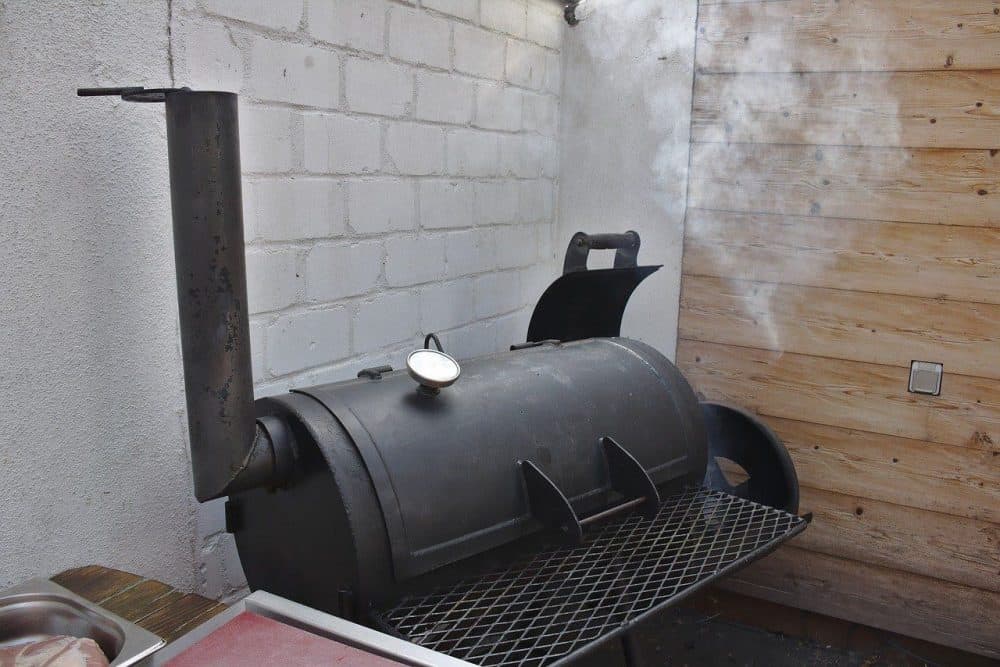
Lastly, you will need a chimney vent on the top and opposite side of your smoker from the firebox.
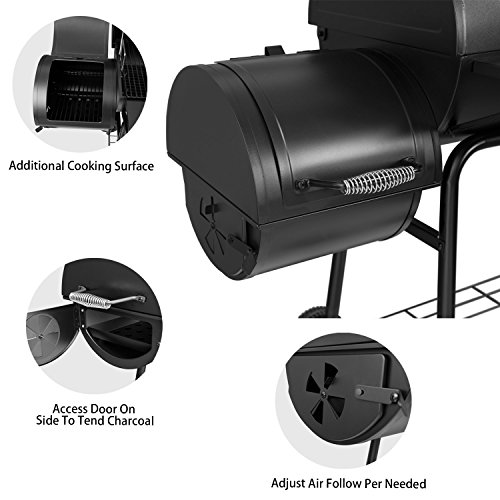
You can get as fancy as you like with this, but all you really need is a pipe style chimney like the one found in the conventional smoker picture above to allow the air to flow through.
The length, shape, and style is up to your personal preference.
A basic premade teardrop exhaust like the one below available on Amazon will work just fine.
- 2 inch ID bolt on exhaust with tear drop control
- Steel construction for long life
- Mounting hardware included
- Perfect for drum smokers
- Inside welds for cleaner appearance
Or you can make it a little more stylish by using a longer side mount option like this replacement part from Traeger:
- The smoke stack height is about 14 inches,
- 3 ½ Diameter Opening
- 4 ½ Mounting Bolt Distance
- 15 Gauge Black Powder Coated Steel with Umbrella
- Includes Felt Heat Resistant Gas
Making the Cuts
These steps might take some trial and error to try to get just right, depending on both your level of experience, and the roundness of your oil tank. If you’re familiar with fish mouth cuts and welds, you’ll do well here.
Make your cuts to adjoin the firebox to the cooking chamber, and for the exhaust hole where you will attach your chimney.
Spend some time looking at conventional smokers.
Head on down to your local hardware store and get up close and personal with the floor models to get an idea of how they look joined up and how the cuts look.
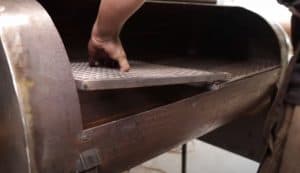
Adding Supports
The cook shelves are going to be heavy, especially when they’re loaded. Let’s make sure they are properly supported.
Use pieces of angle iron to make a support rack for the shelves.
Lay them out so the inside corner of the angle iron will hold the shelves.
This is where your shelves are going to be, so be mindful of your orientation of these supports. Weld the angle iron in place, and make sure it’s level.
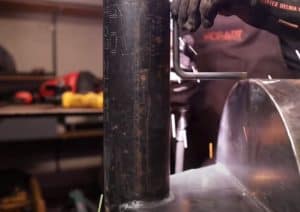
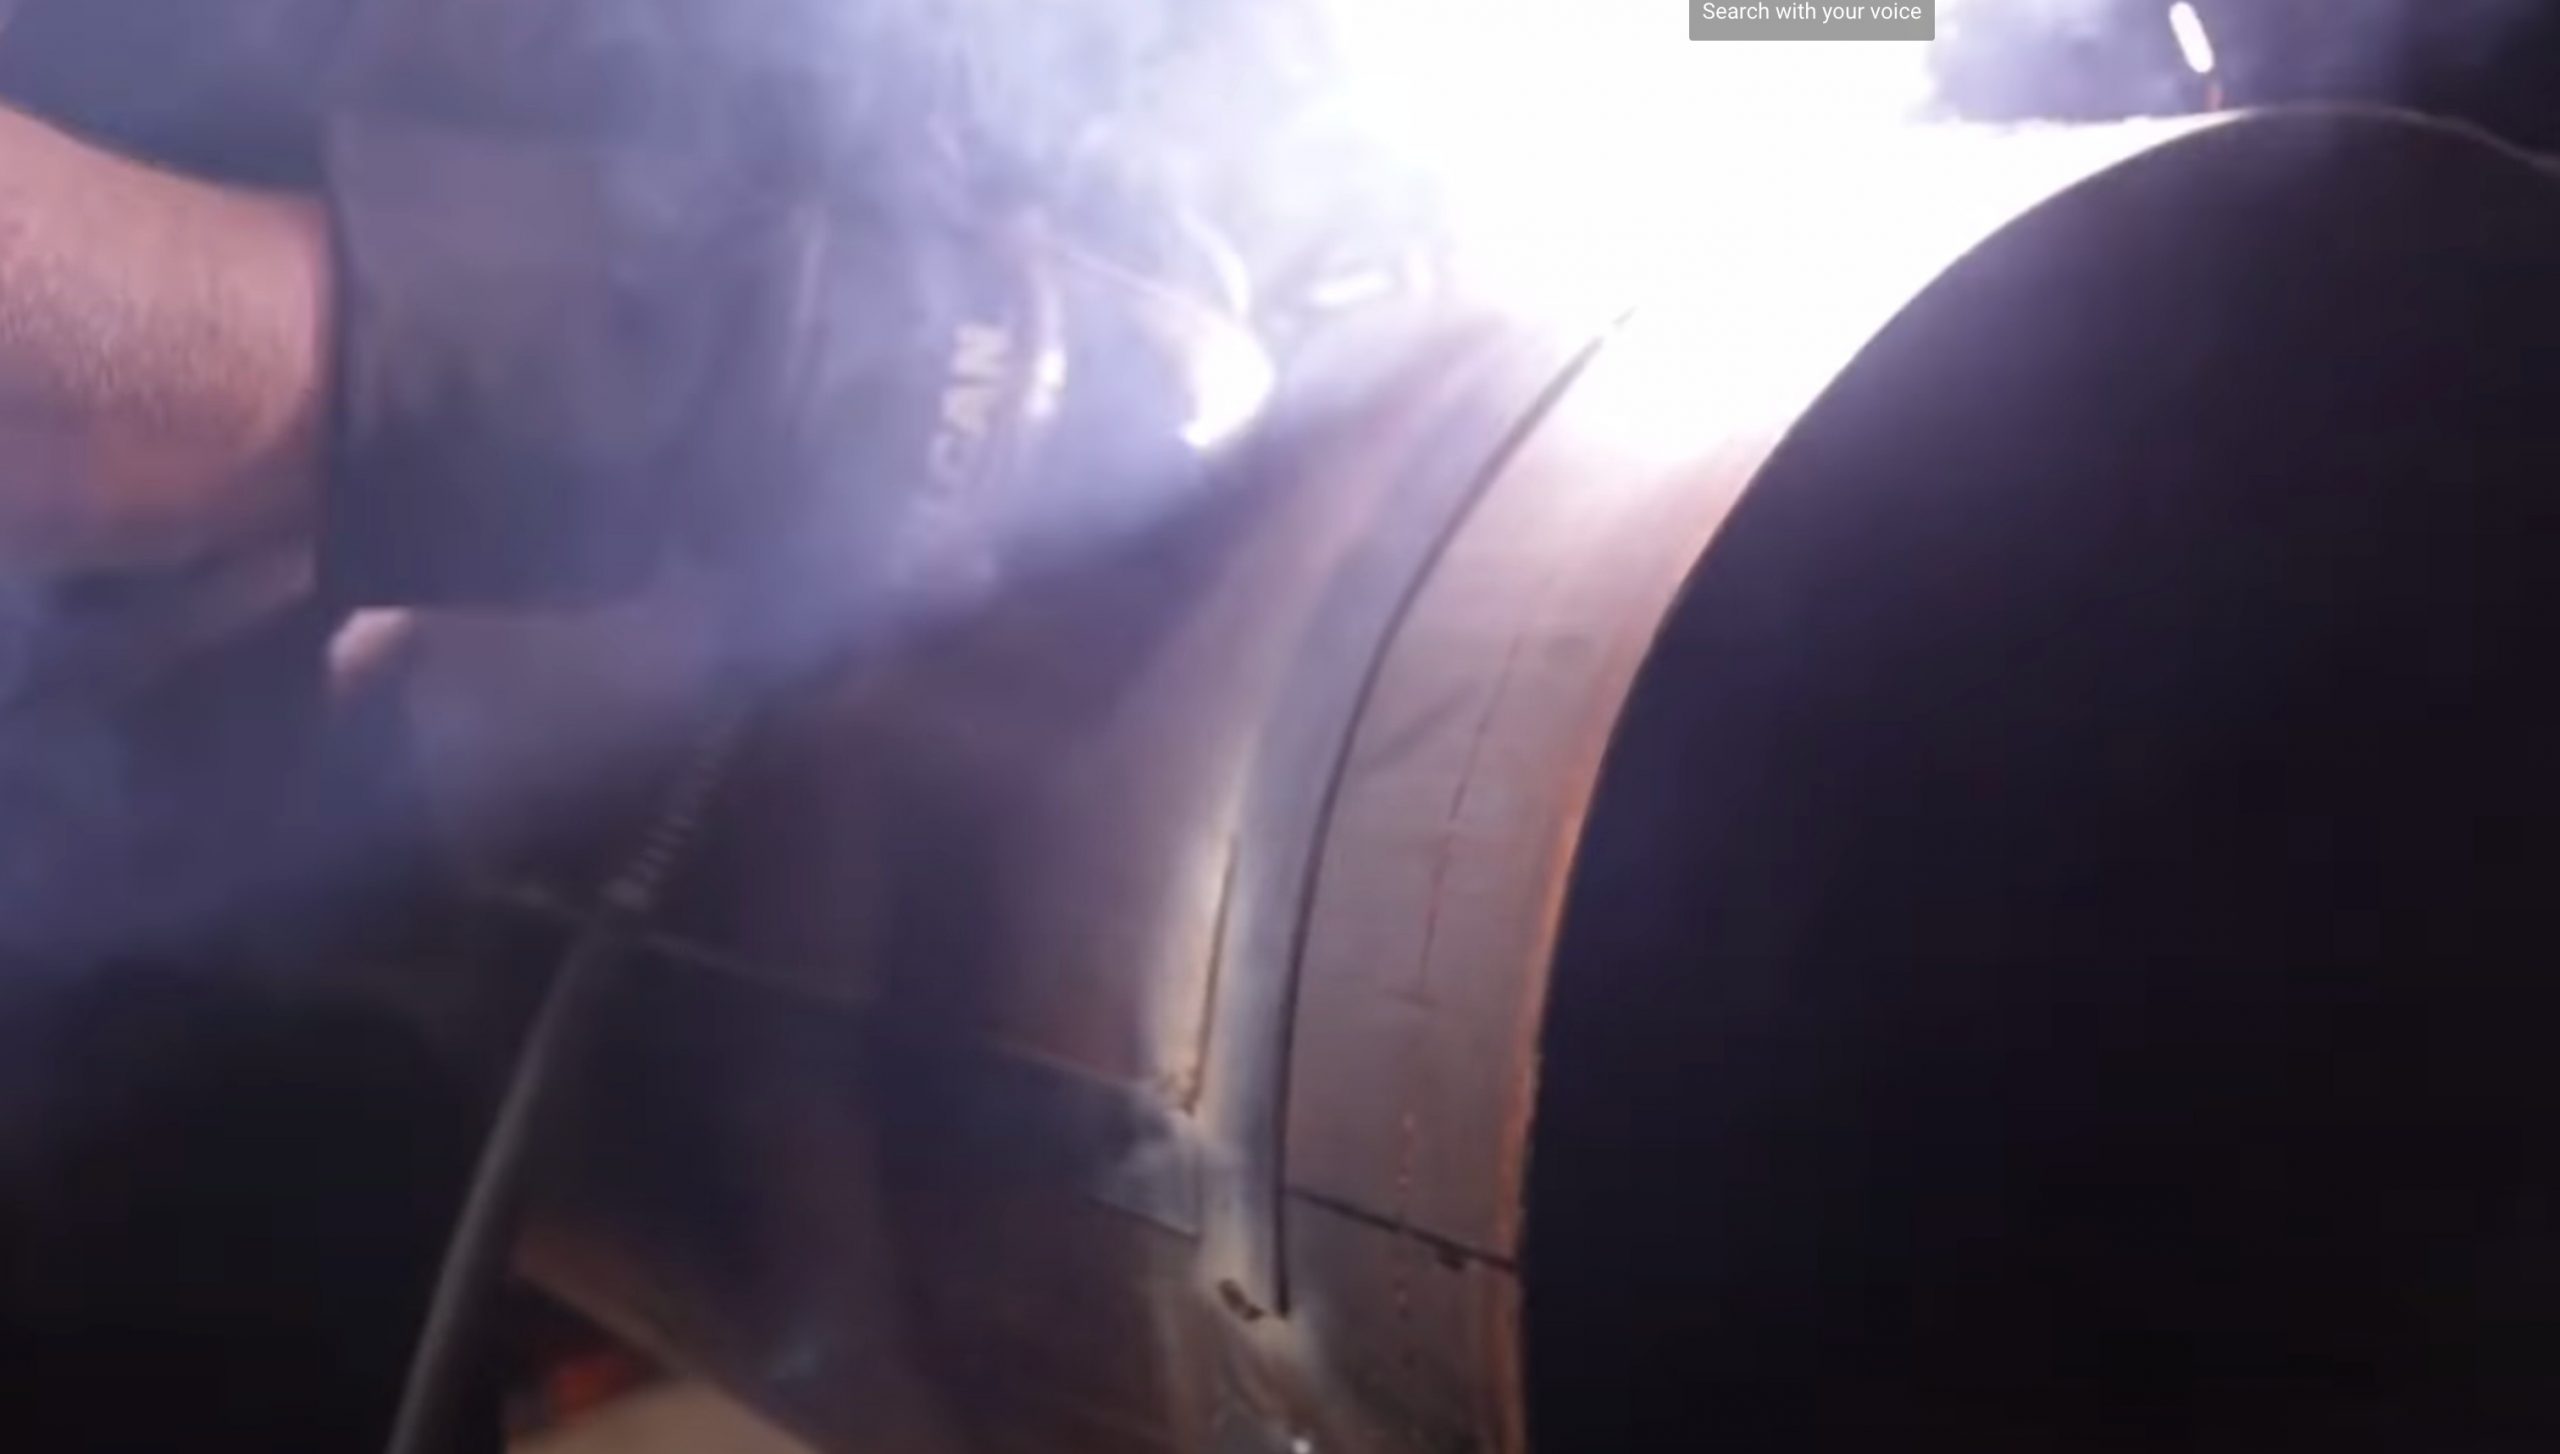
Weld your Pieces Together
When you’re satisfied with the rough setup, weld the two tanks together and weld the chimney to the top of the cooking chamber.
Make sure to use a continuous weld so you won’t lose any smoke at this junction.
Step 6 – Final Touches
At this point, you have yourself a functioning oil tank smoker!
Just a few things to do before you’re ready to start smoking meat.
Final Burnout
In step 1 you cleaned the inside of the smoker, now we’re going to make sure it’s clean enough to eat out of – literally.
Fill your firebox as well as the oil tank with wood. Start the fire and let it burn for a while.
This should get rid of any remaining chemical residue on the inside of the smoker and the firebox.
You want to get a very hot fire burning here and avoid any fumes.
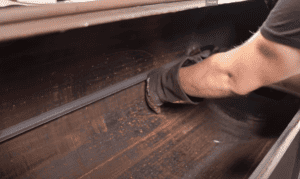
Final Cleaning
After the fire subsides, do one last thorough cleaning of the inside. A soft power washer, soap and water, and a good brush.
Heat your smoker to around 375 degrees F to burn the residual liquids and dry the smoker and let it run for a good long burn.
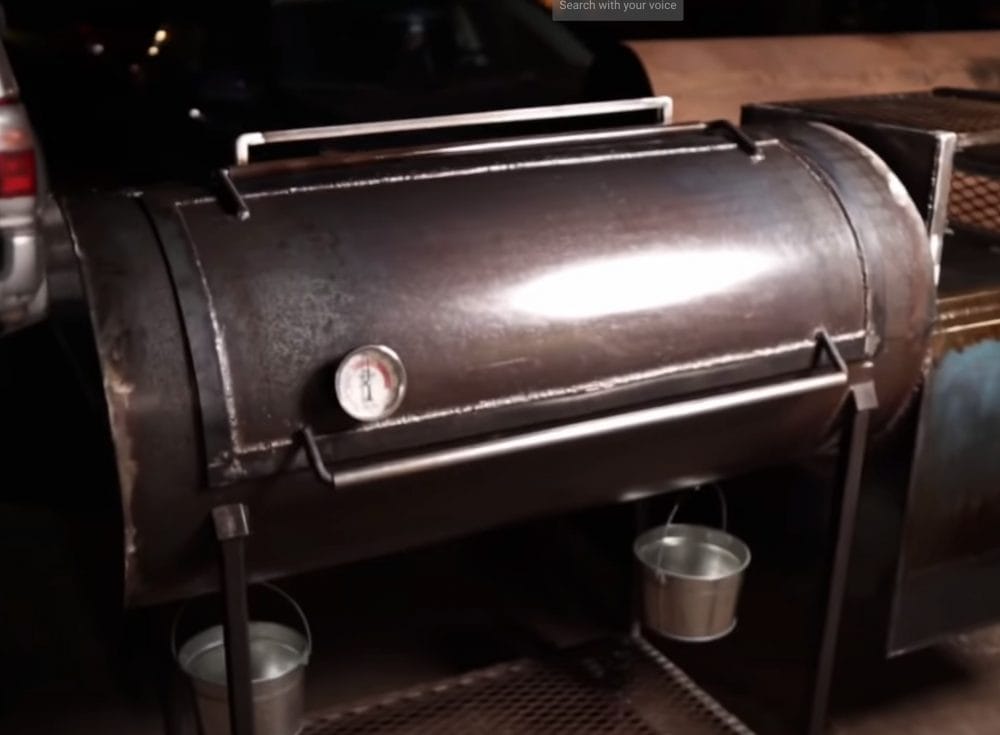
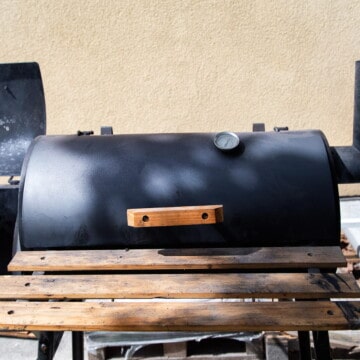
Paint and Accessorize
Now you can make your smoker pretty.
Add heat resistant paint, handles, a front shelf, and temperature gauges to read the inside cooking temperature.
- 5 bbq smoker stainless spring handle.
- 6 wide overall
- weldable ½ steel rod (pre mounted spring)
- good for bbq pits trailers and other custom metal projects and cabin
How to Build an Oil Tank Smoker
Equipment
- Reciprocating Saw
- Welders Tools
Ingredients
- New or used oil tank, propane tank, orcompressed air tank
- Cleaning Supplies
- Metal Hinges
- Flat Bar Stock
- A Smoker Stand
- A Steel or Iron Firebox
- An Airflow Damper
- A Chimney Exhaust Vent
- Angle Iron
- Cooking Shelves
- A Handle
- Heat Resistant Paint
- A Temperature Gauge
Instructions
- Empty and clean the inside of your tank.
- Make cuts ¼ the circumference of the tank to make your door(s).

- Add hinges and handles to your doors.
- Add door seals using flat bar stock iron.

- Purchase or build a stand to support the smoker.
- Purchase or build your steel or iron firebox,about ¼ to ⅓ the size of your tank.

- Cut and add a damper on the far side of the firebox to control the airflow to the fire.

- Cut matching holes and weld your firebox to your oil tank in a typical offset barrel smoker fashion.
- Cut a hole in the opposite top side of your tank and weld an exhaust chimney vent in place.

- Use angle iron to create supports for shelving on the inside of your oil tank. Purchase Or build iron or steel shelves to hold the food.

- Do at least 1 final cleaning and then a hot burnout to get rid of any remaining oil and/or chemical residue left in the smoker before you cook food in it.
- Paint the exterior with a glossy heat resistant paint that will be easy to clean and wipe down.
- Add any final accessories of your choosing.

- Load up the firebox with wood and/or coals, cook some food and enjoy!