Want to get some charcoal started fast but don't own a charcoal chimney?
No worries!
We've got 3 Great Options for making your own DIY Charcoal Chimney Starter. Get your charcoal started fast and easy using one of these creative homemade methods!
Jump to:
What is a Charcoal Chimney?
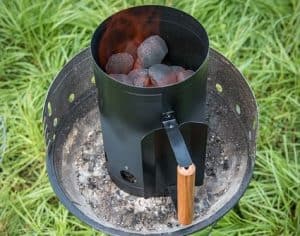
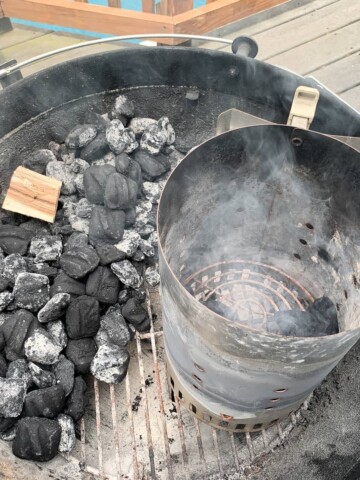
Charcoal chimneys are an easy way to get a big batch of charcoal fully lit in a relatively short period of time.
Whether you are firing up the charcoal grill, smoker, or outdoor cooking pit, you need a chimney to get your charcoal going fast.
Heat and flames travel upwards, so by stacking your unlit charcoal in a vertical container you take full advantage of how the fire naturally wants to travel and light the coals.
A charcoal chimney generally has a grated bottom to hold the coals while still allowing maximum airflow. Holes are placed along the sides to get plenty of air moving throughout the chimney as well.
How to Use a Standard Charcoal Chimney
So how does a charcoal chimney work?
Most people light a crumpled newspaper (soak it in vegetable oil so the pieces don’t fly away as they burn) underneath a chimney full of coals to get the fire started.
Here's an even better option: I like to use firestarter cubes made specifically for lighting charcoal chimneys. They are convenient, easy to light, and you don’t have to worry about flaming pieces of newspaper flying everywhere!
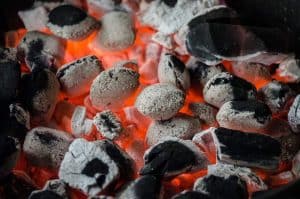
Once you have a fire going under the coals, all you have to do is sit back and wait for the flames to work their way up the chimney and get all the coals lit. Usually this takes about 20-30 minutes.
Electric Charcoal Starters
Electric Charcoal starters work by positioning them right up against the coals and then letting them get REALLY hot.
The problem with most electric charcoal starters is the limited surface area of charcoal they can come into contact with.
- Generates 550 watts at 120 volts for lighting briquette piles
You then have to wait for those coals to get hot enough to light other coals around them, usually in a horizontal fashion, which is not ideal for heat transfer.
Lighter Fluid
Ahhh lighter fluid. Who among us doesn’t have fond memories of their mom or dad dousing a big pile of unlit charcoal with lighter fluid, then throwing a match and running for the hills?
Unfortunately, the only thing that usually burns in that situation is, well…the lighter fluid.
And fast.
Too fast to get any significant heat transfer to the charcoals and get them fully lit before the fluid burns off.
Coffee Can
Take a large empty coffee can and poke some holes in the bottom using a can opener. While you’re at it, poke some holes in the sides as well to allow for maximum airflow.
You want a lot of holes to allow for airflow WITHOUT allowing any hot charcoal to fall through, so don’t make the holes too big.
Be EXTRA cautious when transferring the hot coffee can, using only very long tongs as well very well insulated grilling gloves like these we prefer:
- 🔥 EXTREME HEAT RESISTANT GLOVES: The GRILL HEAT AID gloves can withstand heats up to 1472°F
For a list of our favorite insulated BBQ grilling gloves, check out our complete list here.
Even the best insulated BBQ gloves in the world cannot stand up to a stray lit charcoal briquet for very long if at all. So always use long handled tongs to move hot items. These accessories work great for managing things around your firepit as well.
The benefit of an actual charcoal chimney starter is the extended handle positioned away from the hot coals.
Aluminum Foil
Another interesting idea is to create a large foil “bag” full of charcoal and shape it as vertically as you can, much like a cylindrical charcoal chimney.
To start, layer (2) 3’ sheets of aluminum foil on top of each other in one direction, then 2 more sheets on top of those but perpendicular in a “t” or cross like fashion. Then shape all 4 ends of the foil up into a bag-like shape.
You can wrap rubber bands or tie twine around it to help it hold its cylindrical shape. Slowly add the charcoal as you shape it up and add more rubber bands or twine.
Poke holes throughout the bottom and sides and leave the top open to air.
Place the foil bag right in your grill and light a fire underneath it.
The nice thing about the foil is as the charcoal burns, you can use tongs to tip the bag over or open it up, and then leave the foil RIGHT in your grill!
No need to mess with transferring a hot chimney or coffee can.
Orange Juice or Milk Carton
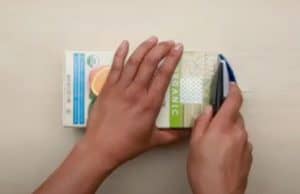
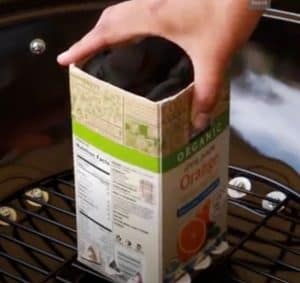
Finally, another disposable option is the empty orange juice or milk carton.
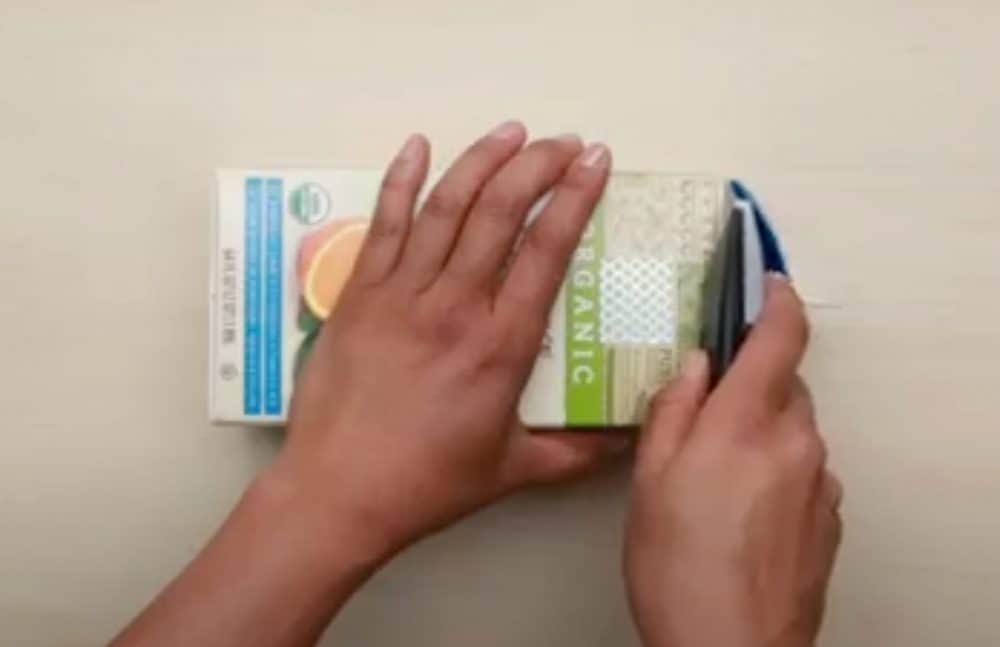
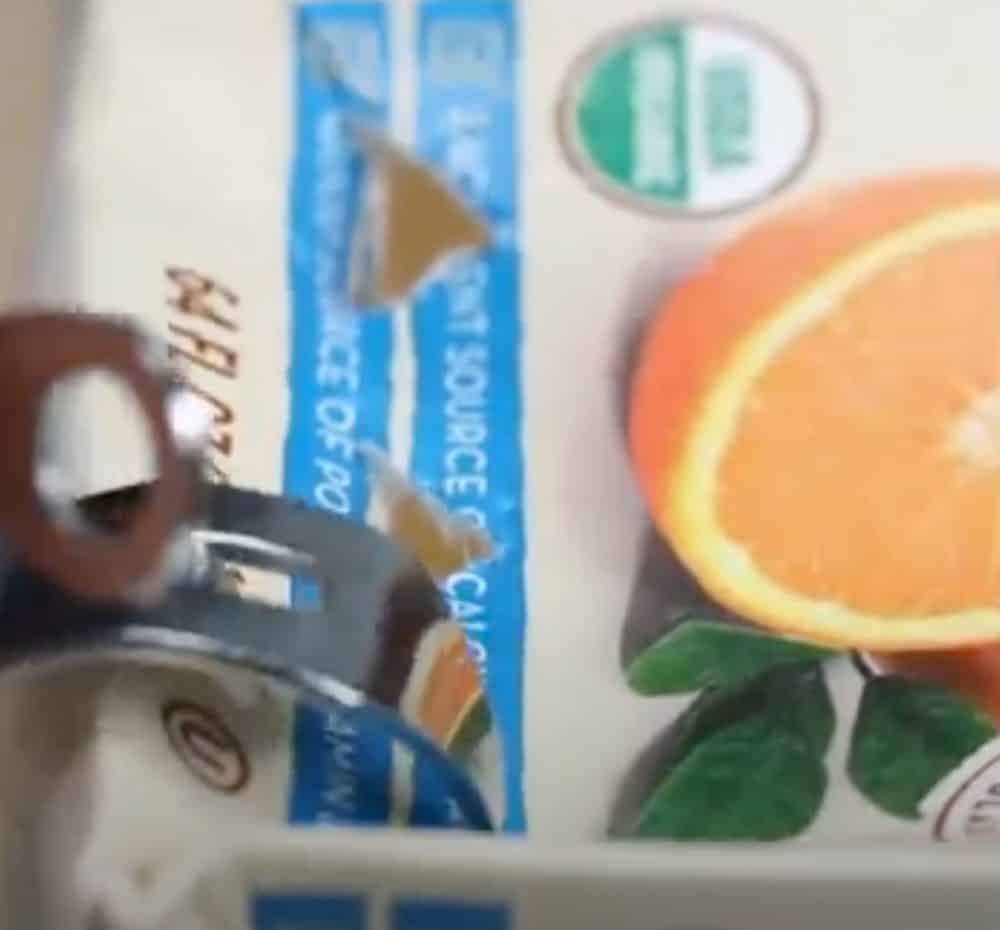
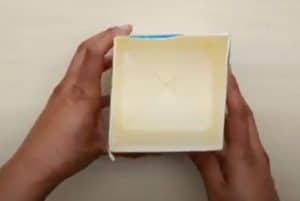
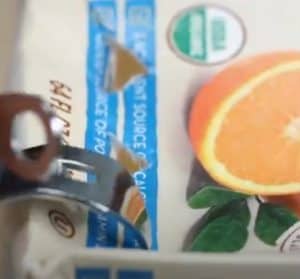
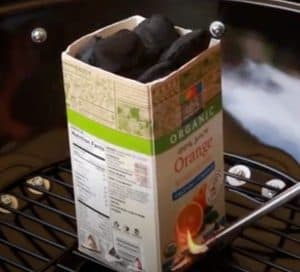
Open up the top of the carton so that it is now a rectangular container with an open top. Poke your holes in the bottom and sides to allow for airflow and fill with your unlit charcoal.
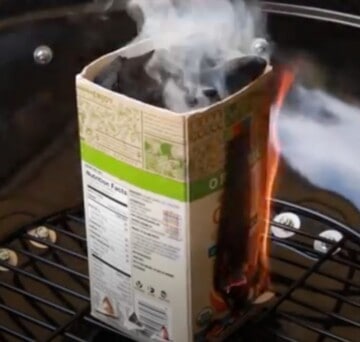
Light it up underneath with newspaper or a firestarter cube, and let the carton work like a disposable chimney!
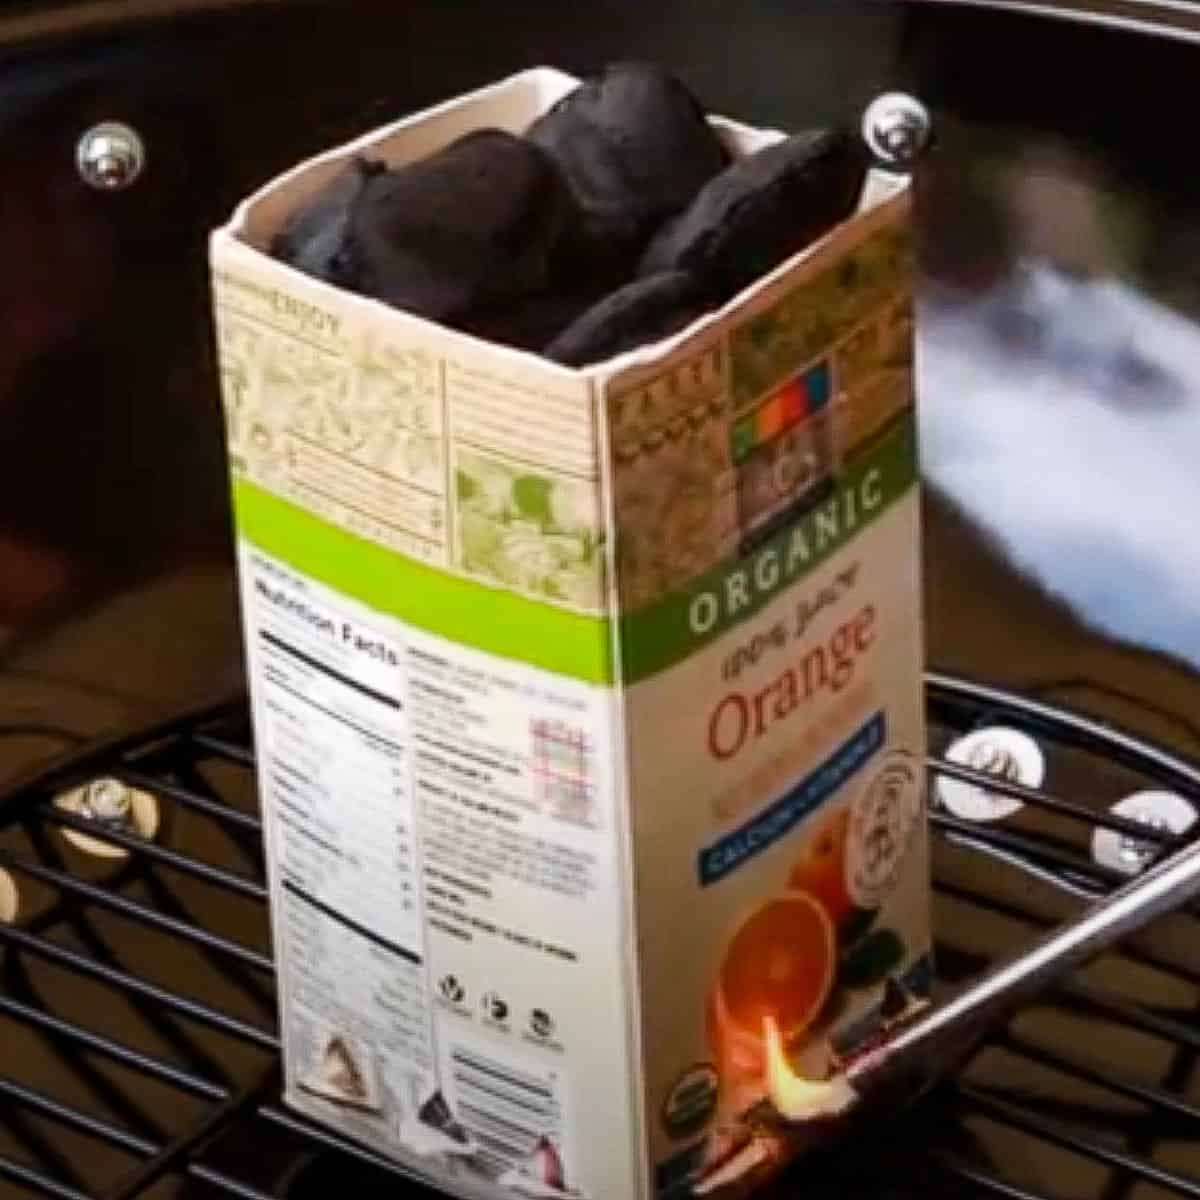
While this is another disposable solution, there is a downside.
The problem with this method is that your paper carton may not last as long as needed to get all the charcoal lit before it goes up in flames itself.
Make sure to check what the carton is really made out of as well. Avoid cartons that are heavily made of plastic.
Of the three methods, I prefer the first two, but if you’re really “squeezed”, use the OJ carton. 😉
How to Make a DIY Charcoal Chimney Starter
Equipment
- Can Opener or Scissors
- Utility Knife or Scissors
- Lighter
- BBQ Tongs
Ingredients
- 1 Empty Orange Juice or Milk Carton cleaned out
- Crumpled Newspaper
- Charcoal
Instructions
- Cut the top off your OJ or Milk carton
- Clean and wipe out the inside with a paper towel
- Punch or cut small holes around the perimeter of the base of the carton, about 3-4 on each side.
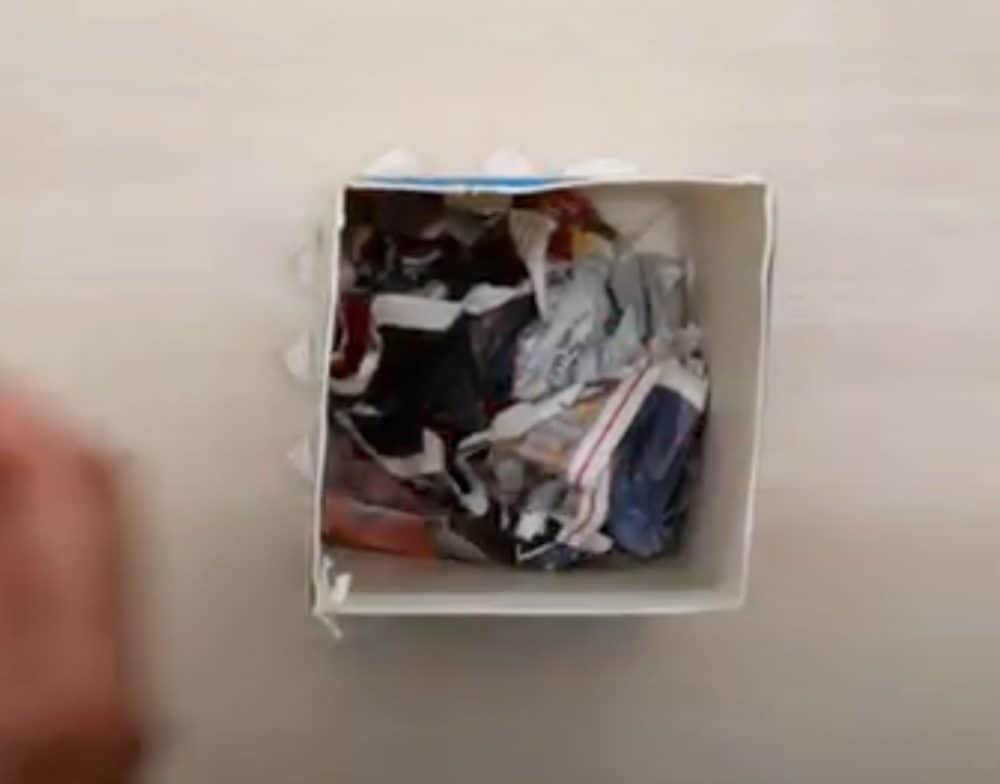
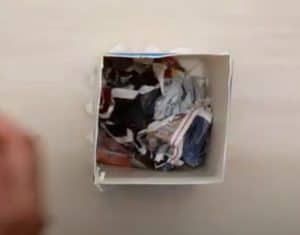
- Place some crumpled newspaper at the bottom of the carton
- Fill on top of the newspaper with dry, fresh charcoal
- Place the filled carton on your grill and light the newspaper through one of the holes with the lighter.
- Let the entire carton and newspaper burn away as the chimney lights, about 15 minutes.
- Spread the lit charcoal around using BBQ tongs.

