
Today we are covering why you NEED to season that brand new smoker, and EXACTLY how to do it the RIGHT WAY.
Whether it's a new charcoal, gas, or electric smoker...we've got you covered. Let's go!
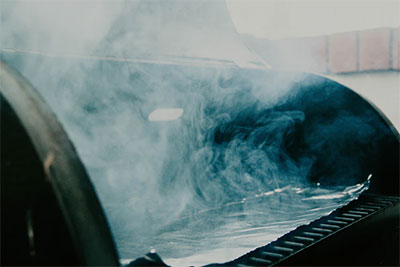
So you just bought, or are thinking about buying your first smoker.
Or maybe you just finished building your own homemade smoker like we did HERE.
Well, whether its a propane or electric, charcoal or pellet, whether its a vertical cabinet or a barrel style Oklahoma Joe...they all have one thing in common when they are new.
They need to be seasoned.
Curing a new smoker is necessary for a variety of reasons. It will burn off all of the oils, dirt, and bacteria left over after the manufacturing process and will leave your BBQ smoker ready to use.
Though the word ‘seasoning’ may spring to mind a funny image of seasoning your smoker with cooking spices, the reality is much different.
Seasoning a smoker can sometimes be referred to as pre-seasoning or curing, and it differs from seasoning a cast-iron skillet or disposable BBQ.
Whether you’re entertaining guests or kicking back with your family, it’s a vital first step that you need to carry out before cooking your food.
In this article, we’re going to be taking a look at the definition of seasoning, and why it’s so important.
We’ll then provide you with a handy step-by-step guide on how to season your new smoker correctly. Ready? Let’s begin!
Want to get started fast?
Here's a great overview video from Low n Slow Basics on one way to season a new smoker in a just a few short steps:
Do You Need to Season a New Smoker?
Seasoning your new smoker before initial use is important to laying the foundation for both delicious and hygienic BBQ results.
By doing so, you’ll be removing unwanted odors from the production stage, protecting the smoker from rust and the weather, and also curing the paint, which will help it look new for years to come.
Two Main Reasons Why a Smoker Should be Seasoned:
- To get rid of debris and odors
- To protect it from rust and the weather
Getting rid of debris and odors from the manufacturing stage
When a sparkling new smoker gets put inside its box ready for purchase, it brings with it a whole host of leftover dirt, odors, and oils from the warehouse it was made in, and the production process it has gone through.
Remember when we had you burn a load of charcoal in that brand new galvanized trash can before we made Trash Can Turkey?
It's the same principle here.
We'll be here when you get back.
Uncured paint, dirt, and oils present from the manufacturing process can remain on the finished product, particularly offset smokers and pellet grills.
Some of those chemicals can be toxic and harmful to your health, not to mention infusing your food with a less than appealing aroma.
By seasoning before use, you’ll quickly remove all of those nasty production remnants and leave your smoker clean and free from any unwanted oil, solvent and paint residue.
Extending the Life of the Smoker
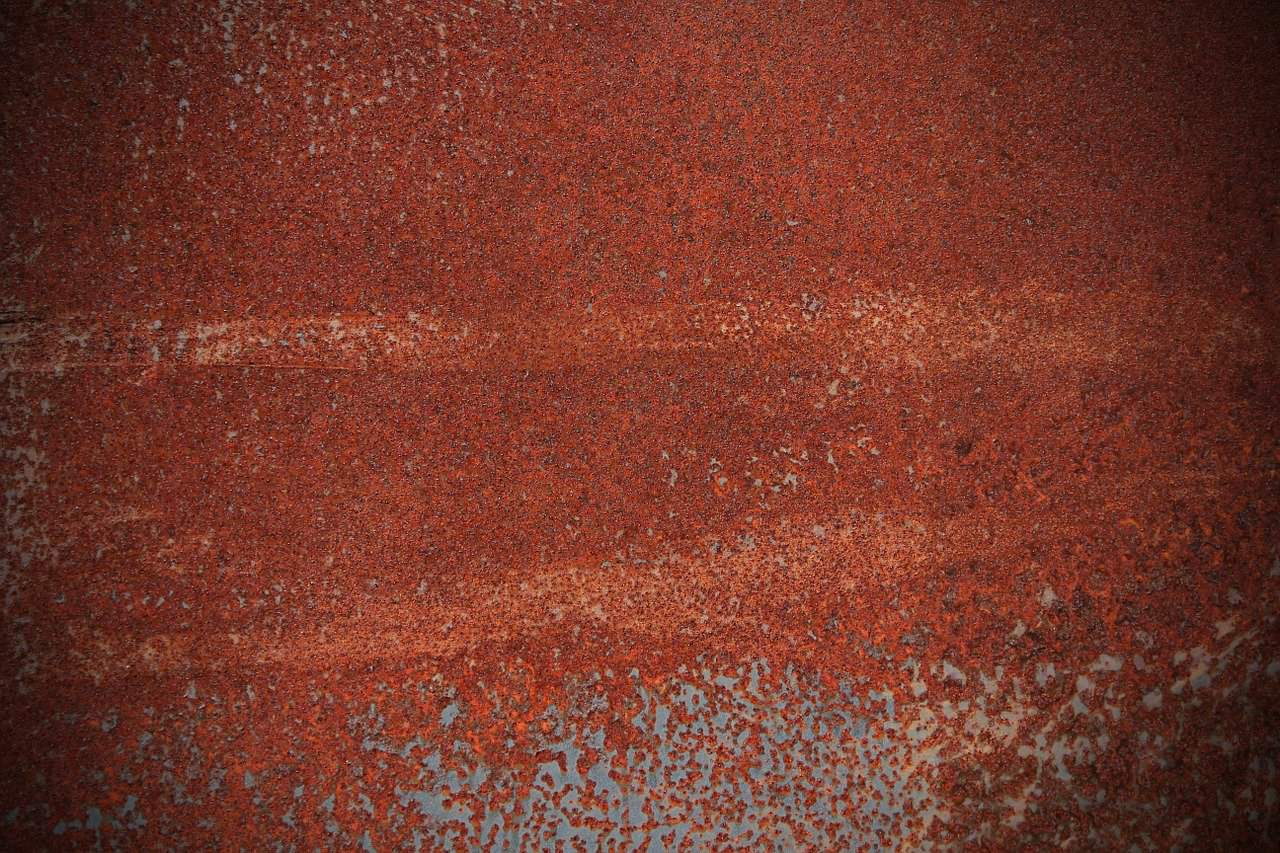
Regardless of the high quality coating they put on your smoker, if it's made of metal...and it likely is...its ALWAYS at risk of rusting...eventually.
If you don’t take the time to season the new smoker, the presence of moisture during each smoking session will quickly age your smoker from the INSIDE, just like leaving it out in the rain uncovered would risk rusting it from the OUTSIDE
Seasoning will not only take away leftover residue from the manufacturing stage, but it will also prevent rust, all the while curing the paint in a protective coating that will ensure your smoker is better able to handle exposure to the weather.
Essentially, the protective coating will ensure that all moisture will drip off the smoker, rather than get absorbed or stick to it.
How to Season Different Kinds of Smokers
Next we are going to cover how to season the 3 most popular kinds of smokers:
- Charcoal
- Propane Gas
- Electric
So go ahead and jump to the kind you have to learn how to get started!
How to Season a Charcoal Smoker
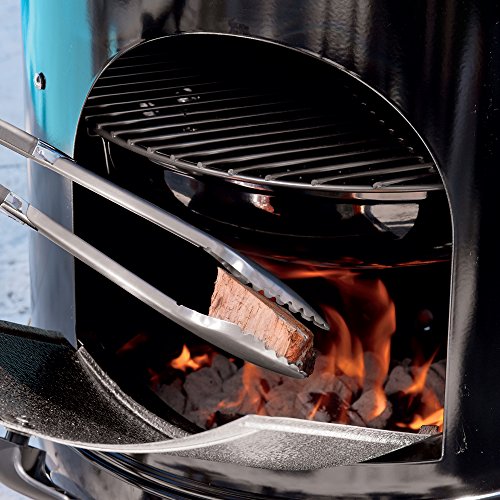
Read Weber Smokey Mountain Reviews on Amazon
After your smoker has arrived in its box, it’s now time to season it!
Here's what you will need to season a new charcoal smoker:
- A Clean soft cotton cloth
- Bucket with a little mild gentle detergent and water.
- Cooking oil with a high smoke point like Avocado or Grapeseed Oil
- A Chimney Full of Natural Lump Charcoal, not briquets, and definitely no "Quick-Start" or "Rapid-Start" charcoal infused with lighter fluid.
- A Charcoal Chimney
- A Lighter
- A Firestarter cube to light to chimney
- Optional: Smoking Wood Chunks
- Optional: A few pieces of raw fatty meat like bacon or pork belly.
One word of advice, take it outside, unassembled, before you begin.
Then, follow these steps below:
- First, make sure to thoroughly clean the smoker parts with soapy water and a cloth. Though some grill experts suggest using water for this stage, a gentle soap can act as a first step in cleaning away manufacturing leftovers. We also suggest making sure to use a soft, cotton-like cloth to avoid getting scratches in the paint finish.
- After you’ve gently washed down the interior with soap and water, rinse it well, wipe it down to prevent water spots from forming, and allow the smoker to air-dry.
- You’ll need cooking oil for this step! For the quickest results, we recommend using a flourless kind of cooking oil and, if possible, to carry out this step before the smoker has been assembled. Ideally, you’ll want to achieve a thin, even coat along the entirety of the smoker’s interior, racks, AND EXTERIOR. The cooking oil acts as a protective coating and will keep it safe from rust and the elements.
- Assemble your smoker.
- After your smoker is assembled, fill a chimney full with lump charcoal, not briquets, and then carefully light the charcoal. After 20 minutes or so, the smoke should have subsided and the chimney should be fully lit and the charcoals glowing .
- While the chimney is heating up from the charcoal and fire, add a good sized load of unlit charcoal to the firebox on the smoker. Once the chimney is totally ignited, carefully transfer the hot coals and dump them into the firebox.
- You’re going to be taking your smoker to a higher temperature than you’ll tyically use for cooking, so ensure that the vents are completely open to allow for optimum airflow.
- Allow the smoker to reach around 350-400 degrees Fahrenheit for 2-3 hours. This will ensure any leftover production chemicals and solvents burn off.
How to Season a Propane Gas Smoker
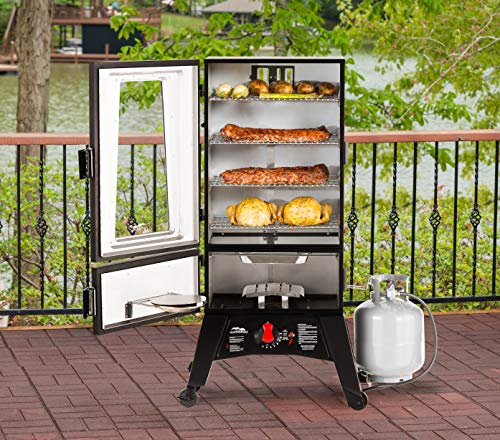
Here's what you will need to season a new propane gas smoker:
- A Clean soft cotton cloth
- Bucket with a little mild gentle detergent and water.
- Cooking oil with a high smoke point like Avocado or Grapeseed Oil
- A Relatively FULL tank of Propane
- A Lighter
- Optional: Smoking Wood Chunks
- Optional: A few pieces of raw fatty meat like bacon or pork belly.
One word of advice, take it outside, unassembled, before you begin.
Then, follow these steps below:
- First, make sure to thoroughly clean the smoker parts with soapy water and a cloth. Though some grill experts suggest using water for this stage, a gentle soap can act as a first step in cleaning away manufacturing leftovers. We also suggest making sure to use a soft, cotton-like cloth to avoid getting scratches in the paint finish.
- After you’ve gently washed down the interior with soap and water, rinse it well, wipe it down to prevent water spots from forming, and allow the smoker to air-dry.
- You’ll need cooking oil for this step! For the quickest results, we recommend using a flourless kind of cooking oil and, if possible, to carry out this step before the smoker has been assembled. Ideally, you’ll want to achieve a thin, even coat along the entirety of the smoker’s interior, racks, AND EXTERIOR. The cooking oil acts as a protective coating and will keep it safe from rust and the elements.
- Assemble your smoker.
- After your smoker is assembled and the propane tank attached, open up the propane valve and light the burner on the smoker.
- You’re going to be taking your smoker to a higher temperature than you’ll typically use for cooking, so ensure that the vents are completely open to allow for optimum airflow.
- Allow the smoker to reach around 350-400 degrees Fahrenheit for 2-3 hours. This will ensure any leftover production chemicals and solvents burn off.
How to Season an Electric Smoker
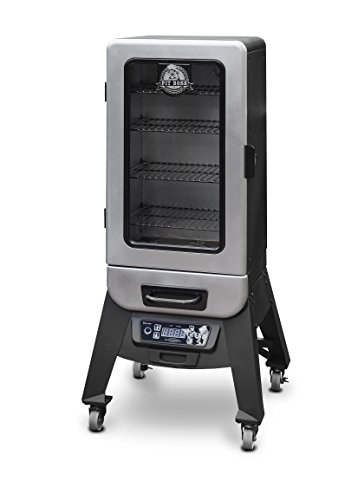
Here's what you will need to season a new electric smoker:
- A Clean soft cotton cloth
- Bucket with a little mild gentle detergent and water.
- Cooking oil with a high smoke point like Avocado or Grapeseed Oil
- An Electrical Outlet
- A Lighter
- Optional: Smoking Wood Chunks
- Optional: A few pieces of raw fatty meat like bacon or pork belly.
One word of advice, take it outside, unassembled, before you begin.
Then, follow these steps below:
- First, make sure to thoroughly clean the smoker parts with soapy water and a cloth. Though some grill experts suggest using water for this stage, a gentle soap can act as a first step in cleaning away manufacturing leftovers. We also suggest making sure to use a soft, cotton-like cloth to avoid getting scratches in the paint finish.
- Be cautious to not to SOAK any areas that are near electrical components. Use a well wrung out cloth in these areas and never let water pool anywhere in the smoker.
- After you’ve gently washed down the interior with soap and water, rinse it well, wipe it down to prevent water spots from forming, and allow the smoker to air-dry.
- Assemble your smoker.
- You’ll need cooking oil for this step! For the quickest results, we recommend using a flourless kind of cooking oil and, if possible, to carry out this step before the smoker has been assembled. Ideally, you’ll want to achieve a thin, even coat along the entirety of the smoker’s interior, and racks. There is no need to rub cooking oil on the OUTSIDE of an electric smoker. The cooking oil acts as a protective coating and will keep it safe from rust and the elements.
- After your smoker is cleaned, assembled, and the interior wiped down with a very thin layer of cooking oil, go ahead and plug it in and turn it on.
- You’re going to be taking your smoker to a higher temperature than you’ll typically use for cooking, so ensure that the vents are completely open to allow for optimum airflow.
- Allow the smoker to reach around 350-400 degrees Fahrenheit for 2-3 hours. This will ensure any leftover production chemicals and solvents burn off.
Electric smokers are great, and almost as convenient as Pellet Grills!
However, don't get lazy with their convenience. Make sure to always use electric smokers outside and to always use wood chips rather than pellets.
Optional Steps to Seasoning the Smoker
An additional option is to add wood to your firebox or wood chip tray while seasoning to begin to add some smoky flavor/residue to the inside of your smoker.
Some home BBQ pros will smoke some fatty pieces of leftover bacon (an oxymoron...I know) towards the end of the seasoning process as well to add some fatty residue and aroma to the inner walls of the new smoker.
Just try not to eat the bacon after you season the smoker.
Re-Seasoning your Smoker
Throughout the life of your smoker, it’s highly likely that you’re going to need to re-season it more than once.
While some purists claim to NEVER clean the inside walls of their smokers, the reality is sometimes you may find you have to.
Depending on your local weather, mold may form if you don't use it for a long while, or you might spill some nasty greasy liquid down into in the bowels of the smoker.
If this occurs, and you feel you need to clean the smoker, use a good degreasing agent to help clean the racks and the inner walls and make sure to rise really well afterwards.
Then you will want to follow the same steps above to heat the inside of your smoker up to a high enough heat for 2-3 hours to kill any lingering mold and chemicals.
This isn't a bad practice to put in place at the beginning of the season when you haven't used your smoker for a few months.
Final Thoughts on Seasoning a New Smoker
So, there you have it, your step-by-step guide on how to season your new smoker.
Remember, you’re free to our tweak the steps as you like to create your very own, unique seasoning process!
If you get stuck or forget a step, just refer back to our guide for inspiration and your new smoker will be prepped, primed, and ready to use in no time.
What Can I Smoke on a New Smoker?
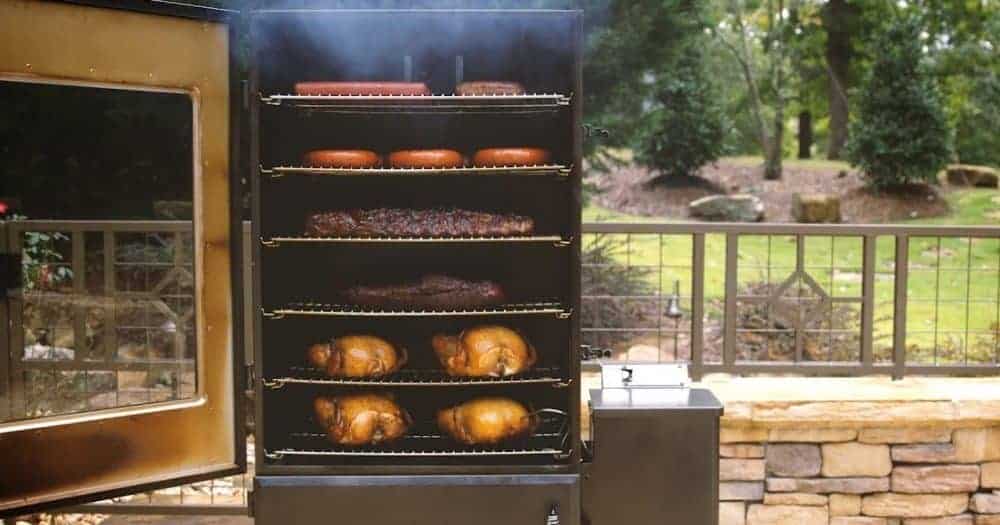
So glad you asked!
Looking for some more smoky inspiration ow that your smoker is seasoned and ready to go?
Check out some of our favorite recipes of both smoked and grilled food to try out at your next outdoor BBQ!
- Smoked Fresh Ham with Dark Rum Citrus Glaze
- Smoked Leg of Lamb with Guinness Marinade
- Smoked Lamb Chops with Balsamic Butter Sauce
- Smoked Bratwurst
- Grilled Bratwurst
- Smoked Gouda Cheese
- Smoked Oysters
- Hamburgers
- Pellet Grilled Steak
- Pellet Grill Turkey
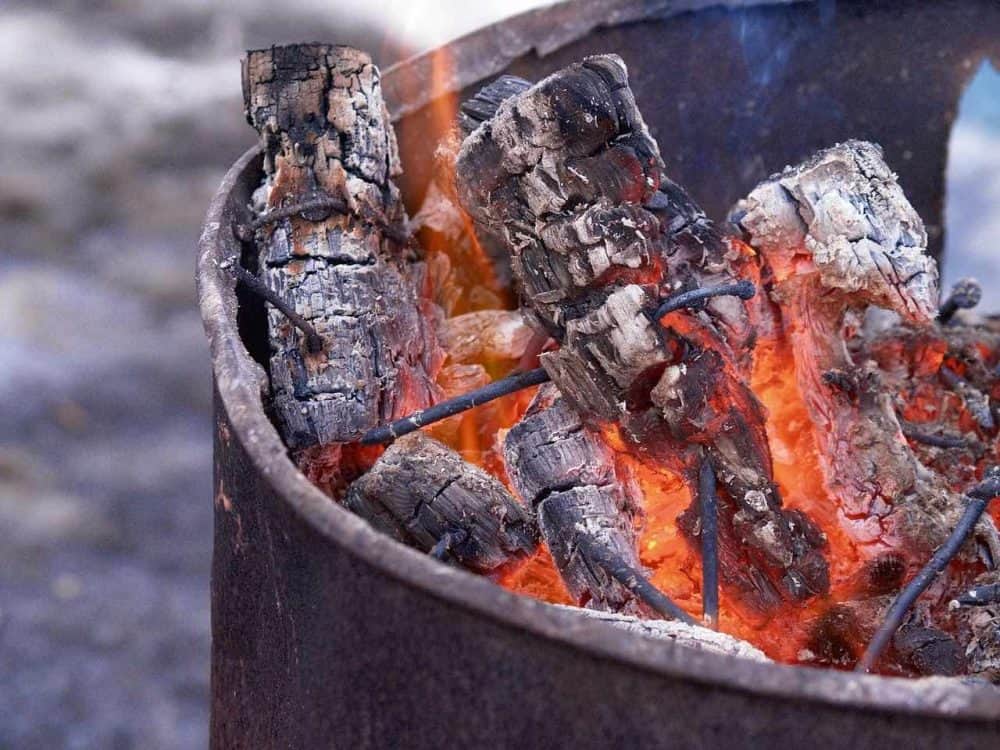
Trash Can Turkey - OK, technically not made on smoker or a grill but one of the most fun ways there is to cook a Turkey...at over 700 degrees in only 2 hours!
You've got to check it out!
How to Season a New Smoker
Equipment
- A Brand New Smoker
Ingredients
Seasoning a Charcoal Smoker
- 1 Clean soft cotton cloth
- 1 Bucket with a little mild gentle detergent and water.
- 8 oz Cooking oil with a high smoke point like Avocado or Grapeseed Oil a spray bottle works best
- 1 Chimney Full of Natural Lump Charcoal not briquets, and definitely no “Quick-Start” or “Rapid-Start” charcoal infused with lighter fluid.
- 1 Charcoal Chimney
- 1 Lighter
- 1 Firestarter cube to light to chimney
- Optional: Smoking Wood Chunks
- Optional: A few pieces of raw fatty meat like bacon or pork belly.
Seasoning a Propane Gas Smoker
- 1 Clean soft cotton cloth
- 1 Bucket with a little mild gentle detergent and water.
- 8 oz Cooking oil with a high smoke point like Avocado or Grapeseed Oil a spray bottle works best
- 1 Relatively FULL tank of Propane
- 1 Lighter
- Optional: Smoking Wood Chunks
- Optional: A few pieces of raw fatty meat like bacon or pork belly.
Seasoning an Electric Smoker
- 1 Clean soft cotton cloth
- 1 Bucket with a little mild gentle detergent and water.
- 8 oz Cooking oil with a high smoke point like Avocado or Grapeseed Oil a spray bottle works best
- 1 Electrical Outlet
- Optional: Smoking Wood Chunks
- Optional: A few pieces of raw fatty meat like bacon or pork belly.
Instructions
Seasoning a Charcoal Smoker
- First, make sure to thoroughly clean the smoker parts with soapy water and a soft cloth.
- After you’ve gently washed down the interior with soap and water, rinse it well, wipe it down to prevent water spots from forming, and allow the smoker to air-dry.
- Evenly coat along the entirety of the smoker’s interior, racks, AND EXTERIOR with a very THIN layer of cooking oil. Use a spray bottle for fastest results
- Assemble your smoker.
- Fill a chimney full with lump charcoal, not briquets, and then carefully light the charcoal.
- While the chimney is heating up, add a good sized load of unlit charcoal to the firebox of the smoker. Once the chimney is totally ignited, carefully transfer the hot coals and dump them into the firebox.
- Ensure that the vents are completely open to allow for optimum airflow.
- Allow the smoker to reach around 350-400 degrees Fahrenheit for 2-3 hours. This will ensure any leftover production chemicals and solvents burn off.
- Close the vents and let the charcoal snuff out and the smoker to completely cool before emptying ash and then using smoker for the first time.
Seasoning a Propane Gas Smoker
- First, make sure to thoroughly clean the smoker parts with soapy water and a cloth. We also suggest making sure to use a soft, cotton-like cloth to avoid getting scratches in the paint finish.
- After you’ve gently washed down the interior with soap and water, rinse it well, wipe it down to prevent water spots from forming, and allow the smoker to air-dry.
- Apply the oil. Ideally, you’ll want to achieve a thin, even coat of oil along the entirety of the smoker’s interior, racks, AND EXTERIOR. Use a spray bottle to scheive the fastest results.
- Assemble your smoker.
- After the propane tank attached, open up the propane valve and light the burner on the smoker.
- Ensure that the vents are completely open to allow for optimum airflow.
- Allow the smoker to reach around 350-400 degrees Fahrenheit for 2-3 hours.
- After 2-3 hours, turn off the gas and let the smoker cool down completely before using for the first time.
Seasoning an Electric Smoker
- First, make sure to thoroughly clean the smoker parts with soapy water and a cloth. We also suggest making sure to use a soft, cotton-like cloth to avoid getting scratches in the paint finish.
- Be cautious to not to SOAK any areas that are near electrical components. Use a well wrung out cloth in these areas and never let water pool anywhere in the smoker.
- After you’ve gently washed down the interior with soap and water, rinse it well, wipe it down to prevent water spots from forming, and allow the smoker to air-dry.
- Assemble your smoker.
- Apply the oil. You’ll want to achieve a thin, even coat along the entirety of the smoker’s interior, and racks. There is no need to rub cooking oil on the OUTSIDE of an electric smoker. Use a spray bottle for fastest results.
- After your smoker is cleaned, assembled, and the interior wiped down with a very thin layer of cooking oil, go ahead and plug it in and turn it on.
- Allow the smoker to reach around 350-400 degrees Fahrenheit for 2-3 hours. This will ensure any leftover production chemicals and solvents burn off.
- After 2-3 hours, turn off the smoker and allow it to cool before using.
Optional Steps to Seasoning the Smoker
- Add wood to your firebox or wood chip tray while seasoning to begin to add some smoky flavor/residue to the inside of your smoker.
- Add some fatty pieces of leftover bacon or other meat to the cooking racks about 50% of the way through the seasoning time.
Video
Notes
How
Leave a Reply