Learn how to make Trash Can Turkey, sometimes called "Garbage Can Turkey," using only a metal garbage can and some hot charcoals.
A fun and unique outdoor cooking activity for cooking your Thanksgiving turkey or to do with family, scout troops, and friends.
Trash Can Turkey is a fun and easy way to prepare a delicious turkey outdoors.
Cooking a turkey in a garbage can is a memorable activity to do with your family, scout troop, or just a couple of friends in your backyard or at a campsite.
Your friends and family will not soon forget this unique “turkey in a can” and will surely be talking about it for many months to come.
Jump to:
- What is Trash Can Turkey?
- The Day Before you Make your “Turkey in a Trash Can”.
- Equipment
- Prepare your Turkey
- Set up your Cooking Area and Light your Charcoal
- Set up your Trash Can Cooker
- Position the Trash Can Turkey
- Spread the Hot Charcoal
- How Long Does it Take to Cook a Trash Can Turkey?
- Removing the Turkey from the Trash Can
- Clean Up
- Enjoying your Garbage Can Turkey
- 📖 Recipe
What is Trash Can Turkey?
Trash Can Turkey, or Garbage Can Turkey, depending on what you prefer, is made by cooking a turkey inside an overturned metal trash can covered with hot coals.
Similar to a trash can smoker, you are essentially making a DIY outdoor oven.
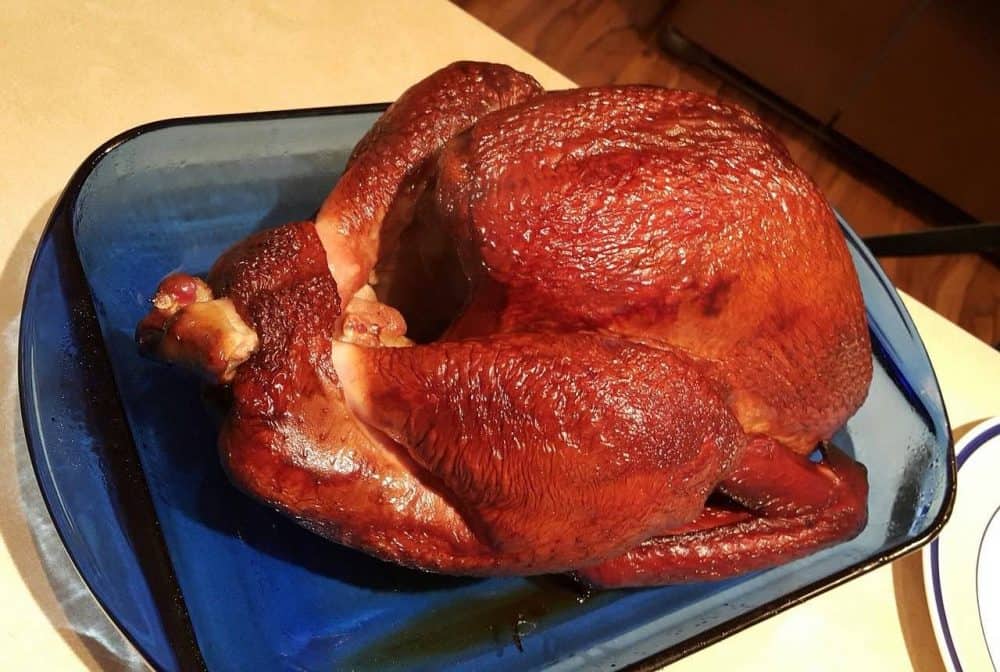
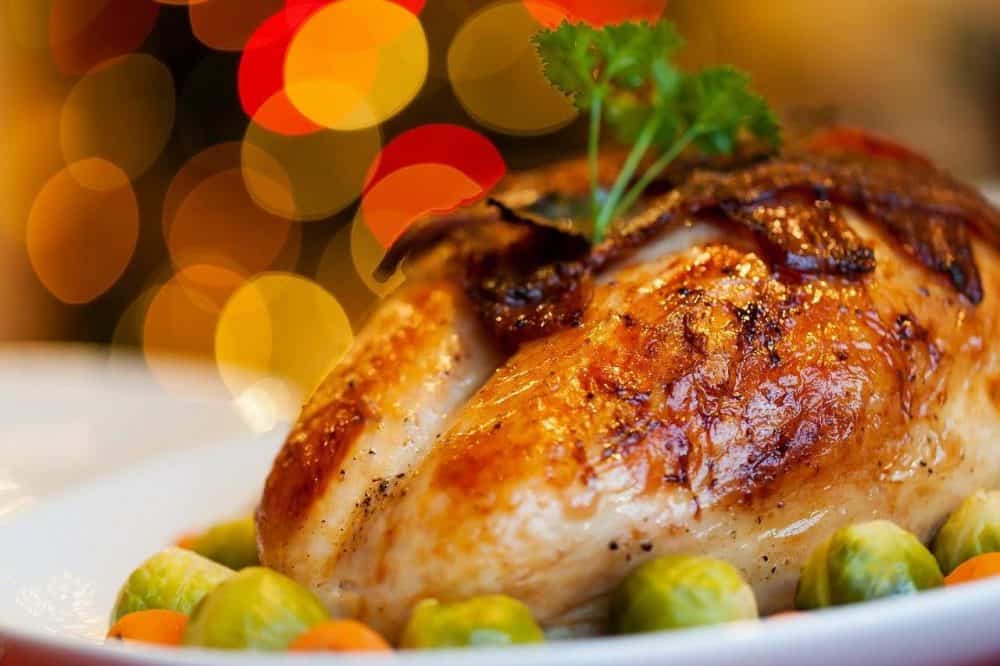
Using the trash can and hot coals placed on top and around the base with the turkey inside, you create the perfect environment for a moist, juicy turkey with crispy skin, cooked in record time.
A 20 lb. Trash Can Turkey usually only takes around 2 hours to cook!
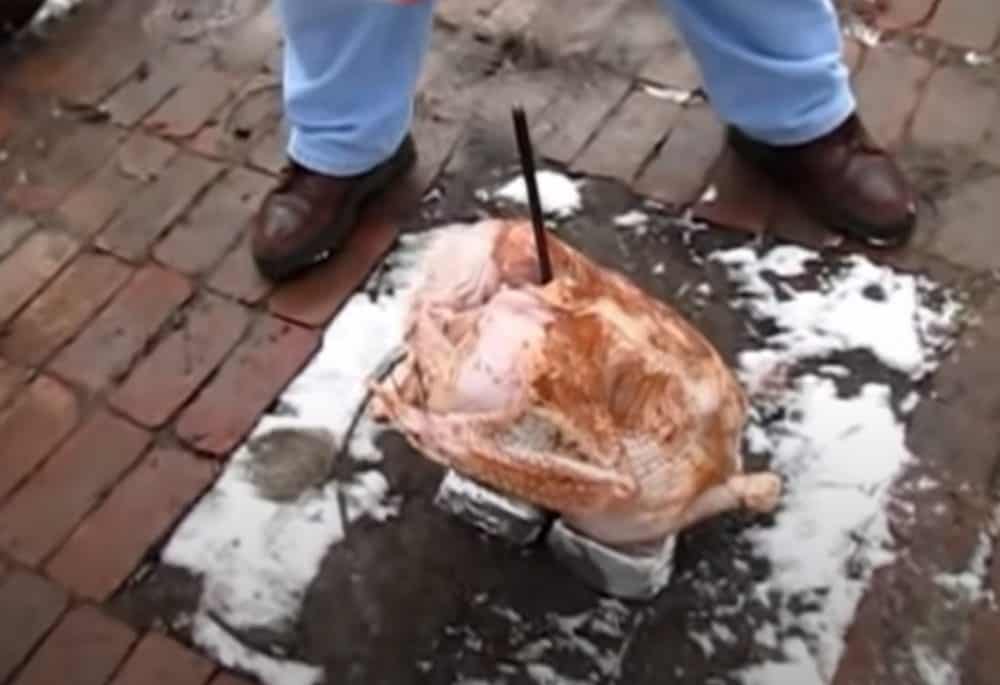
The turkey is placed on a stake and kept off the ground so that it cooks crisp and evenly all the way around.
The wonderful part about using a trash can turkey cooker is the crispy skin that results from the high heat and rapid cooking time.
Here's a great video from the guys at HowToLou providing an overview of the basic process:
The Day Before you Make your “Turkey in a Trash Can”.
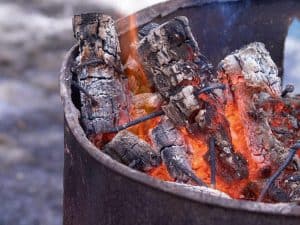
For the best results, light a fire or burn a batch of charcoal in your metal trash can the day before making your first turkey.
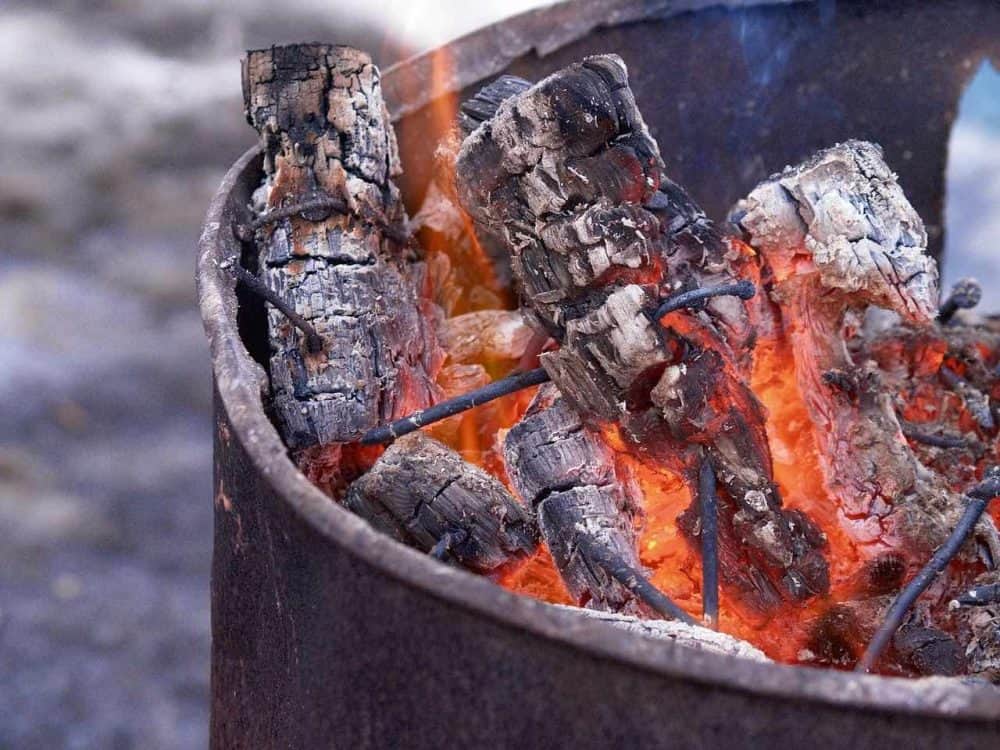
This will burn off any chemicals and galvanization and reduce the metallic taste that may result from using a newer metal trash can otherwise.
If your metal trash can is rusty or has any holes in it whatsoever, you will need to find a new one. A tight air seal is imperative to cooking the turkey correctly using this method.
So, let’s dive in a take a look at how to get started cooking your first trash can turkey!
Equipment
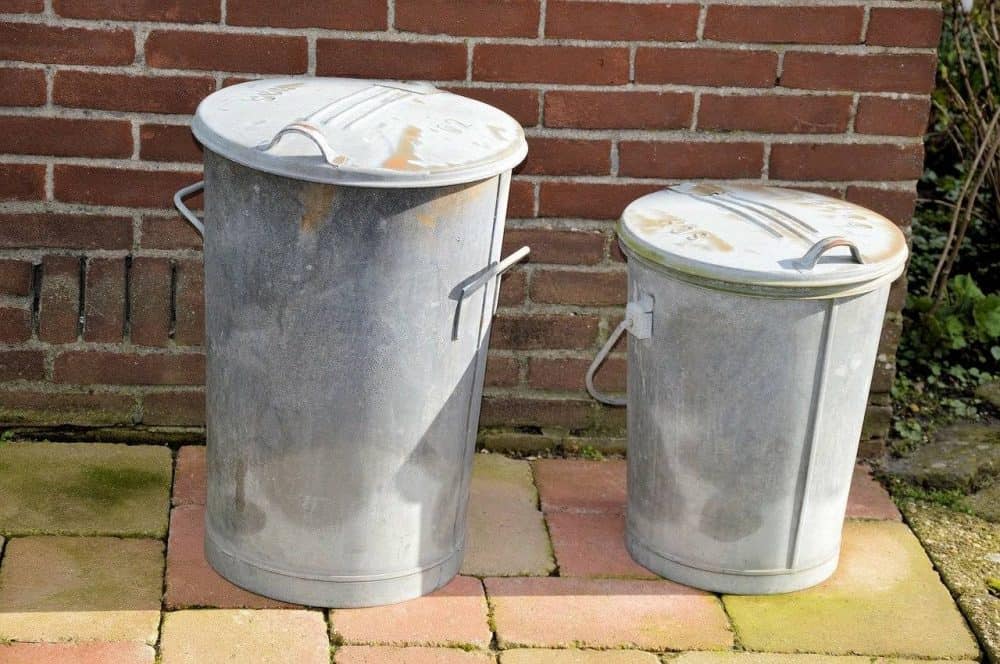
- A large 20-gallon METAL trash Can with a METAL LID WITH HANDLES too.
- A Long Metal Stake or Rebar (shorter than the height of the trash can)
- 2 Bricks
- Several Large Aluminum Roasting Pans
- Aluminum Foil
- A Large 40 lb bag of Charcoal
- A Long-handled METAL Shovel
- Well Insulated flame-resistant outdoor cooking or welding gloves
- 2 Large Charcoal Chimneys
- A Large Ash Can to safely dispose of your hot charcoal
- A campfire pit to set it up
- A fire extinguisher
- A completely thawed raw 20-25 lb turkey
- Salt/Pepper/Favorite Seasonings
- An Instant Read Probe Thermometer
Prepare your Turkey
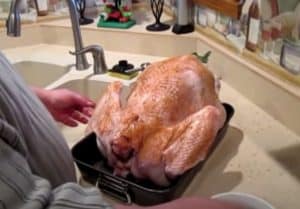
Remove your turkey from the cooler or refrigerator and place it in a large foil pan.
Wash, rinse, and pat it dry and remove the neck and giblets from the cavity.
Season the inside and outside well with salt, pepper, and any other BBQ seasonings you enjoy.
You can pin the wings and tie the legs if you wish you keep them from drying out.
Let the turkey continue to dry and for the seasonings to permeate the meat while you prepare your trash can cooker.
Set up your Cooking Area and Light your Charcoal
First, you need to set up your campfire area for your garbage can turkey.
Make sure to clear any debris or other flammable materials and preferably set up on a clean dirt or gravel bed.
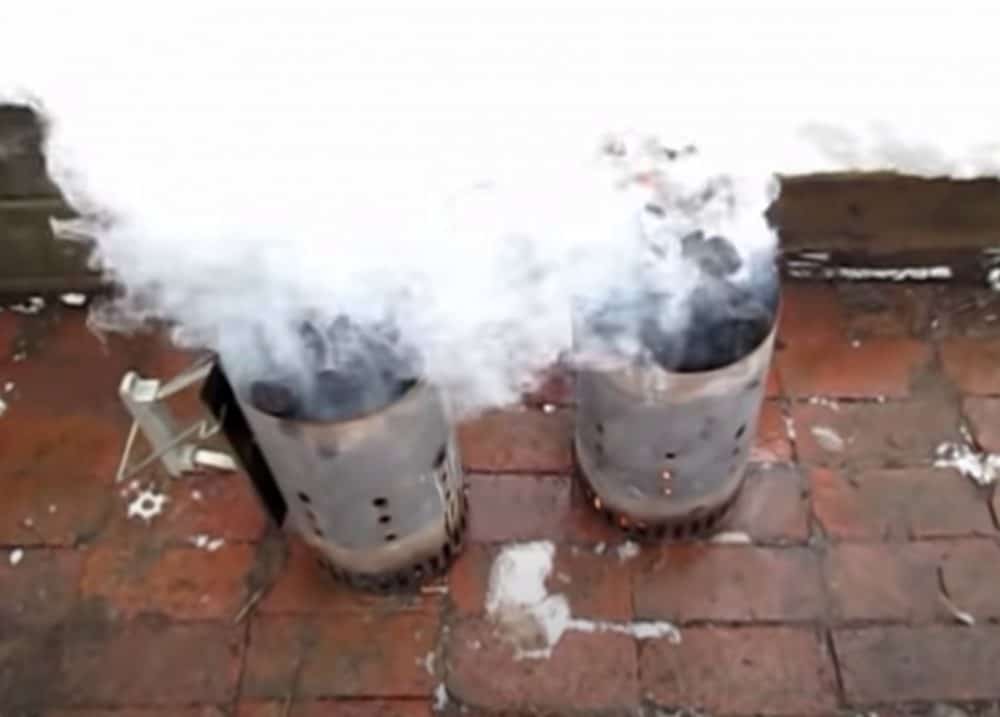
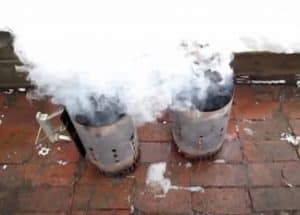
Light two large charcoal chimneys full of charcoal. These will take about 20 minutes to fully heat up.
If you only have one chimney or smaller chimneys, you can light your charcoal in batches and then add it to the unlit charcoal around the base and on top of the trash canister.
Don't own a charcoal chimney? Check out some of our favorite methods for making your own DIY charcoal chimneys.
Set up your Trash Can Cooker
While your charcoal chimneys are lighting, you can set up your trash can cooker.
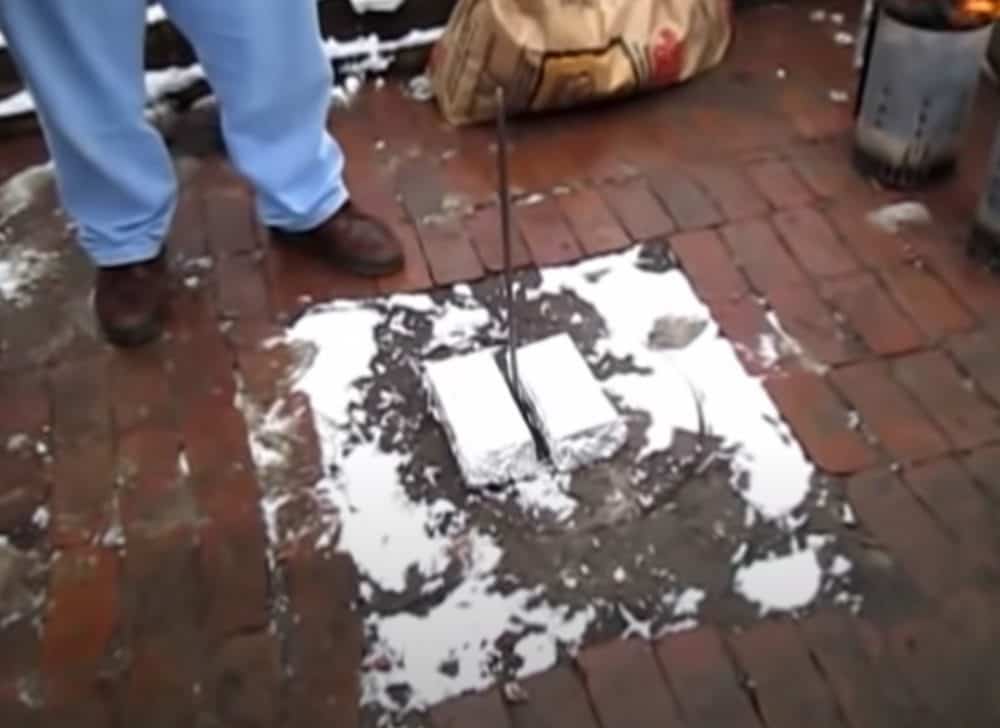
In the center of your cooking area, push your rebar stake into the ground so that it is sturdy and sticks out of the ground lower than the height of your trash can.
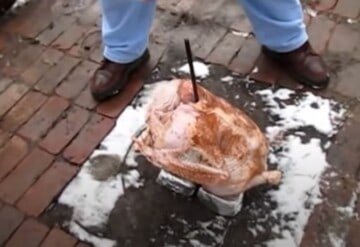
Wrap your 2 bricks in aluminum foil and place them on either side of the stake. These will keep your turkey off the ground after you position it on the stake.
Position the Trash Can Turkey
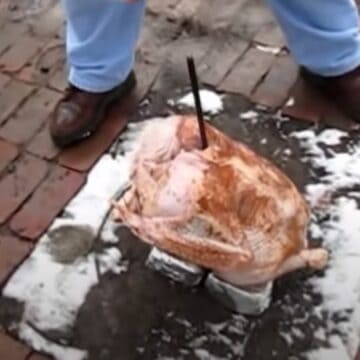
Slide your turkey down the metal stake through the neck cavity and position it sitting upright on top of the foil wrapped bricks.
Place your metal trash can upside down over your turkey so that the bottom of the can is facing up and is now the “top”.
According to the guys at howtolou.com, because the inside of the trash can will get so hot, likely up to 700 degrees, you do not want any air leaks while it's cooking.
This may result in flare ups and your turkey could even catch on fire.
Use your shovel to push some dirt around the bottom perimeter of the can and create a nice seal.
Spread the Hot Charcoal
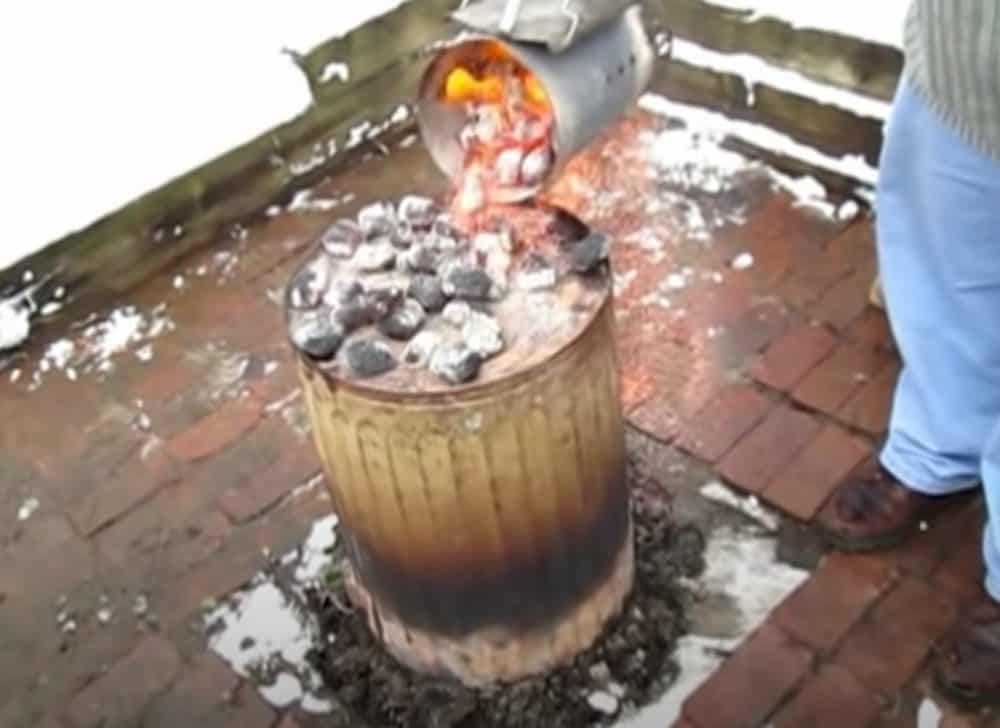
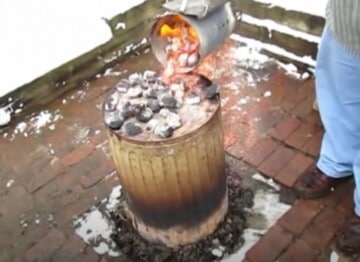
Place the metal lid upside down on top of the trash can so it resembles a dinner plate. This will be where you place some of your hot coals.
Using the lid rather than placing the hot coals directly on top of the can makes them much easier to remove later when you are retrieving your turkey.
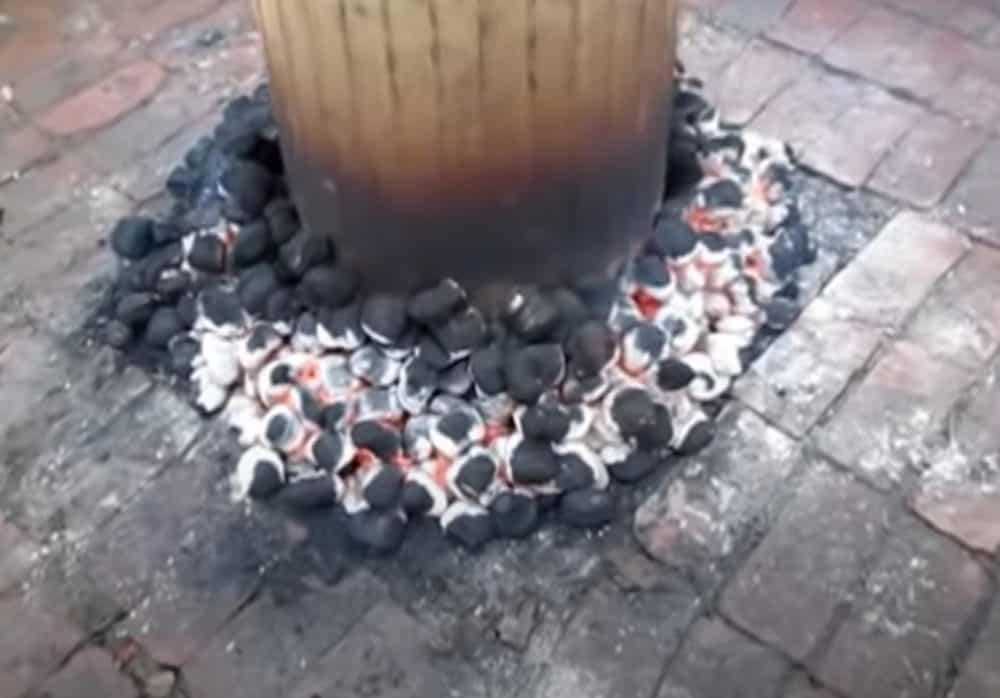
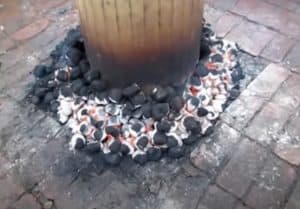
Wearing your flame-resistant gloves, go get your now fully lit charcoal chimneys and spread one batch around the base of the can.
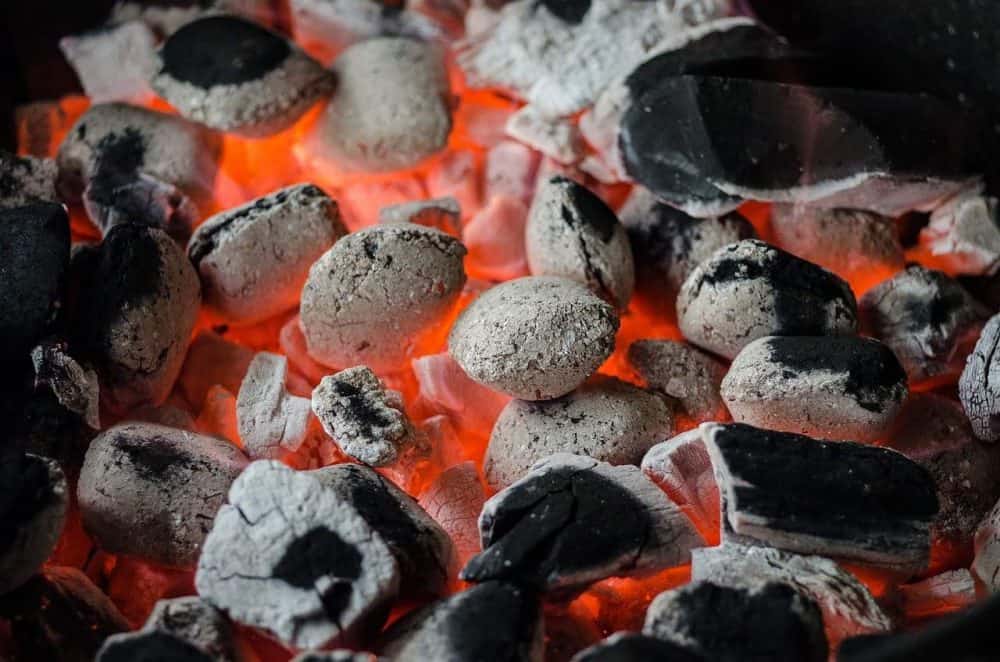
Then, using a metal shovel, spread some more unlit coals on top of the lit ones and push them all up against the sides of the trash can.
These other coals will start to ignite and smoke. This is normal.
Shake out the second batch of lit coals gently on top of the overturned trash can lid.
Do not pour on so many that they are falling off or that they will make the lid difficult to pick up and move later.
If you need more, add some more unlit coals here as well.
How Long Does it Take to Cook a Trash Can Turkey?
Now, you just have to wait for the inside of your trash can to heat up and for the turkey to cook!
Resist the urge to check on your turkey as you will lose the air tight seal you created, possibly resulting in a flare up. This will also significantly increase your cooking time.
You can add more unlit charcoal to the top and the base if you feel you do not have enough.
A 20-25 lb. trash can turkey will take roughly 2 hours to cook.
However, other variables such as wind, outside temperature, humidity, the size of your turkey, the size of your trash can, the quality if your air seal, and the amount of hot charcoal used will all play into your cook time.
Removing the Turkey from the Trash Can
Prepare the area where you are going to move the hot trash can and lid once you remove them from around the turkey.
Make sure there is no debris or flammable material.
Be extra cautious when removing the lid and can as they are EXTREMELY hot.
Only do this part while wearing high heat and flame-resistant outdoor cooking gloves, and even then, minimize the amount of time you need to touch the can and lid as much as possible.
Do not attempt this with conventional household cooking mitts!
For best results, put a sheet of aluminum foil between your gloves and the metal lid handles to keep your gloves from sticking to the hot metal. Place the lid and hot coals aside.
Use the same technique with gloves and foil to remove the metal trash can itself and also to slide the hot turkey up off the stake and into a large aluminum pan.
At this point the turkey should be done, but make sure to check it with an instant read thermometer.
The middle of the thigh meat should read at least 175 degrees and the breasts should read 165 degrees.
Clean Up
Make sure to safely dispose of your hot charcoals after you have removed the turkey from the cooking area.
Do not cover them with dirt or leave them scattered and unattended at your campsite. The best practice is to shovel them into an aluminum ash can and cover with a lid to extinguish over a 24-hour period.
Enjoying your Garbage Can Turkey
After removing the trash can turkey from the cook area and checking for doneness, let the turkey rest for about 20-30 minutes before carving into it.
This will help the juices dissipate evenly and make it easier to carve while retaining moisture.
We recommend using a long slicing knife and cutting in long even strokes while holding the bird with your other hand while wearing insulated carving gloves. (Do NOT use these types of gloves to handle the hot metal trash can outside, these are for food prep only).
- IMPECCABLE PERFORMANCE: The long, ultra sharp blade is engineered to deliver highly precise cuts with minimal effort.
- PROFESSIONAL DESIGN, SUPERB QUALITY: Most desirable length by professionals. Sharp blade with premium stainless steel engineered to excel on all cuts of meats, including big roasts. It is also designed to last.
Depending on the size of your crowd, your best bet is to carve only what you need to eat initially rather than carving the entire bird.
Once the bird is completely cooled you can carve the rest to store for later. This will help the turkey retain the most moisture.
📖 Recipe
Trash Can Turkey
Equipment
- 1 Large Clean Metal Trash Can with Lid
- A Large Clean Metal Stake or Rebar
- Aluminum Foil Pans
- 1 Bag Charcoal
- 1 Charcoal Chimney
- Lighter
- 1 Long Handled Metal Shovel
- Heat Resistant Welding or BBQ Gloves
- Instant Read Thermometer
- 1 Aluminum Ash Can
- 2 Bricks
- Fire Extinguisher
- Insulated Carving Gloves
- Long Carving Knife
Ingredients
- 1 Whole Raw Turkey Preferably 12-15 lbs
- ½ Cup Kosher Salt
- ¼ Cup Fresh Cracked Pepper
- Your Favorite BBQ Poultry Rub (optional)
- Cooking oil (optional)
Instructions
Burn off Chemicals Inside Trash Can
- Burn a batch of charcoal or firewood inside your clean metal trash can the day before you make your turkey. This will burn off any chemical residue on the innside
- Empty the cooled ashes into a fire safe ash can and then clean the inside of your trash can again.
Prepare the Turkey
- Remove Turkey from the refrigerator and remove any giblets or other items from the cavity
- Trim off any excess skin around the cavity.
- Wash, rinse, and pat dry your turley on the inside and outside.
- Season the inside and outside well with salt and pepper and any other seasoning you wish to use such as a BBQ rub. Use a small amount of cooking oil such as Canola or Olive to help it adhere if you wish.
- Pin the wings and tie the legs to keep the from burning and drying out.
Light Charcoal and Prepare the Cooking Area
- Make sure to clear any debris or other flammable materials and preferably set up on a clean dirt or gravel bed.
- Light two large charcoal chimneys full of charcoal. These will take about 20 minutes to fully heat up. You can move on to the next step while waiting for this.
- In the center of your cooking area, push your rebar stake into the ground so that it is sturdy and sticks out of the ground lower than the height of your trash can.
- Wrap your 2 bricks in aluminum foil and place them on either side of the stake. These will keep your turkey off the ground after you position it on the stake.
Position the Turkey and Cover with Trash Can
- Slide your turkey down the metal stake through the neck cavity and position it sitting upright on top of the foil wrapped bricks.
- Place your metal trash can upside down over your turkey so that the bottom of the can is facing up and is now the “top”.
- Use your shovel to push some dirt around the bottom perimeter of the can and create a nice seal.
Spread Charcoal
- Place the metal lid upside down on top of the trash can so it resembles a dinner plate. This will be where you place some of your hot coals.
- Wearing your flame-resistant gloves, go get your now fully lit charcoal chimneys and spread one batch around the base of the can.
- Then, using the metal shovel, spread some more unlit coals on top of the lit ones and push them all up against the sides of the trash can.
- Shake out the second batch of lit coals gently on top of the overturned trash can lid. Do not pour on so many that they are falling off or that they will make the lid difficult to pick up and move later.
Cook the Turkey
- Resist the urge to check on your turkey as you will lose the air tight seal you created, possibly resulting in a flare up. This will also significantly increase your cooking time.
- Cook the turkey for about 2 hours under the hot trash can
- Variables such as wind, outside temperature, humidity, the size of your turkey, the size of your trash can, the quality if your air seal, and the amount of hot charcoal used will all play into your cook time
Remove the Hot Trash Can, Lid, and Turkey
- Prepare the area where you are going to move the hot trash can and lid once you remove them from around the turkey.
- Using only high heat resistant welding gloves, put a sheet of aluminum foil between your gloves and the metal lid to keep your gloves from sticking to the hot metal. Place the lid and hot coals aside.
- Use the same technique with gloves and foil to remove the metal trash can itself and also to slide the hot turkey up off the stake and into a large aluminum pan.
Check Temperature
- Check the internal temperature of the turkey with an instant read thermometer. The middle of the thigh meat should read at least 175 degrees and the breasts should read 165 degrees.
- If needed, place the roasting pan with the turkey into a 325 deg oven until it is done. DO NOT attempt to set the trash can cooker back up as this will be too dangerous with the hot can and lit coals.
Clean Up
- Make sure to safely dispose of your hot charcoals after you have removed the turkey from the cooking area
- Do not cover them with dirt or leave them scattered and unattended at your campsite. The best practice is to shovel them into an aluminum ash can and cover with a lid to extinguish over a 24-hour period.
Serve Turkey
- After removing the turkey from the cook area and checking for doneness, let the turkey rest for about 20-30 minutes before carving into it
- Use a long slicing knife and cut in long even strokes while holding the bird with your other hand while wearing insulated carving gloves.
- Serve immediately with your favorite gravy and sides!





Bill says
I've done this with my scout troop, it's a lot of fun and cooks the turkey fast!
Chuck Peters, Rolla MO says
Did a test run before Thanksgiving and have to say this was A LOT of fun with my 10 year old son. Turkey came out great, I was a bit skeptical to be honest. Thanks for the step by step directions for us old timers!