Learn how to grill hamburgers on a Weber gas grill, an American staple food on an American built product!
We also cover what makes Weber gas grills so popular, and how to spice up your next backyard BBQ with some interesting takes on the classic hamburger.
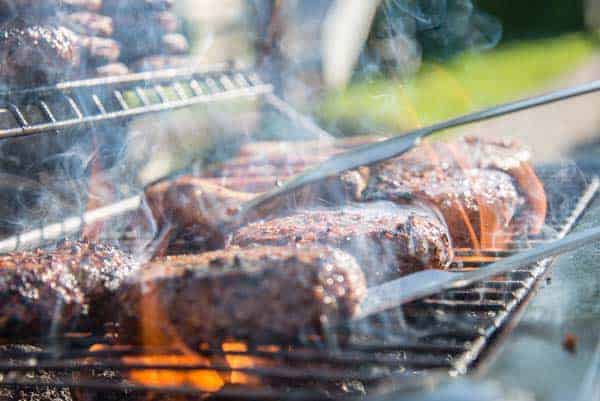
The hamburger is a staple for any backyard barbecue, and the ability to grill quality hamburgers on a gas grill is essential for any budding outdoor chef or food enthusiast.
In this article, we’ll provide simple instructions on how to grill the perfect hamburger on a Weber gas grill, a brand we’ve chosen due to their extensive experience in barbecuing and grill manufacturing.
We’ll provide the basic method for grilling hamburgers as well as useful tips and flavor inspiration to help you get creative with your food.
About the Weber Brand
Weber dates back to 1952 with their invention of the kettle barbecue.
Now a leading brand in the grill manufacturing industry they continue to innovate, particularly when it comes to their popular gas barbecue range which is designed with convenience and precision control in mind.
Their confidence in the durability of their products is backed by a 10-year warranty and a 10-year parts guarantee that covers all components of their grills.
You can also register your barbecue on their website to speed up the warranty claims process if something should go wrong.
Weber 45010001 Spirit II

The Benefits of Using a Weber Gas Grill
Gas grills are a popular choice among barbecuers, as they conveniently run on either natural or propane gas.
For the last-minute gatherings or unexpectedly warm evenings, gas grills are quicker and easier to get started compared to their charcoal brethren, so you won’t have to wait long before you can dive into your burger.
The only drawback to gas grills is that they can be more expensive than grills fueled by charcoal, especially depending on size and added features.
Weber Gas grills also tend to be a little more expensive than some of their similar-sized gas powered competitors, however, they are built to last, hence why they are backed with that 10 year warranty.
If you refer to watch rather than read...here's a great video from Tom Horseman overviewing how to grill hamburgers on a Weber Gas Grill.
Preparing your Hamburgers
If you enjoy thick, juicy burgers like the kind served in restaurants that you won't need to worry about drying out, go with 70% Lean (meaning 30% fat) ground chuck.
If you want your burgers to taste a little less fatty, you can opt for the 80/20 instead. Anything less than 20% fat and your burgers will likely be dryer than what you and your guests are used to.
Ground chuck is taken from the shoulder of the cow and has a higher fat content than other types of ground beef, guaranteeing that authentic juicy taste.
Form
To form your burgers, roll the ground beef into balls and use your hands to flatten them into patties that are approximately 1-inch thick and slightly bigger than the buns you’re using as to allow for any shrinkage during cooking.
If your patties are too thick, they might not cook well enough in the center before the outside burns, but if they’re too thin they could overcook or potentially burn.
Contrary to how you might drool over a thick-cut filet mignon, a thicker burger isn't always better.
You need to consider the ratio of exterior (crusty, charred, flame-grilled) to the interior (Just cooked ground beef).
If you make your burgers TOO thick they may end up tasting more like meatballs or meatloaf. NOT what we are going for here.
Poke a small depression in the middle of each patty with your thumb to avoid your burgers from swelling in the center while they cook, making it easier to pile your toppings high.
Seasoning
Next up, seasoning!
This is such an important step in cooking any meat, but under-seasoning is a surprisingly common error in cooking hamburgers.
Make sure to work a generous amount of salt into your ground beef before forming your patties so that the meat is seasoned all the way to the center.
There is nothing worse than biting into a bland, underseasoned burger.
You can use pretty much anything else to season the outsides of your hamburgers, depending on the style you are going for. You can play with spicy cajun or garlic seasonings, or even your favorite BBQ rub.
If you want to be more adventurous, ingredients like paprika and cayenne pepper will give a kick to your burger, and pair nicely with toppings such as roasted red peppers, tomato, and fried onions.
Grilling your Hamburgers
Clean the Grill
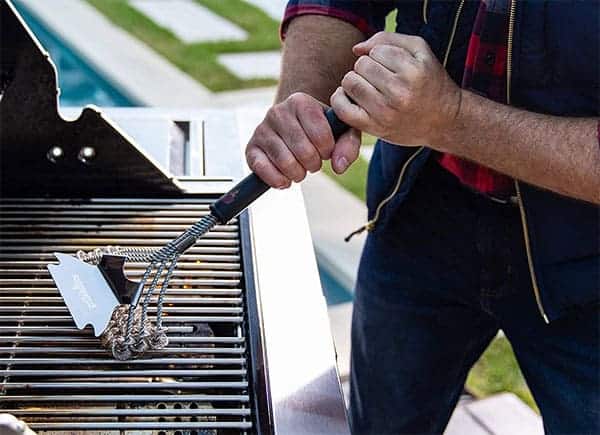
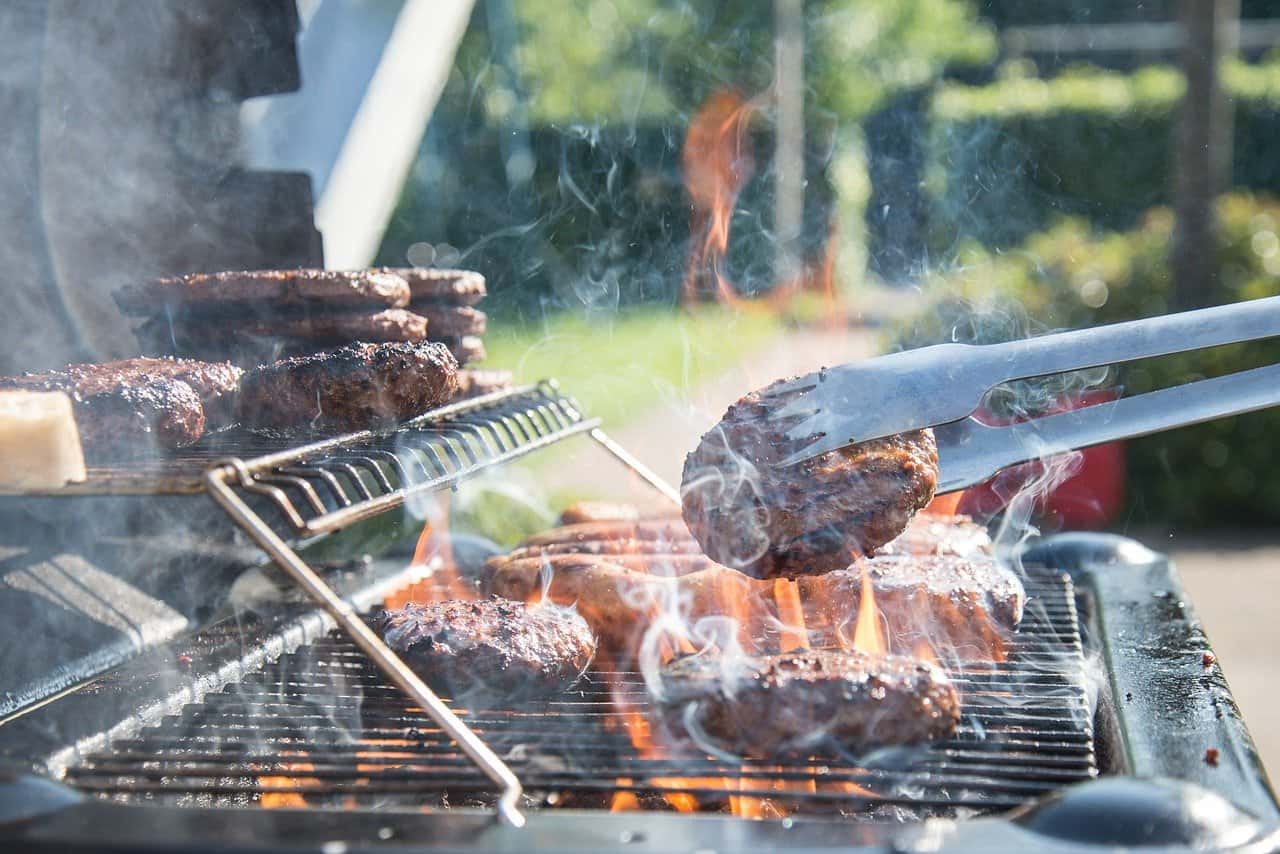
Prepare the grill by opening up your gas valve, then lighting every burner and turning them up to high heat.
Let it run with all the burners at full blast for about 5-10 minutes to clean off any remaining food residue from the last time you cooked.
Use a good bristle free grill brush to clean the grates after this.
Keep the burners you need for your burgers on High and turn the others off.
Oil
Apply a small amount of oil to each side of your burgers, either with spray or an easy to clean silicone basting brush and place them gently over the direct heat on the grill.
Do not brush or spray the grill grates directly with oil as it will instantly smoke and burn off, and spraying oil directly into the flames could cause a serious flare up and injury to you.
It is always better to apply oils to the food, not the grill, when cooking at high temperatures.
No Pressing!
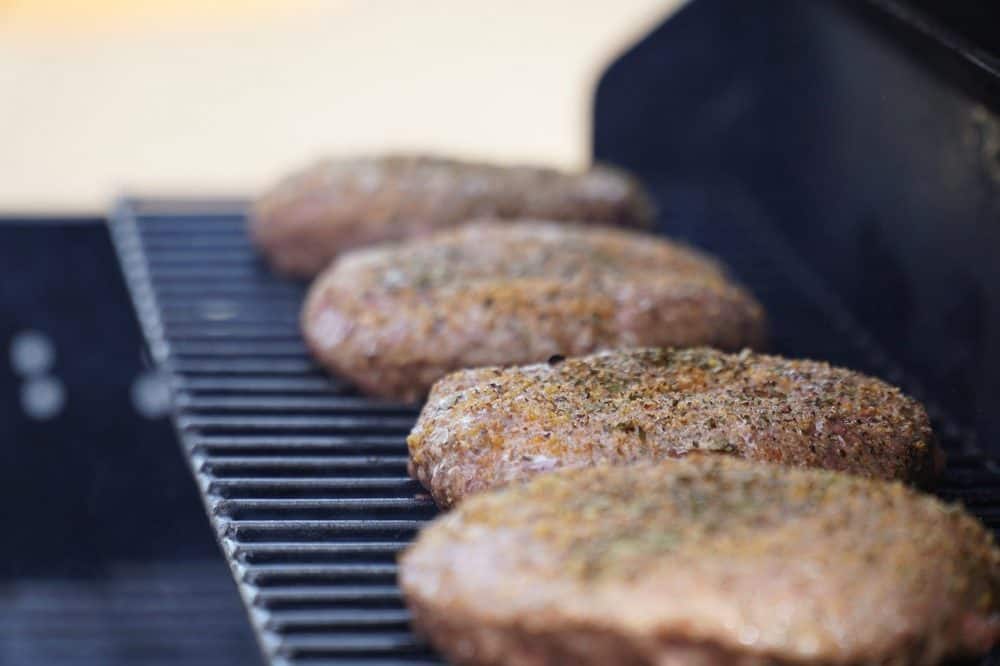
As tempting as it can be, resist the urge to use your spatula to exert any downward force on the burger.
Unlike cooking on a flat top grill where the burger cooks in its own juices, on a Weber, any juices you press out are lost forever into the depths of your grill.
So treat your burgers like the precious meat balloons that they are. No pressing!
Flipping
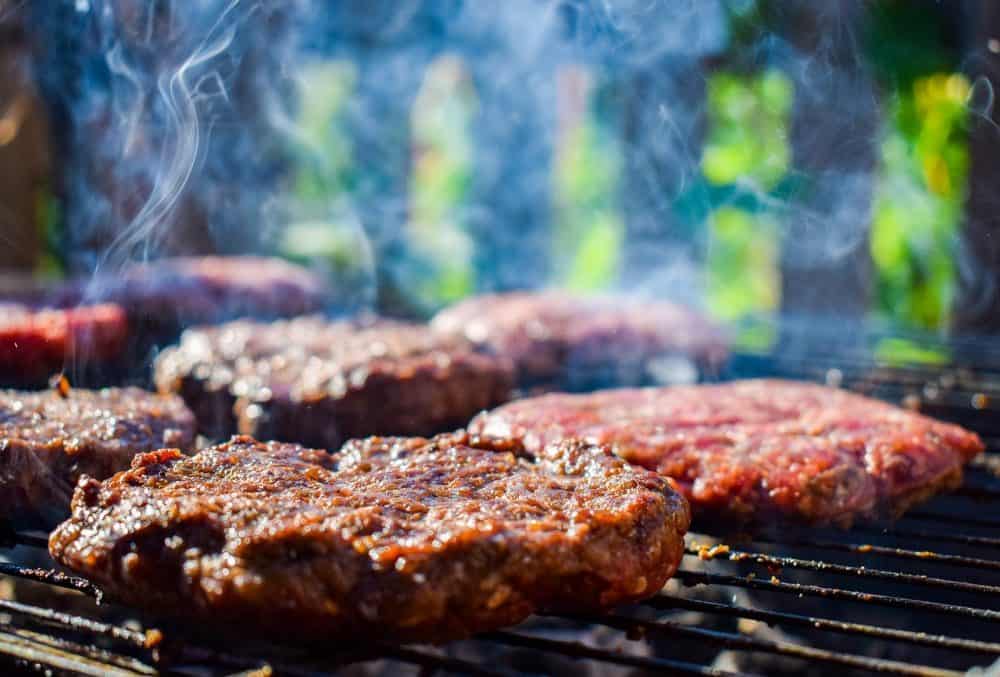
Similarly, try to avoid flipping your burgers until they’re ready.
You’ll know by gingerly lifting the edge of the burger from the cooking grate - if there’s any resistance then it might need another minute or two, but if it doesn’t stick to the surface as you pry it away, it’s likely ready to be flipped over.
Doneness
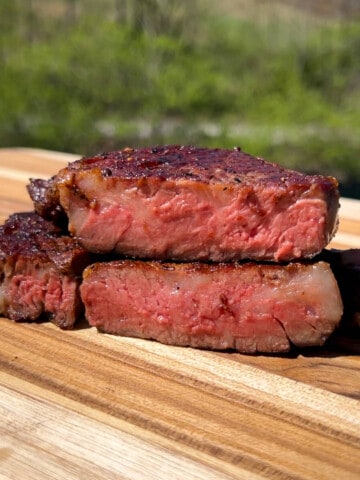
Some people enjoy their burgers pink in the middle, or cooked "Medium". Be aware that this comes with a higher risk of food poisoning.
Unlike steaks, where the middle of the steak has never been exposed to surface bacteria, and can therefore be consumed medium or medium rare, ground meat has touched MANY surfaces and picked up LOTS of bacteria along the way, both inside and out.
So whenever you are cooking ground meat, it's always better to err on the side of caution and cook your burgers until the internal temperature reaches a food safe level.
The USDA recommends cooking your hamburgers until they reach an internal temperature of 160 deg F using an instant read cooking thermometer.
Once you’re happy that the burgers are cooked through, and this should take approximately 3-5 minutes on each side depending on thickness, remove the burgers from the grill.
At this point, your mouth is probably watering (so is ours just thinking about it!) but try to let the burgers rest for at least a couple of minutes before serving, as this will redistribute the juices into the meat to infuse maximum flavor in every mouthful.
Assembling the Burgers
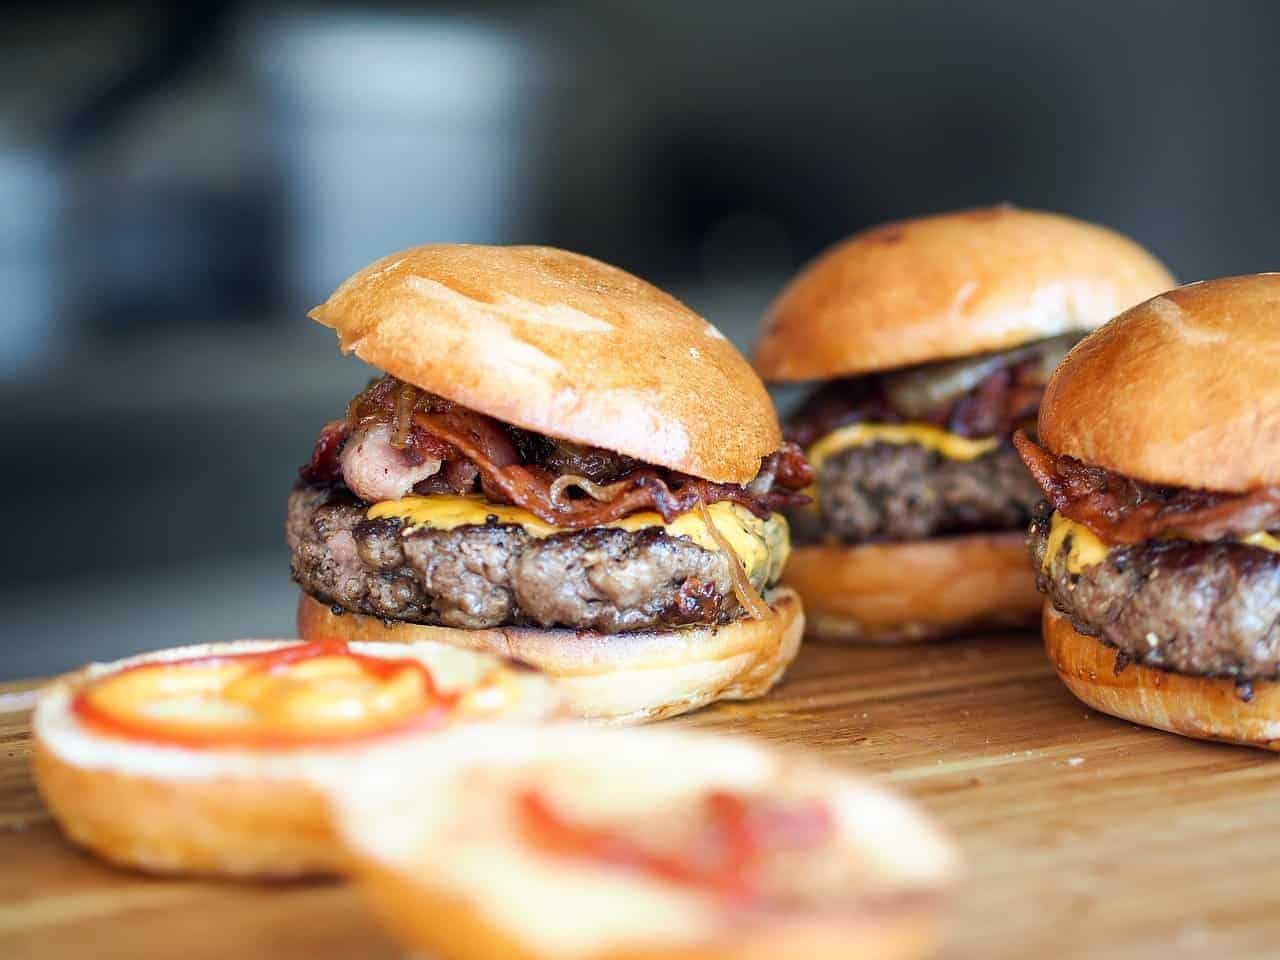
Now, this is where you can really get creative, as there are endless combinations of toppings you can choose to top your burger with!
Condiments like ketchup, mustard, BBQ sauce or mayo can add a cooling touch to burgers that have been seasoned more adventurously.
Optional Topping Ideas Include:
- Cheese - American, Cheddar, Mozzarella, Feta, and Swiss are all tasty options. Add the cheese in the last 2 minutes of cooking (with the lid closed) if you want it melted on top.
- Onions, which can either be caramelized or crispy-fried for added texture
- Why not top meat with meat and add some bacon or pulled pork to your burger?
- Lettuce or tomatoes can bring a light, fresh element to your burger.
- Avocado. Fried Eggs. Sriracha. Go for it.
You are Monet and the hamburger is your canvas. Create!
For an extra level of sophistication, spread a layer of butter on each side of your buns and place them on the Weber grill warming rack for 1-2 minutes until they are toasty.
Place your burger on, stack your toppings, and enjoy!
Cleaning your Weber Gas Grill
And there you have it, all the information you need on how to grill hamburgers on a Weber gas grill.
All that’s left now is the cleaning up, which sounds like our cue to leave...
Just kidding.
Just like when you prepped the grill earlier, crank the heat back up for a few minutes and use a quality bristle free grill brush to clean the cooking grates, removing all residue including around the outside of the barbecue.
The outsides can be wiped down using any type of cloth and you can purchase Weber’s own brand cleaning products to get the job done well.
Make sure to put the cover back on too. If you don't have a cover for your Weber grill yet, check out this review article we did not too long ago.
You'll thank yourself next time you head out to fire it up again.
Which we are guessing won't be too long!
What Other Food Can I Grill and Smoke?
Looking for some more BBQ inspiration?
Check out some of our other great recipes of smoked and grilled food to try out at your next outdoor BBQ!
- Smoked Fresh Ham with Dark Rum Citrus Glaze
- Smoked Leg of Lamb with Guinness Marinade
- Smoked Bratwurst
- Grilled Bratwurst
- Smoked Gouda Cheese
- Smoked Oysters
- Hamburgers
- Pellet Grilled Steak
- Pellet Grill Turkey
Trash Can Turkey - OK, technically not made on a grill but one of the most fun ways there is to cook a Turkey...at over 700 degrees in only 2 hours! You've got to check it out!
📖 Recipe
Weber Gas Grilled Hamburgers
Equipment
- Weber Gas Grill
- Long Handled Bristle Free Grill Brush
- Long Handled Spatula
- Instant Read Food Thermometer
Ingredients
- 1 lb 70/30 Ground Chuck
- 4 tablespoon Cooking Oil
- 4 tablespoon Butter
- Salt, Pepper, and other seasonings
- Buns, Cheese, and Toppings
Instructions
- Open gas valve and turn on all burners to HIGH heat
- Let run for 5-10 minutes to burn off any residual food and then scrub with a good bristle free grill brush until grates are clean.
- Meanwhile, season your ground hamburger meat with salt and pepper throughout.
- Divide and form the meat into 4 balls and then press down into patties that are about 1 inch thick and the diameter of the hamburger buns.
- Season the outsides of the patties with salt, pepper, and any other chosen seasonings, then brush with cooking oil on both sides.
- Place the burgers directly on the grill over HIGH heat. Resist the urge to press down on the burgers or flip them too soon.
- After about 3-5 minutes, gently check the underside of the burgers that they have turned dark brown and crisped up and then flip them over.
- Cook an additional 3-5 minutes or until the internal temperature reads 160°F on an instant read thermometer.
- If you wish to add melted cheese, place the cheese on the burger during the last 2 minutes of cooking.
- Remove the burgers from the grill and let them rest uncovered on a plate.
- Spread butter onto the insides of the burger buns and place them on the warming rack of the Weber gas grill for about 1-3 minutes until toasted. Remove from the grill.
- Turn your burners all back up to high, let run for about 5 minutes and the scrape the grates again to clean with your bristle free grill brush.
- Turn off your Weber grill and close the gas valve.
- Assemble your burgers with your favorite toppings and condiments and enjoy!
- Replace your Weber gas grill cover when the grill has cooled completely.

Paul says
Never thought about the "no pressing"...makes sense though, thanks!