Learn the best techniques for how to light a Solo Stove. Whether you have a Bonfire, Yukon, Ranger, or Camp Stove, we've got you covered.
Let's Go!
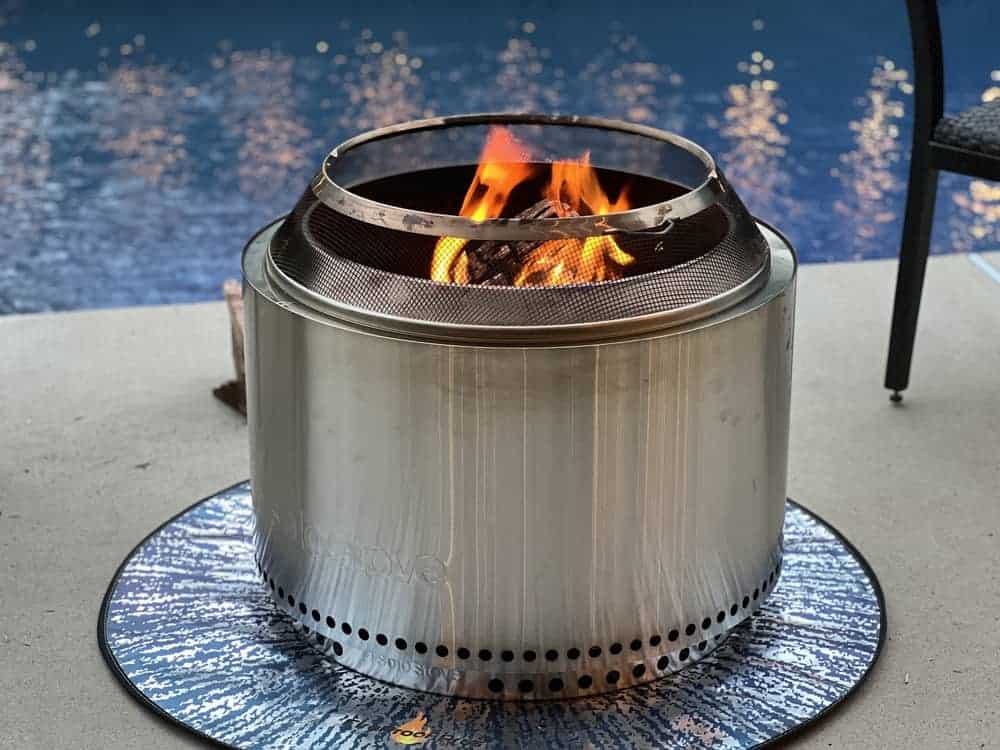
The Solo Stove has become a revelation and an innovation in fire pits, and it's easy to see why.
This stainless steel stove is good-looking and robust and brings the versatility of cooking and warming in a compact, sleek design, but how do you light one?
Lighting the Solo Stove Bonfire requires some small sticks to get the fire going and then adding to them as they burn to build up the fire.
You can stack the logs inside the fire pit in a pyramid-style configuration to not cover the air vents found at the bottom of the fire pit.
With the Solo Stove, there are some additional steps to take before lighting it up, so let's look at some more detail and some wood recommendations to get the best out of your Solo Stove Bonfire.
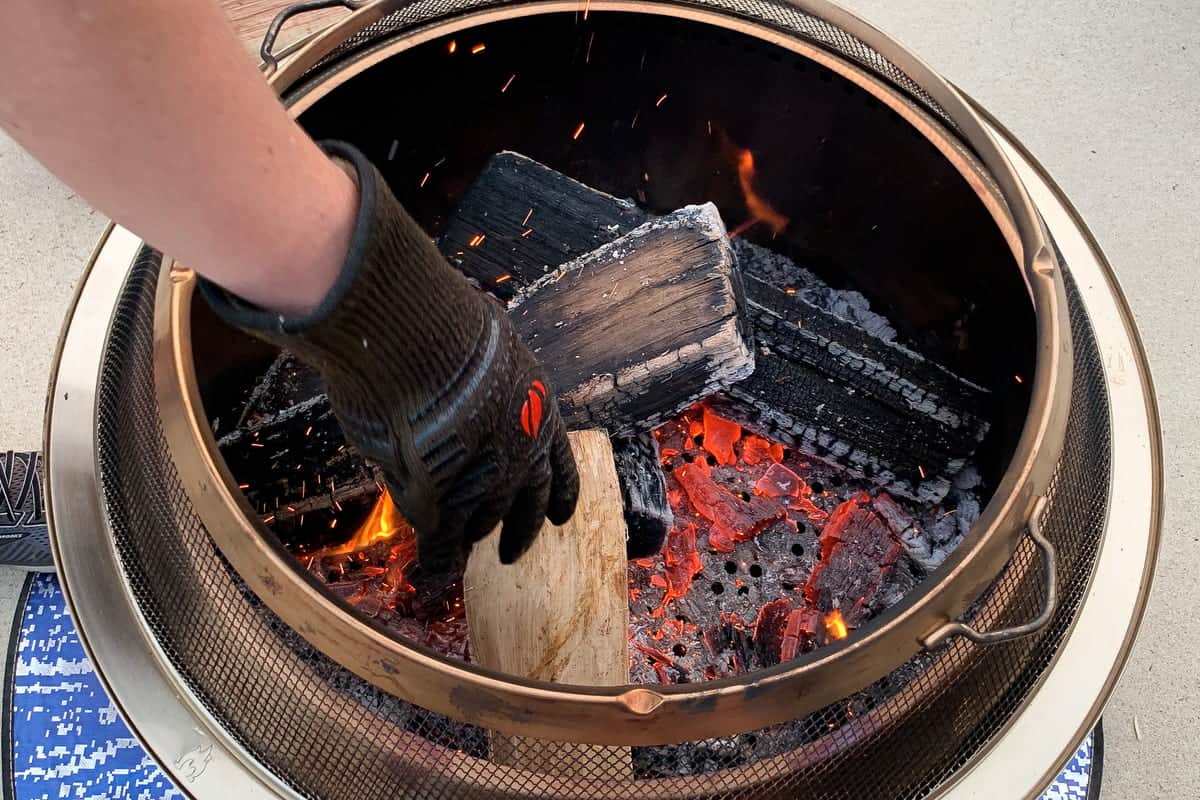
Make sure you have a good set of heat resistant gloves before you get started, as the Solo Stove can get very hot. These gloves go up to 1472°F!
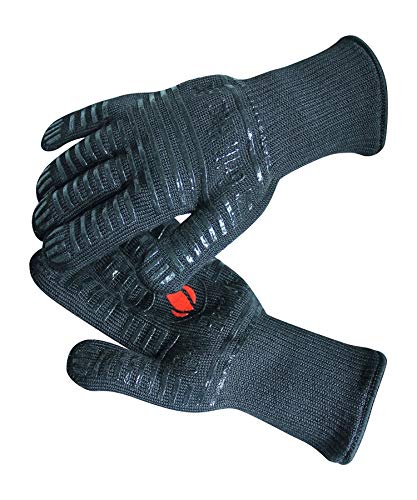
- 🔥 INDOOR & OUTDOOR USE: Our mitts can be used for whatever wherever whether thats indoors keeping you safe while making your significant other by cooking them an intimate meal. This allows you to focus on cooking rather than worrying about hurting yourself. Which then makes your partner happy meaning you will be happy. The Gloves can also be used outside on the BBQ such as on 4th of July making sure your celebrations dont get cut short from burning yourse
Thinking about buying a new Solo Stove Fire Pit or Camp Stove?
Make sure to check out our Ultimate Comparison Guide to Solo Stoves first!
Need help putting out your Solo Stove? Check out How to Put Out a Solo Stove the RIGHT Way for some helpful hints. A Solo Stove Lid is very useful for this!

- 304 STAINLESS STEEL- Just like Bonfire, Lid is made with durable 304 stainless steel
- PROTECT- Lid should not be used to snuff out a fire but to cover your warm fire pit at the end of a b
Jump to:
Place Your Solo Stove Bonfire On Level Ground Before Lighting
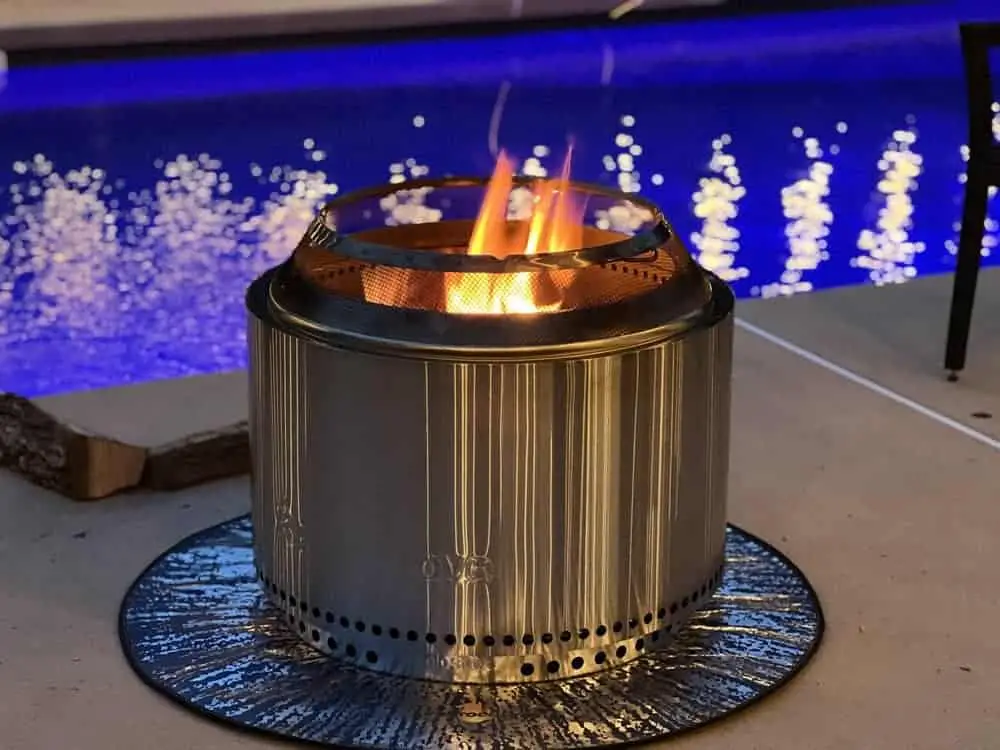
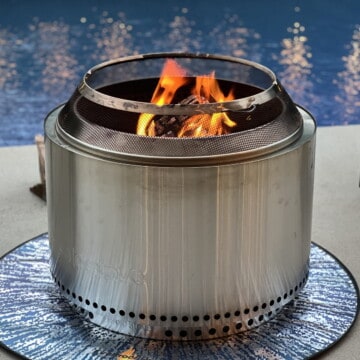
Before even thinking about lighting your Solo Stove Bonfire, find some level ground to place it on, preferably concrete or other fire-proof or fire-resistant surfaces, not grass.
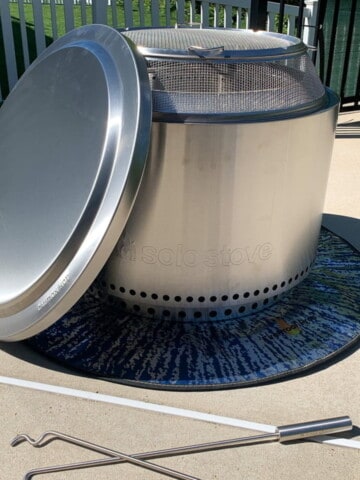
We place our Solo Stove on top of a protective mat.

- 6x Thicker: It’s natural to wonder if a regular 1mm firepit mat has enough thickness to protect your grass, cobbles or timber. Afterall it seems really thin! And, in most cases you’d be right. But because we’re the original Fireproof Pros, our mats are always 6.0mm thick for pro fireproof protection!
- 3 Layers - Blocks 95% of Heat! The top layer of our firepit pad is aluminium-fiberglass to reflect 95% of all searing heat. The middle layer is 5mm fiberglass infused cotton that diffuses the remaining 5%. And the bottom silicone coated layer works with the other 2 layers to prevent “scorched eart
Having your Bonfire level also allows you to use the Solo Stove Stand and boost the airflow from the bottom.

The Solo Stove relies on its air vents to produce the fire pattern and warmth these products are famous for, so a level surface will allow good airflow.
Plus, placing any fire on an uneven surface is inherently dangerous as it could quickly capsize, spilling burning fuel across the ground and increasing the risk of burn injuries to people around the fire, as well as creating secondary fires in the immediate vicinity.
Video
Rather WATCH than read? Check out our step-by-step YouTube video to see for yourself How we light a fire in our Solo Stove fire pit.
Clear Away Debris Before Lighting Your Bonfire
When lighting the Solo Stove Bonfire, it is always advisable to clear the area surrounding the fire of flammable debris like leaves, twigs, and dry grass.
You can use these in your Bonfire to start if you like, but always clear the area before lighting the fire.
While Solo Stoves are designed to burn cleanly and reduce ejecta from the fire, you never know, and tiny burning embers or bits of wood may be cast out of the fire as it starts to burn higher.
If they land on dry grass or leaves, they could ignite them, and you'd be facing a much larger fire than you might have wanted, so be safe first before fun.
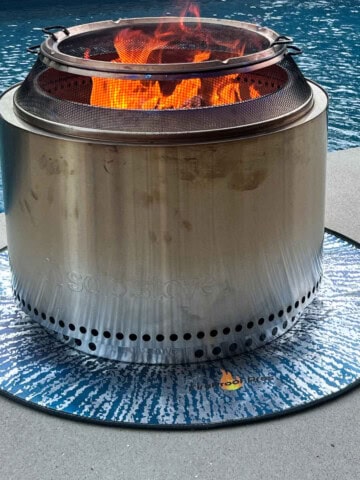
We use a Solo Stove Shield and Screen on top of our solo stove to help prevent any embers from hitting people and pets.

- SIMPLE & EASY TO USE DESIGN - Removable upper section of the shield is detachable and can be easily removed by itself, allowing you to add more wood to your fire pit without having to remove the entire fire pit accessory.
- IMBEDDED GROOVES - The Shield grooves create a simple yet sturdy spot for your roasting sticks to rest while you sit around your Solo Stove fireplace.
The screen and shield are easily removable, but make sure to have a surface ready for the hot screen or shield, as heat could damage your concrete or grass. We use a large oil drip pan.

- Dimensions: 47” x 25” x ½” / 120 cm x 64 cm x 13 mm.Fit Type: Universal Fit
- Rust resistant, Galvanized Sheet Metal Construction
- Rugged, One-piece Heavy Gauge Mater
Remove The Cooking Ring For Easy Stacking
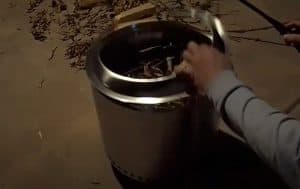
The Solo Stove Bonfire has a steel cooking ring on the inside of the cylinder, and removing this before stacking your wood will make it easier to add the fuel and get it to the right 'build' before you light your Bonfire.
Remove the ring and load the fuel as per the instructions below; then, once the fire is adequately stacked, you can replace the cooking ring before you light the fire.
Building Your Solo Stove Fire Base
Solo Stove themselves recommend the following method for all their stoves to produce an excellent firebase.
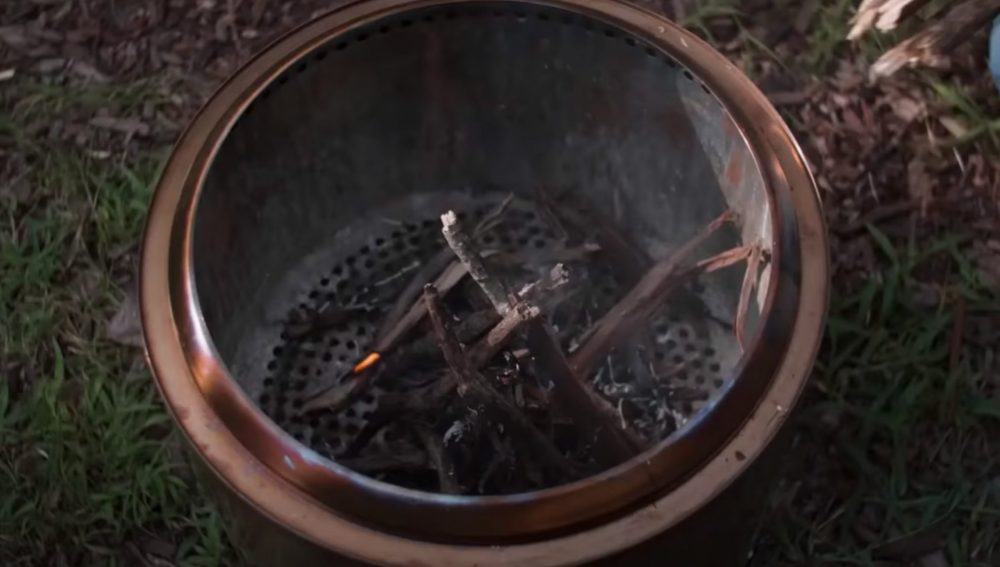
Start with a layer of 2" to 3" chunk wood across the fire pit base, and then add some fire starter cubes, or just dry twigs, leaves, and pinecones in the center of the Stove to assist with getting the chunk wood base going.
Once this is done, you move to the next stacking stage to get the clock face configuration for your Solo Stove Bonfire.
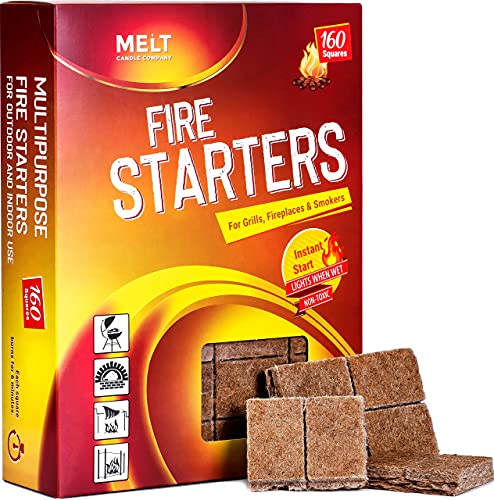
- SAFE TO USE - Not a fan of lighter fluid or electric torch? Made of wax and sawdust, our safe, natural fire starters are completely odourless and don’t emit any off-putting smell.
- BURN WHEN WET - Dont let rain put a damper on your good time! Our tumbleweed grill starter pack is weather-resistant and can burn for about 6 minutes even in damp conditio
The Clock Face Method for Lighting a Solo Stove Bonfire
This structure is designed to bring heat from the Stove center to the outer walls, creating better heat for the secondary burn.
Once you have the chunk wood base set up and have added the kindling and dry tinder, you can then add more bits of chunk wood and leaves or twigs in a pyramid shape over the chunk wood base.
If you need to cut some bigger logs into smaller kindling, we recommend using a Kindling Cracker.
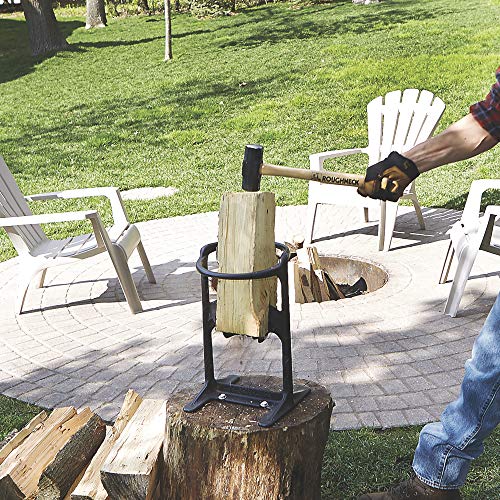
This nifty accessory will help you make some more kindling out of your bigger logs in no time using nothing but a small mallet.
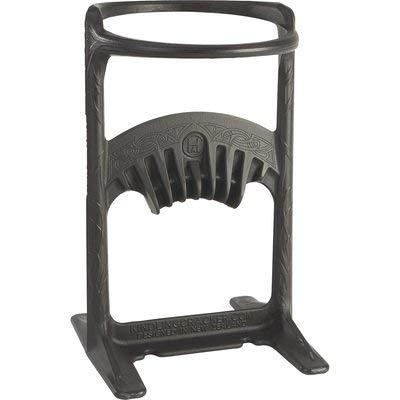
- A safe and easy way to make kindling with no moving blade or sharpened object passing by your hands
- Splits firewood with less force than a standard axe
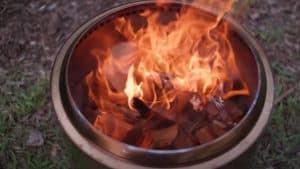
Now, add thicker pieces of either hardwood or more chunk wood in a clock face position and let them stack up into that pyramid shape over the first base layer.
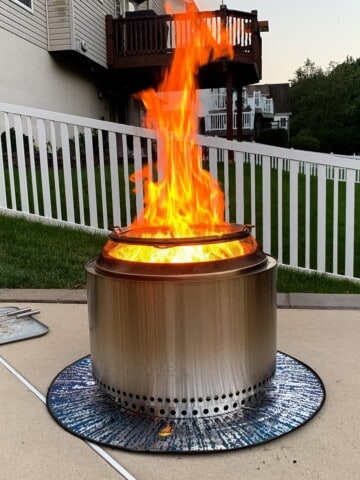
Once you ignite this, the flame will evolve into an intense burn and produce good heat and a good flame.
The Best Woods To Use For The Solo Stove Bonfire
Many people believe that you can use any wood for your Solo Stove Bonfire, and theoretically, this is true.
However, as more companies examine the better fuel options for the products, many recommend certain woods over others, and Solo Stove is no different.

So, here are some super simple tips on the best wood to use in your Stove.
Find And Use Dry Wood Wherever Possible
Yes, this seems like common sense, but some people will use wet wood, which leads to a lot of smoke and the fire taking longer to get going and to burn hot.
Wet wood is not ideal when it burns; the water is released as steam, increasing the risk of corrosion.
Use Hardwoods Whenever You Can
Hardwoods are the best fuel to use in a Solo Stove Bonfire as they burn hotter for longer and produce great charcoal if you are going to cook food on the Stove at some point.
Woods like maple, oak, hickory, and birch are the best to use as they burn longer than softwoods.
Also, hardwoods produce much less soot buildup, making the Stove easier to clean afterward.
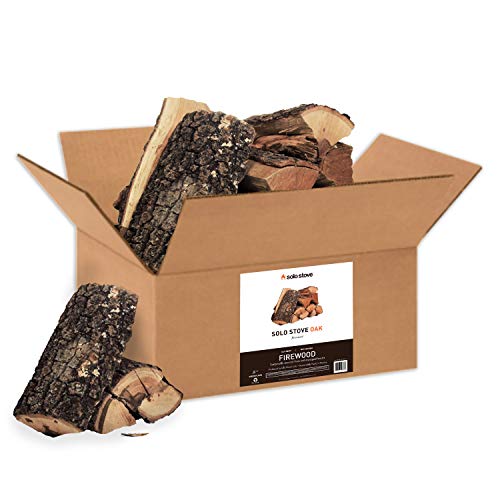
- OAK FIREWOOD: Our Oak firewood burns clean and produces a mild, earthy aroma for that classic campfire feeling.
- BURNS HOTTER AND LONGER: It is dense and contains more organic matter than other firewoods, allowing you to achieve a hotter fire to last throughout the night.
- KILN DRIED: Our Oak firewood is kiln-dried and sustainably sourced from well-managed forests.
The Verdict
Starting a fire in your Solo Stove Bonfire is pretty straightforward but slightly different from a conventional fire pit.
By following some essential steps and precautions, this process will become second nature over time and give your consistent quality burns from your Bonfire.
Now break out the S'mores supplies and get to enjoying your fire pit!

- FIRE PIT TOOLS - The log poker and log grabber are made with a unique angle that allows you to stoke the flame and add logs from a safe distance.
- ROASTING STICKS - For roasting marshmallows, hot dogs, and anything else you can skewer to cook over an open flame. Durable, functional, and crafted with Solo Stoves unmistakable design, our roasting sticks twist apart in the middle and include a carry case for easy stora
How to Light a Solo Stove
Equipment
- Solo Stove
- A Lighter or Matches
Ingredients
- Twigs, Paper or other Kindling or Solo Firestarter Cubes
- Dry Hardwood Chunks 2-3"
- Dry Hardwood Logs
Instructions
- Place your Solo Stove on its Ring Stand on a level surface.
- Clear away any debris around the fire pit.
- Remove the cooking ring.

- Build a base on the bottom grate of some 2-3" wood chunks and firestarter cubes or newspaper/kindling.

- Create a "Clock Face" on top of this base with 3-4 small dry logs pointing out towards the perimeter and meeting in the middle.

- Continue stacking logs one at a time as the wood chunks and larger logs begin to ignite.

- Replace the cooking ring if desired.


Leave a Reply