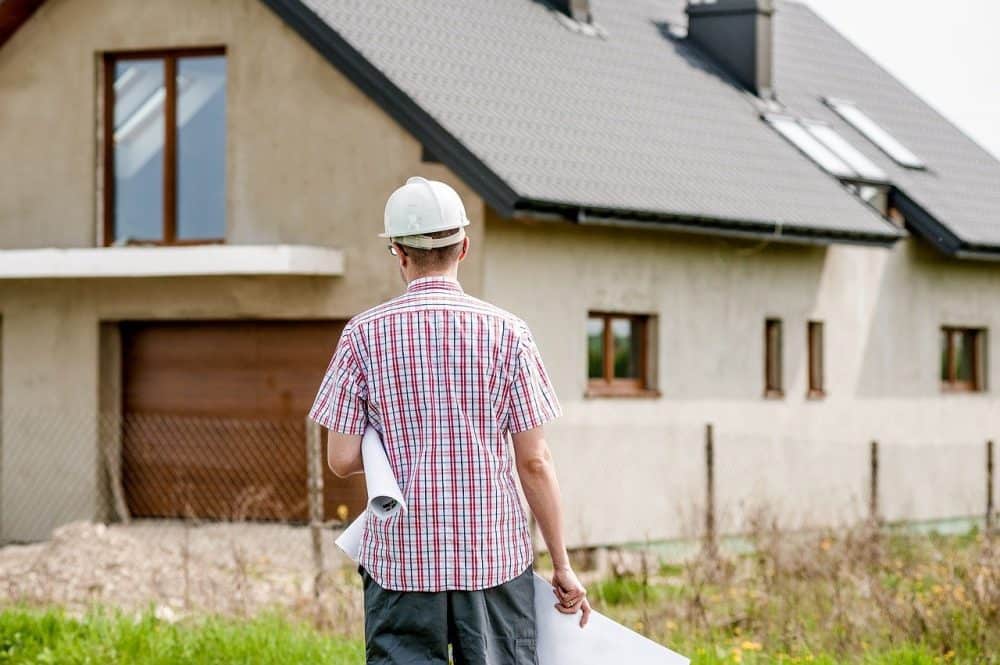
Learn step-by-step how to level the ground for an above ground pool WITHOUT digging.
We cover 3 quick ways to do it and the tools you'll need to get the job done.
Let's Go!
Did you know in many parts of the country you can replace an above ground pool 33 times for the price of an inground pool installation?
And if you can take care of some of the work like opening your above ground pool each season, or leveling the ground yourself before its installed, well, the cost savings go up even further!
But what if you don't want to rent or try to operate an expensive backhoe just to level the ground for your new pool?
Is there an easier way to level the ground for a new above ground pool without digging?
You bet there is. And we are going to show you how. Let's DIVE in!
Why Do You Need to Level the Ground for a Pool?
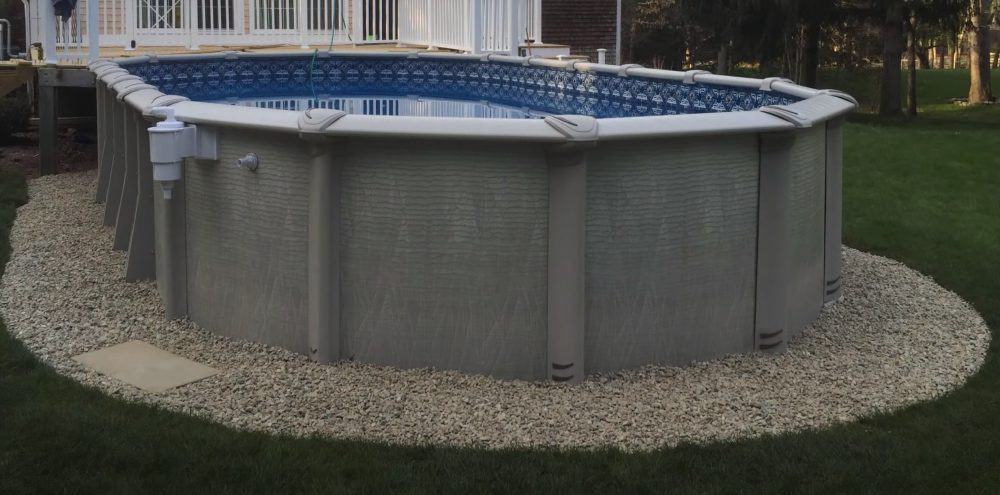
It’s worth noting out why this even matters. Your above-ground pool is going to be really heavy once it’s set up.
It’s also not made of concrete or hardened steel, so it’s not as robust and durable as you might expect.
Hence the immense cost savings of above ground vs. inground pools.
The weight mainly comes from the massive amount of water that’s going into it.
Having a solid, flat foundation for your pool makes everything easier. A foundation that isn’t level will lead to tearing, cracking, and your pool liner falling apart over time.
In some cases, people want to pour a level of concrete as a base layer.
However, the roughness of hand-poured concrete can scratch your pool’s liner and also lead to failure. If you’re looking to lay concrete, you should use commercial pads.
At any rate, the flatter and sturdier the foundation is, the longer your pool will survive.
As a rule of thumb, you want the ground to be within an inch or two in height from one corner to the other.
Rather watch than Read? Here's a great Video from Hoov45:
General Tips Before Leveling
You’re going to learn a few different ways to level the ground without digging, but it’s important to cover some general tips first.
The following steps should be followed BEFORE you start leveling the ground.
1. Inspect Your Yard
Checking out the area is the first step before getting to work. Are there any obstructions in the area?
Inspect to see if there are any especially uneven spots that you should avoid. You’re looking for an open area that's already RELATIVELY level.
2. Check your Zoning and Find the Right Place in Your Yard
If your yard is large enough, this might mean that you have some options as far as placement for your pool.
Think carefully about the placement of your pool. If you want to change the location of your pool, you’re in store for a world of headaches.
Consider how close the location would be to your house, your fencing, and your property lines, and the placement will interferes with other activities done on your lawn.
In most areas, your pool edge (and any related structures AROUND the pool like a deck) must be installed a certain distance from your property lines, usually somewhere between 8-15' depending on your local county or city rules and your residential zoning.
Your residential zoning can change from neighborhood to neighborhood so don't just copy whatever your relatives across town did.
You need to know the rules for YOUR specific property.
So make sure to check what residential zone you live in and what the rules are for your specific property.
If you have a rather large property and your pool will be nowhere near your property lines, this won't matter as much. But if your lot is on the smaller side, you will need to take head.
You don't want to finish installing, building, and filling that 10,000 gallon pool only to have a county inspector stop by and tell you you need to move it over 5'!
If you are buying your above ground pool from a local pool supplier, they should have some experience with these rules and be able to point you to the right resources to find out all the answers.
3. Clear Out Plants
If you have plants in the area, you’ll have to clear them out. You need the land to be completely bare in the area you’ll put your pool.
Bushes, shrubs, a garden – everything must go.
You can always plant bushes around the pool after it’s in, but it’s best to have a blank canvas when you get started.
4. Get Rid of The Grass
While you’re in the “clearing” mentality, it’s time to get rid of the grass in this area. You won’t be able to level ground that has grass on it.
The easiest way to do this is to lay a tarp in the area that you want to put your pool. The tarp will kill the grass and make it potentially easier to clear.
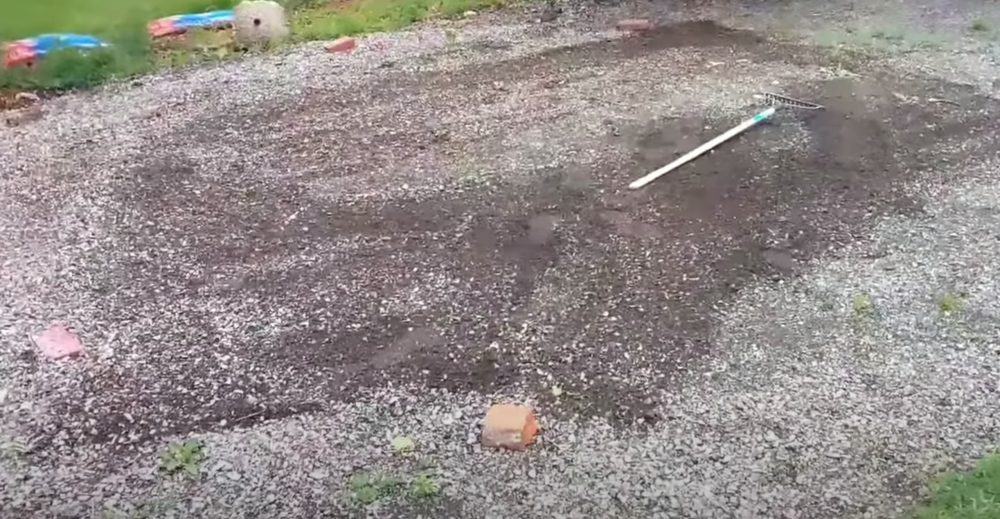
5. Correct Any Noticeable Unevenness
If there are parts of this area that are noticeably uneven, it’s time to do a little shoveling. MOve out any larger mud piles, rocks or boulders.
If there is a bush or tree stump, dig it up or have it ground down depending on its size.
Do the best you can – you’re not aiming for perfection...yet.
6. Mark the Center
Finally, mark the center of where you want your pool to be located, considering the outside diameter of your pool when you do this.
You can mark the center with spray paint, a flag, or by driving a stake.
7. Mark the Perimeter
With the center marked, it’s time to do a rough outline of your pool. At the center mark, drive a stake through a piece of rope. Alternatively, tie a loop around the rope and loop it around the stake.
You want to measure the rope to be the radius (distance from the center of a circle to the outside edge) of your pool plus another 6 inches.
Now play Ring Around the Rosie with your rope, scribing a line with spray paint as you hold the rope taut and walk in a big circle. This scribed circle in the dirt is the blueprint for your pool.
How to Check the Ground for Level Before Installing a Pool
I know, I know, we haven't even started leveling the ground yet.
But...it is important to know HOW to properly check the ground or level before you start leveling so that you can track your progress and adjust where necessary.
You will need to check the ground for level multiple times throughout the process, especially after pouring or tamping any material.
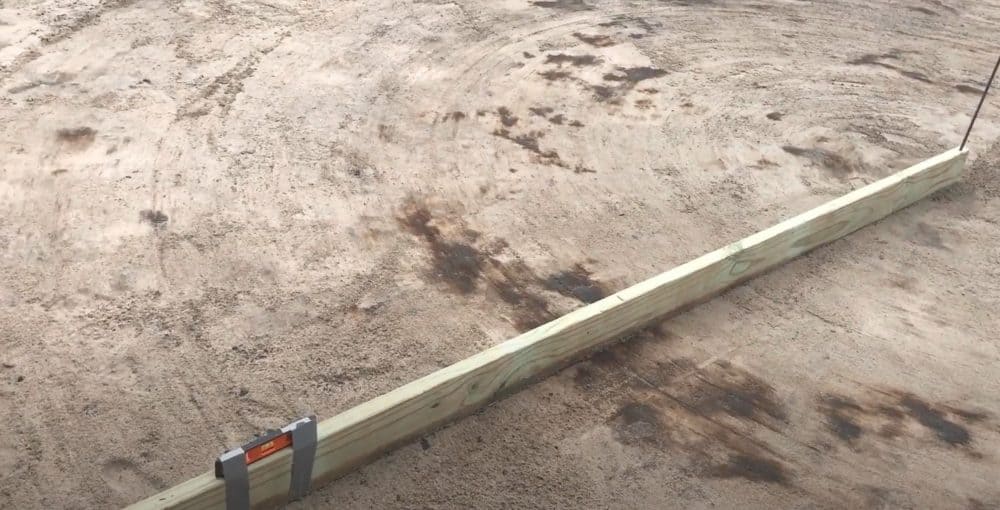
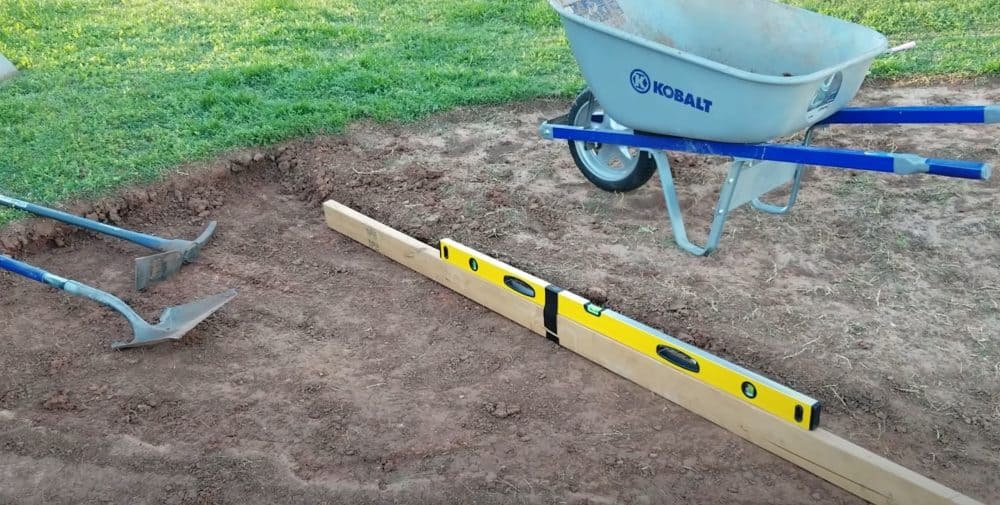
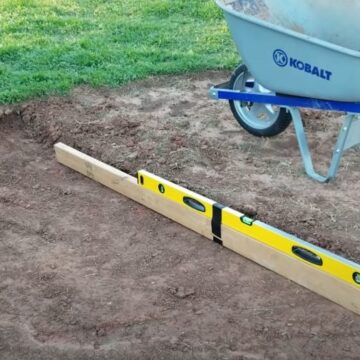
Grab a nice and straight 2x4 that is about as long as the radius of your pool. One end should be sitting at the center mark of your pool.
Lay the board on-end, and fasten a long I-beam level (like this one) to the center of it.
A smaller length level is not going to cut it here. You will need one AT LEAST 48" long, minimum.
You’re going to swing the level around the circle, keeping the one end on the center point the whole time. This is the easiest way to check the overall level of the area.
How To Level the Ground For Your Pool Without Digging
These options will work without the use of industrial digging equipment.
In some cases, you’ll have to use a hand shovel. We tried to make the actual digging required pretty minor for each of these options.
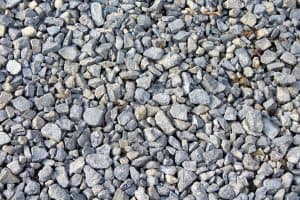
1. Using Crushed Rock
One of the more popular methods is to use rock to make a strong foundation. In fact, when it’s done right, it’s the strongest foundation on this list.
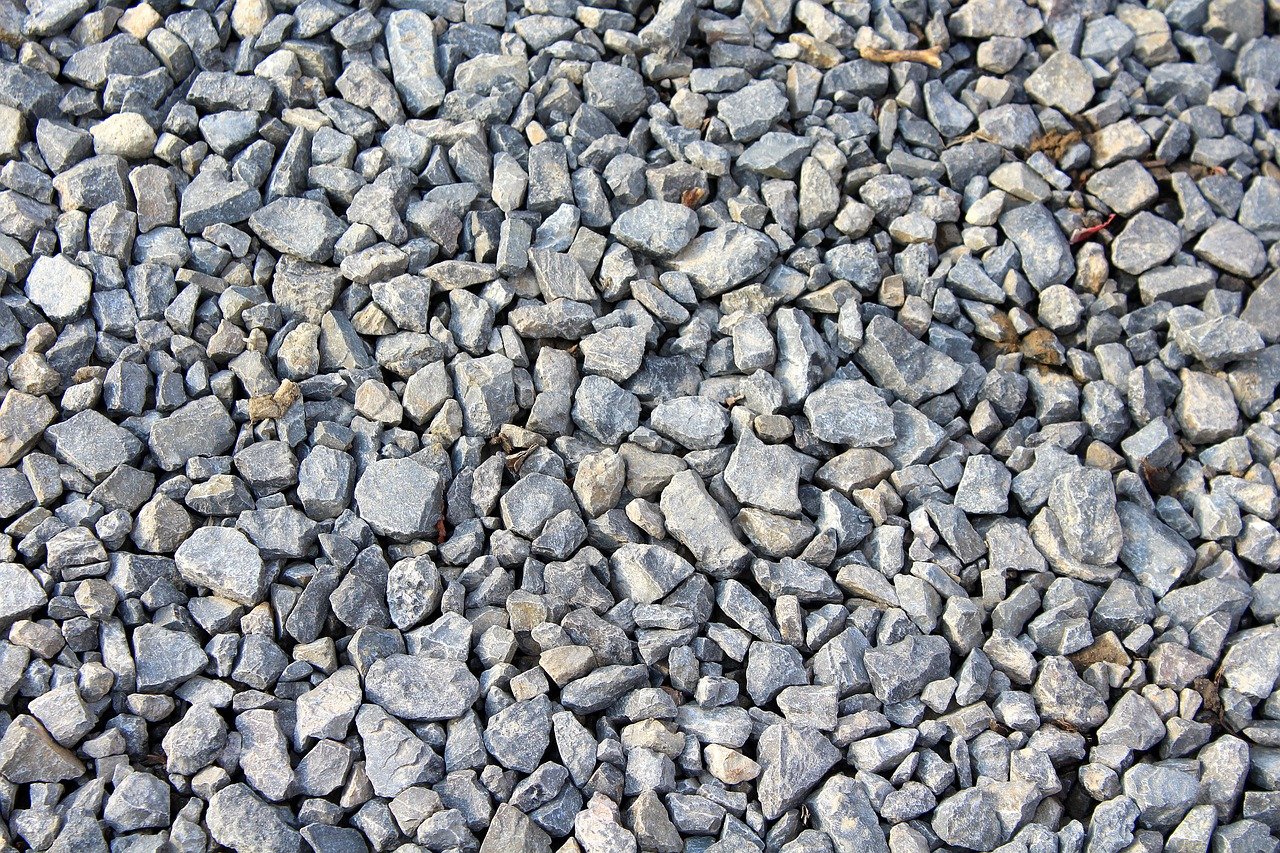
With our perimeter marked, let’s get to work. The best type of rock for this is going to be really fine crushed stone.
Limestone is a good choice of rock here. It can be compacted well and it’s super strong.
Tamp the dirt
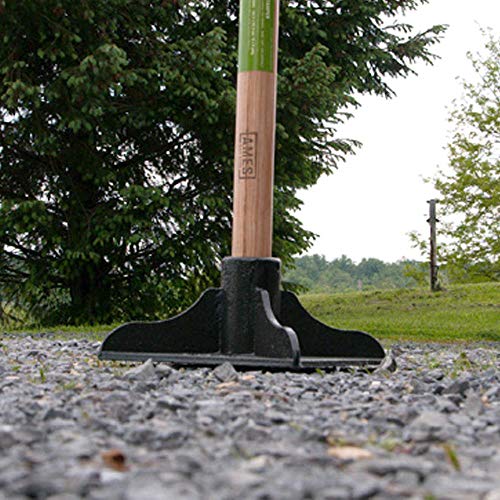
Grab your handy dandy tamper and start tamping. You can definitely use a heavy tamper that you manually operate like this one.
Alternatively, you can pull out the big guns and get the job done A LOT faster with a gas powered tamper like the one pictured below.
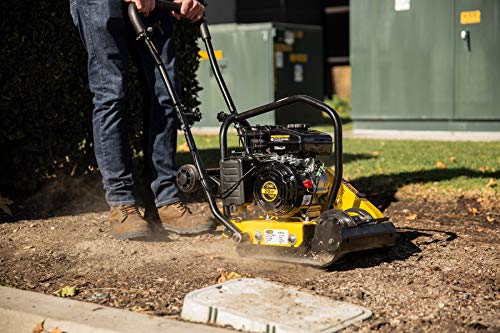
The tamping process is very important.
Soil has a tendency of wriggling around when it’s under pressure or there’s a change in weather. Putting your pool on dirt that isn’t tamped means that the foundation will settle or move around, and your pool will collapse.
Tamping hardens and pressurizes the dirt, compacting it. Dirt that’s tamped will not settle or move around.
In other words, you’re making a nice strong base for your pool, so don't skimp on this step.
Use your level to check for high points and tamp those areas down extra firm. Use the beck of rake to spread dirt and move from higher areas to lower areas.
Continually check with your level all around the circle as described above. The more level the ground is BEFORE you add your rock, the easier the next steps will be.
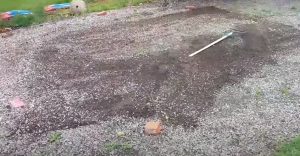
Lay down the crushed stone
Once the ground is completely tamped and as level as you can get it, Lay out a layer of crushed stone and rake it so it’s relatively flat.
Again, use your level and rake the higher areas towards the lower levels. Check the level and flatten accordingly.
Pack the stone
You’re going to use your tamp again for this step, methodically tamping ALL of the stone from the center going out and also working your way around the circle like a clock.
After tamping it, check the level once more. When it’s level, then you’re done.
Well tamped rock should create a nice smooth base for your pool without jagged edges sticking up or places you could trip if walking on it.
If the rocks are tamped and compacted well, you should be able to walk on the rocks without them shifting or moving.
2. Using Land Grading
A second option is to grade the land and compact it well WITHOUT using any crushed rock. This is not as ideal a solution, but some people don't want crushed rock in their yard.
Or, if you already have a big pile of dirt at your disposal, then maybe this option is for you.
Land grading is the process of just making the dirt strong without adding anything special. It’s a fancy term meaning to level the ground.
That means that you won’t need additional materials for this option, but you have to be meticulous with the process.
Rake the area
Raking will get rid of any debris that’s lingering. You don’t want anything under your pool that can puncture the pool liner or collapse the pool.
Tamp and add dirt as needed
Start by tamping the entire area as described above. Check the level of your area and where there are low spots, fill them with dirt, and then tamp again.
Repeat this process until the filled in and tamped areas are completely level with everything else.
Water and roll the ground
After the ground is raked, water it and roll the soil.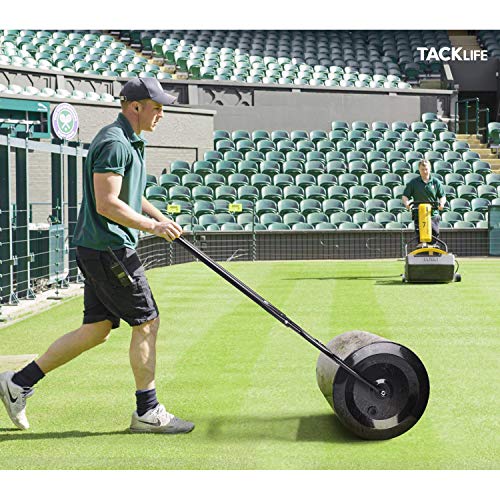 Check out this Roller on Amazon
This will ensure that the soil is perfectly compact. For best results, run a sprinkler in the area on low for about an hour before rolling.
Tamp again. It’s impossible to emphasize just how important tamping is when you’re not adding additional materials. When in doubt, tamp it again. The final product should be as compacted as possible.
After this, you’re ready to lay your pool.
- Steel 8-Inch x 8-Inch head
- 9-Pound steel head
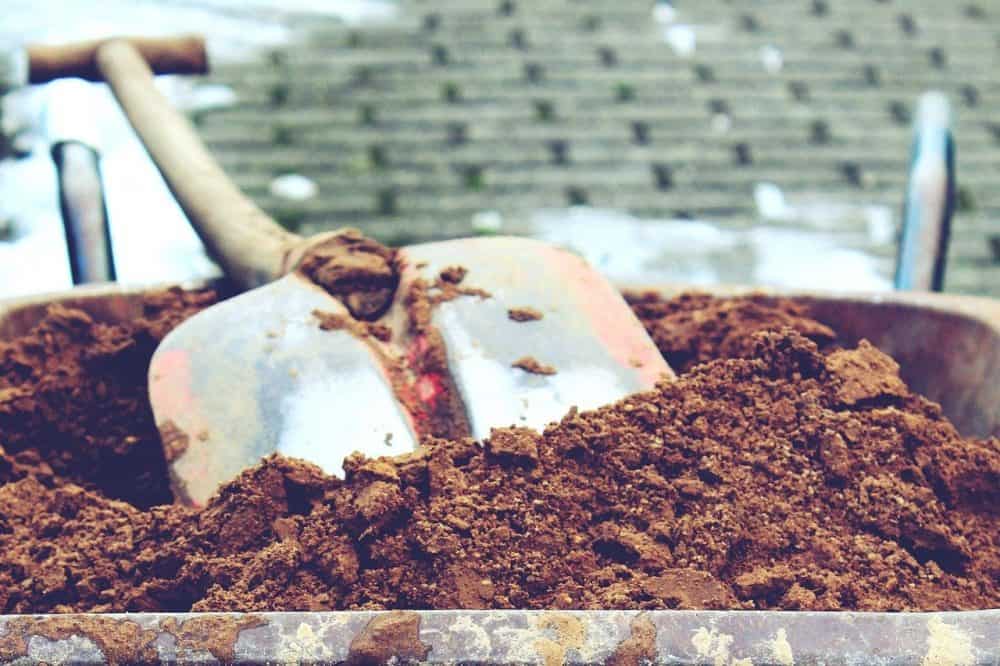
3. Using Masonry Sand
The final method is akin to using crushed rock, but in this case, you’ll be using sand. Again, you’re starting with your marked and leveled dirt area.

Tamp the dirt
Tamp the soil in the area and check the level. Repeat the process until the height varies less than 2 inches from the lowest to highest part of this area.
Add MASONRY sand
Don’t use sandbox sand here.
Masonry sand is stronger and able to compact better than other sands. Hence why its used around foundations and other supportive structures.
You want to spread a layer around 2 inches thick. Lay out the sand, roll it, wet it, and roll or tamp it again.
As you’re spreading it, look out for large rocks or big grains. These will puncture your pool liner.
For round above-ground pools, there are requirements about how much sand to use:
- A 15’ diameter round pool needs 3 tons of sand which is about 2 cubic yards.
- A 24’ diameter round pool needs 5 tons or 3.5 cubic yards.
- Every 3 feet you add to the diameter, you add half a ton of sand.
Does the Pool Pump Need to Be on Level Ground Too?
Don’t forget about the pool pump!
It also needs to be on level ground. You will need to follow the same prep process as you did with the area that the pool is going.
In the case of the pump, you can also put down a small concrete pad to easily house your pump.
It’s better to use concrete below it so moisture doesn’t accumulate and eat away at the pump components over time.
Looking for Other Great Pool Ideas?
Check out some of our most popular other articles below:
- How to Open an Above Ground Pool
- How to Keep Frogs Out of Your Pool
- How to Keep Wasps Away From Your Pool
- Everything You Need to Know About Plunge Pools
- How To Keep Bees Away From The Swimming Pool: 9 Proven Solutions
- The Best Month to Open Your Pool May Surprise You
- How to Lower the Chlorine Level in your Pool: 5 Simple Solutions
How to Level Ground for a Pool Without Digging
Equipment
- Tamper
- Rake
- Shovel and Wheelbarrow
- Long I Beam Level
Ingredients
- Crushed Rock -or- Likely limestone
- Masonry Sand -or-
- Dirt -or-
- Water
- Long 2x4 about the length of your pool radius
- Metal Stake
- Rope
Instructions
Before Leveling the Ground
- Inspect your yard for the ideal location, avoiding trees, large rocks, and other structures beforehand.

- Check your local zoning requirements and how far away from your property edge the pool must be.
- Clear out any plants and grass in the area you want to level.

- Correct any noticeable unevenness such as rocks, boulders, etc.
- Mark the center of the pool area and drive a stake through a long rope at the center.

- Measure out the radius of your pool along the length of the rope, plus another 6 inches.
- Draw a line around in a circle using the rope and a can of spray paint to mark the circumference of your pool plus 6 inches.


Set up your Leveling Guide
- Grab a nice and straight 2×4 that is about as long as the radius of your pool. One end should be sitting at the center mark of your pool

- Lay the board on-end, and fasten a long I-beam level (like this one) to the center of it
- You’re going to swing the level around the circle, keeping the one end on the center point the whole time. This is the easiest way to check the overall level of the area.

Leveling the Ground Option 1: Crushed Rock
- Tamp down all the dirt inside your circle using a manual or automatic tamper.

- Lay down the crushed stone
- Pack the stone using the tamper, rechecking for level and continually adjusting using your 2x4 and I-Beam level you set up previously.
Leveling the Ground Option 2: Land Grading
- Rake and Tamp the area inside the circle until mostly level.
- Add extra dirt to any low spots in order to bring up to level
- After the ground is mostly leveled, water it well and roll it using a heavy roller.
- Tamp and recheck for level again.
- Recheck for level and continually adjust using more dirt, watering, and tamping, and using your 2x4 and I-Beam level you set up previously.
Leveling the Ground Option 3: Masonry Sand
- Tamp the dirt as described in previous 2 options.
- Add masonry sand and spread a layer about 2 inches thick across entire pool area.

- Rake, Water, and Tamp.
- Recheck for level and continually adjust using your 2x4 and I-Beam level you set up previously.

Video
Notes
SOURCES
https://www.youtube.com/watch?v=55aobI3fxkI
https://www.dirtconnections.com/how-to-level-ground-for-a-pool-without-digging/
https://www.h2ouse.org/how-to-level-the-ground-for-a-pool-without-digging/
https://inflatablepicks.com/how-to-level-the-ground-for-pool-installation-without-digging/
https://www.hometalk.com/9096252/pool-noodle-hack-to-level-pool?expand_all_questions=1
https://www.instructables.com/Level-an-Above-Ground-Pool/