Learn everything you need to know about how to build a DIY batting cage in your own backyard!
Whether you want to assemble one of our favorite batting cage kits you can buy online or build your own from scratch, we've got you covered with a step by step tutorial below!
If you love baseball or have a child in your house aiming high to be a Major League pro, you know batting practice can get expensive.
The cost of spending multiple hours at a batting cage will not seem like much at first, but expenses will start to add up. On average, trips to a batting cage can cost you up to $45 per hour.
And that doesn't even consider the time spent loading the car and driving to and from the facilities. Not as easy to do on a busy weeknight after dinner as say, just wandering out to the backyard.
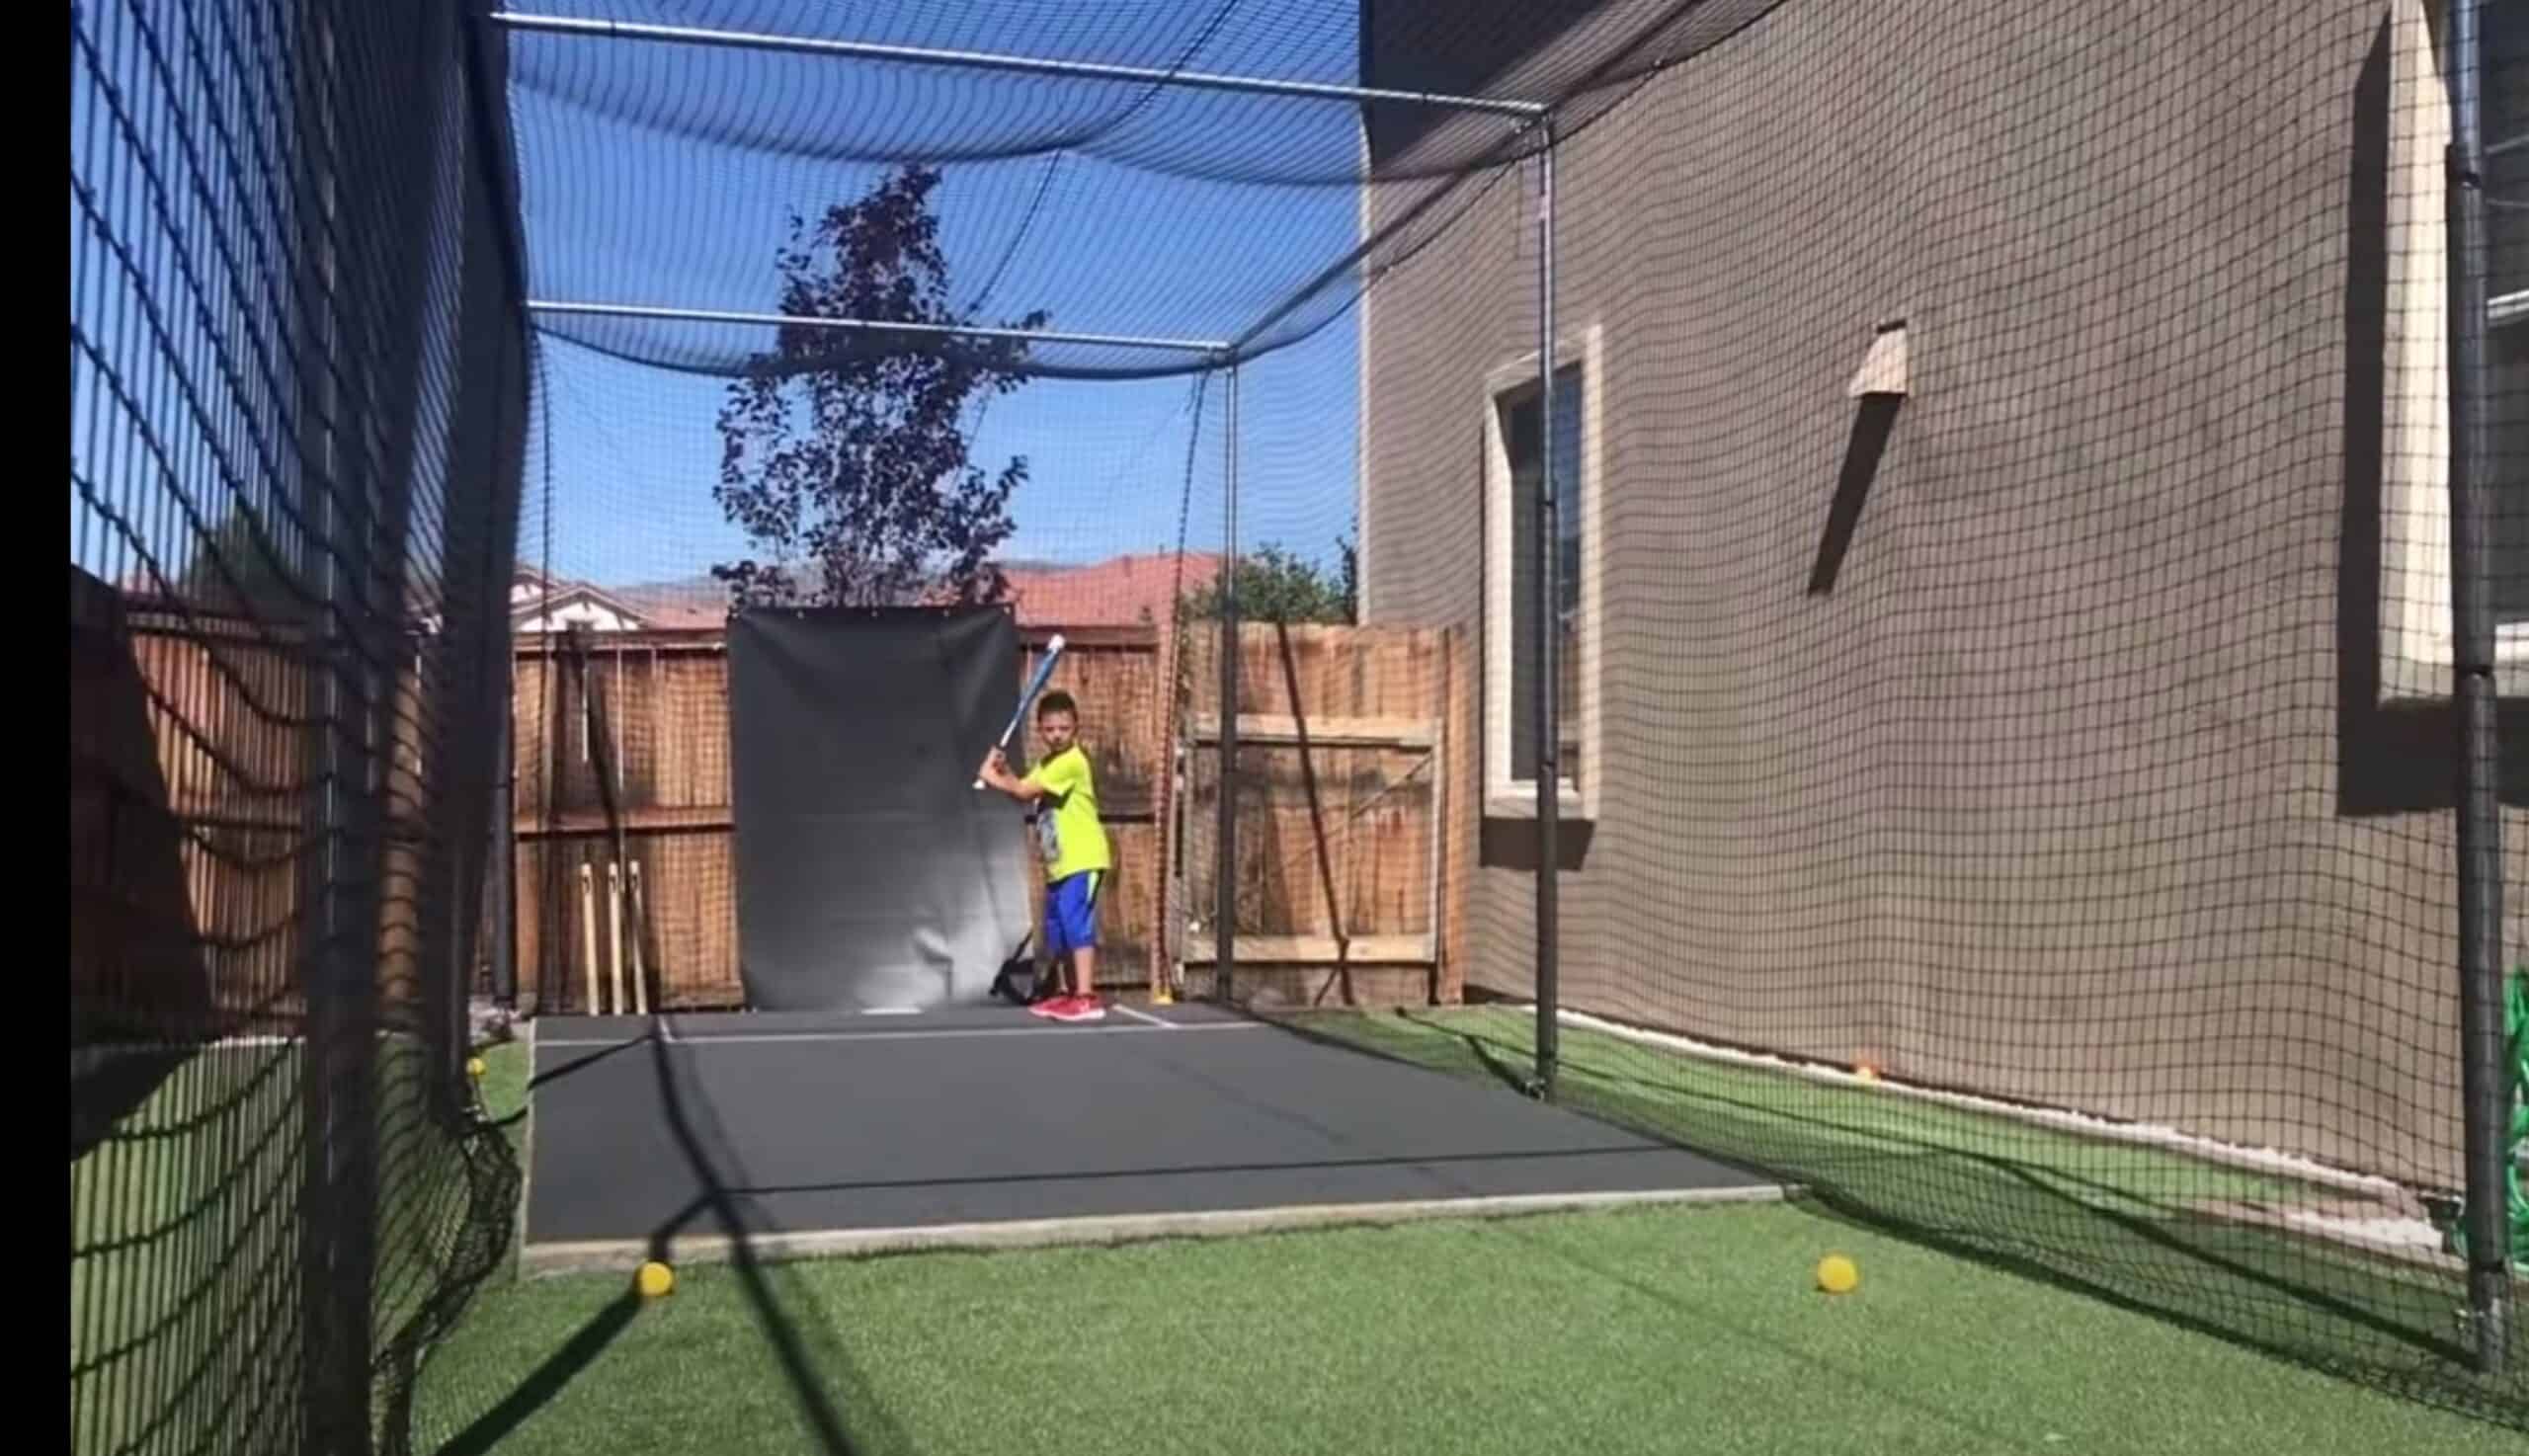
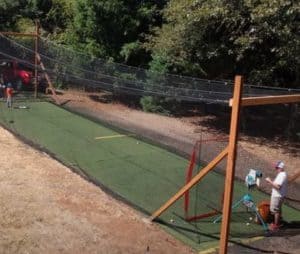
If you or your kids need regular hitting practice, you should take the time to consider building your own batting cage right in your backyard.
It will be a great experience and your backyard will quickly become the envy of the neighborhood.
Think about not only all the money you will save on hourly batting cage fees, but the hundreds of extra hours you and your budding hitters can put in every year to get that much better than the competition.

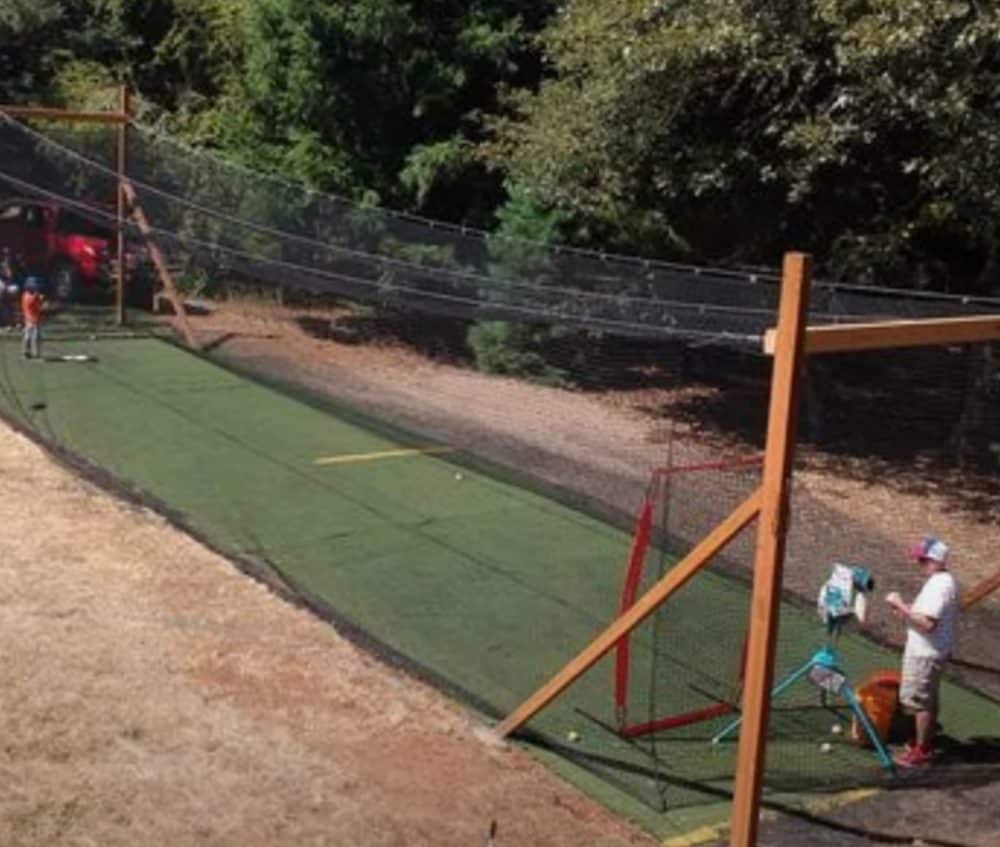
Before picking up this project, you need to have the required space for it. If you have a big yard with a flat surface, building a batting cage is really not as difficult as it might at first sound.
In this article, we will discuss all you need to know to build your batting cage. Everything from costs to different options and a step-by-step guide is included below should you choose to make it yourself.
Different Types of Batting Cages
There are a few different types of batting cages that you can choose from based on your needs, budget, and space constraints.
Permanent Batting Cages
This type of batting cage will be more durable and last you for many years with little upkeep.
If you've got the space you can dedicate and don't see needing to take it to multiple locations, then a permanent backyard batting cage is probably for you.
Portable Batting Cage Options
However, there are some portable options available too. These might not be as sturdy but just as fun to setup and use.
These options include portable net batting cages that you can easily set up in your yard. They sometimes include pitching machines. You can also purchase new or used inflatable batting cages.
The latter options are ideal for evenings with friends and family. However, if you need one for serious training, the best choice is to build a permanent one that is easy to set up.
Things to Consider When Building your Own Batting Cage
Now that you have decided to build a DIY batting cage in your backyard, there are a few things you need to consider before you get on with the task.
Measuring the Required Space
Before you buy the required materials for your batting cage, measure the space you have available in your yard.
Once you are done building your batting cage, you can then buy properly sized netting. Make sure you have everything you need to put it up.
Should you Buy a Batting Cage or Build your Own?
Believe it or not, there a quite a few pre-built batting cage options for your backyard available on Amazon to have shipped right to your house.
Both pop-up portable tents, and larger, more permanent structures you can assemble yourself.
Our favorite Portable option is Gagalileo Batting Cage and Heavy Duty Backstop for Backyards.
- ?EASY TO USE: The Baseball cage is 22(L)X12(W)X10(H). Strong Rods and Light-Weight Netting Allow the Galileo Hitting Cage to be the Easiest and Most Convenient Batting Cage on the Market. Set Up and Take Down in 15 Minutes!
- ?DURABLE MATERIAL:This batting cage is high quality with 16mm high-strength steel pipes make Galileo batting cage more safer and reliant.
- ?SUIT FOR EVERYWHERE: Galileo Heavy Duty Net is 22X12X10FT- Perfect Batting Cage for Any Sized Yard and Used By Players from 4 to Adult.
- ?WARRANTY:Galileo sports provides one year parts replacement for free and lifetime warranty for replacement parts. Please feel free to contact us with any questions!Thank you!
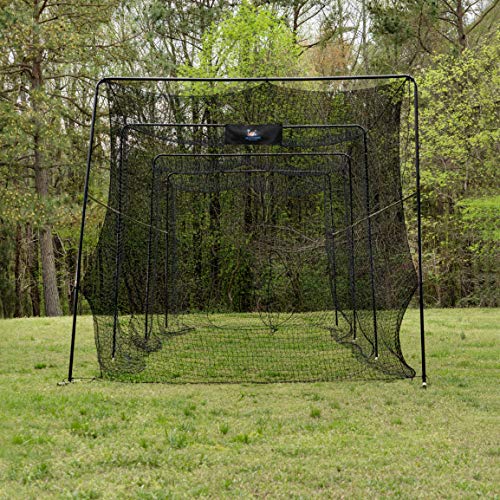
And if you need a larger, more permanent structure, we like the Fortress Ultimate Baseball Batting Cage which comes in 4 different of sizes from 25' all the way up to 70' depending on the space you have available for a batting cage in your backyard.
- PREMIUM NETTING – The #42 grade netting features a 48mm mesh design to easily cope with fiercely struck baseballs. UV stabilized, the netting is 100% rot-proof & can be left outside.
- ELITE STEEL CONSTRUCTION – The ultra-durable poles are engineered using 40mm diameter steel which has been galvanized & powder-coated for exceptional resistance to rust & corrosion.
- ONE PIECE NET – The net, which is super-easy to assemble, features a one-piece design. The 2mm net features braided rope edges to help give the ultimate batting cage world-class durability. Please note that the 20ft net is open-ended.
- CHOOSE YOUR SIZE – Whether you’re looking to add some quality to the backyard or take your training set-up to a new level, the ultimate baseball cage is available in 4 sizes; 20ft (4 poles), 35ft (6 poles), 55ft (8 poles) & 70ft (10 poles).
- BACKYARD OR TRAINING FIELD – An excellent choice for little league superstars wanting to get some backyard practice in or baseball teams looking to add some quality to the training field.
So depending how handy you are and the time you have to dedicate to the project, consider these pre-built options before diving in to build your own DIY batting cage from scratch in your backyard.
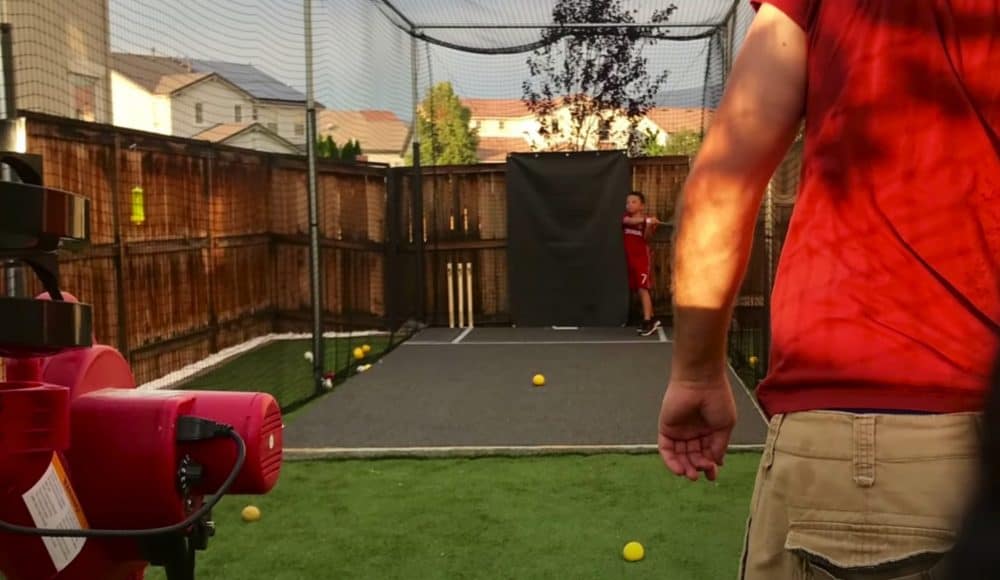
Should you Invest in a Pitching Machine?
If you really want to get those hundreds of swings in a day, a pitching machine is a must have addition to any serious batting cage.
Once again, the sky's the limit when it comes to price and how professional a machine you need for yur young (or not so young) hitters.
For a good entry level automatic pitching machine, we like the Heater Sports Base Hit Lite & Real Baseball Pitching Machine.
It holds 12 baseballs at once and pitches one every 8 seconds giving you a good chance to get in a rhythm with your swing when practicing alone before having to add more baseballs.
Alternatively, a partner can drop them in one at a time for uninterrupted hitting practice.
You can also tilt the angle to have it throw grounders and pop flys for your fielding practice.
- PITCHES REAL BASEBALLS FROM 10-45 MPH - The Base Hit Pitching Machine Pitches Actual Baseballs Up To 45 MPH at 46
- PITCHES LITE BASEBALLS UP TO 80 MPH - The Base Hit Pitching Machine Pitches Lite Baseballs Up To 80 MPH (Depending on Heater Lite Ball Used)
- PITCHES GROUNDERS & POP FLIES - Tilt the Head of the Base Hit to Throw Fast Ground Balls or High Pop Flies Up To 200 Feet
- AUTOMATIC BALL FEEDER - Auto Ball Feeder Holds 12 Baseballs And Drops A Ball in the Machine Every 8 Seconds (Also Removable)
If you want to go big with a professional grade workhorse pitching machine that can literally dial in almost every type of pitch up to 75 mph, then take a look at the Sports Attack Junior Hack Attack Baseball Pitching Machine.
It's definitely priced for the serious hitters out there, but when you think about the amount of money spent at the batting cages for several youngsters over multiple years, it may just well be worth it for you and your family.
- The Junior Hack Attack will throw right and left handed curves, sliders, split fingers, knuckle and Fastballs up to 70+
Building your Own DIY Batting Cage in your Backyard
After taking a look at the pre-built options you decide you still want to build your own batting cage for the backyard, then we have covered.
Check out this step-by-step video guide to building a DIY batting cage below and you'll have the perfect batting cage for your backyard up in no time.
Materials you will Need
In this article, we will explain specifically how to build a 55 foot batting cage.
Keeping the square footage of your yard in mind, you can size up or size down accordingly.
- Batting Cage Netting according to your required dimensions (Don't forget the "ceiling" and the backstops). Check out this 12'x12'x55' option here.
- 4 bags of cement
- 4 wooden stakes
- A shovel or an auger
- 4-6 Galvanised 3”-4” steel posts which should be lengthened to 13-15 feet
- 4mm Galvanised Steel Wire (230ft / 70m)
- 55 Galvanised Carabiner 5mm Snap Hooks
- 12 5mm Galvanised Wire Rope Grips
- 6 5mm Galvanised Straining Screw Hook & Eye
- A Good Pair of Wire Cutters
- 4-6 Heavy Duty Eye Bolts ( ⅜” x 6”)
- 12 Tent Stakes
Optional materials:
- Home Plate
- Pitching Machine (see our favorites above)
- Astroturf and Additional Cement
Step 1: Choose your Location
The average width for a batting cage is 10-12 feet, but it does not have to be that exact size. You're making the cage for your home so you can decide the size you prefer.

Take note of the yard size and the amount of flat ground you have available. By doing this, you can know what the width of your cage will need to be. A smaller yard will simply mean a slightly smaller cage, and it's nothing to worry about.
Let's talk about length. The average batting cage length for children is 20 - 40 feet, and for adults it is 70 - 80 feet.
You will also need to make sure that your ground is relatively flat, especially if you plan on buying a pitching machine for your cage. If not, you can level the area where you plan the pitching machine to stand.
If your ground is mostly dirt, without a lot of drainage present, you might face a few issues. During rainy seasons, the batting cage could become wet and muddy. You will have to wait for it to dry before you can use it again.
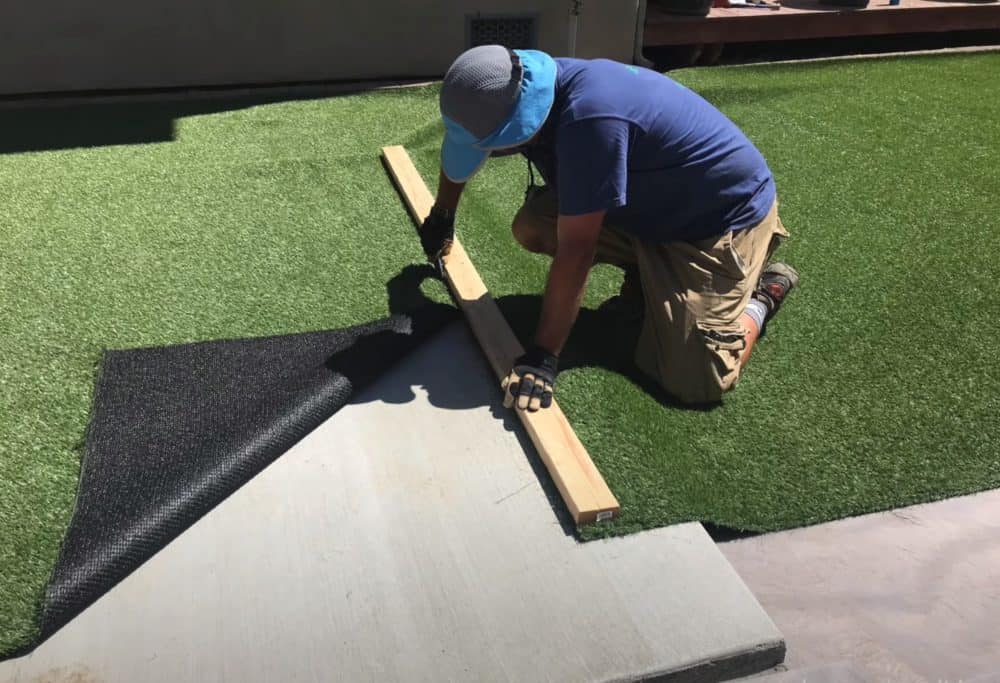
This situation is partially avoidable by adding 3-6" of gravel or crushed rock to not only level out the ground but to allow water to collect UNDER a layer of astroturf you can then lay over the gravel.
If drainage is a serious issue in the area you plan to use, consider installing a french drain around the batting cage area where you can redirect the water.
Another great option is concrete flooring, but it can be pretty pricey. You can choose to put a small concrete pad only under the batter’s area to cut down on costs.
Step 2: Buy the Netting
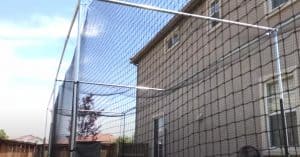
Choosing high-quality netting is vital since the whole purpose is to make sure the ball doesn't get out of the cage.

You need to consider that the batting cage will likely live outside year round and may be subject to sun, snow, rain, and wind and buy a quality net that can withstand these changing conditions.
The size of the net will depend upon how big or small your batting cage is. There are several online options available, where you can easily purchase netting from a reputable company.
You can get a good quality batting cage net here online.
- ELITE TWINE CONSTRUCTION – Expertly manufactured using premium HDPP, these baseball batting cage nets guarantee supreme durability. The #42 grade netting features a 1.75in mesh for added strength.
- FOR ALL CONDITIONS – Suitable for year-round use, this heavy-duty black baseball net has been UV stabilized and is 100% rot-proof to ensure it performs to a professional standard in all weather conditions.
- SIMPLE INSTALLATION – For your convenience, this baseball batting cage net comes with built 6ft tails & tie cords with an additional seemed rope running through the center for addition hanging opportunities.
- OVERLOCKED EDGES – For increased strength & durability, this batting cage net features robust overlocked edges with a ⅜” braided border to protect the net against fraying & increasing its lifespan.
Step 3: Measure and Mark the Corners
Measure out the dimensions of the batting cage, and mark the four corners in the yard. Then place the stakes into these marked squares.
These marked areas are where the batting frames’ main posts will go.
It's always. good idea to spray the ground or run twine so you can see just how big your batting cage will really be once you get started.
Step 4: Post Frame Selection
When choosing the materials for the poles that will create the mainframe for your batting cage, you can go for one of several options. It depends on the portability and how long you want the batting cage for.
You can choose between:
- Galvanized Steel Poles
- 4×4 Wood Posts
- PVC Pipe (Schedule 40)
- 3” Steel Square Tubing (14 gauge)
Galvanized steel posts last for years, and they are cost-effective. If your batting cage is 10-12 feet high, you will need these poles extended to 13-15 feet. You can get this done at a local fencing store and sometimes find bars of the exact height you need.
Wood posts are durable but tend to bend with time. This is the reason why a header board along the width of your cage is necessary to prevent that.
If portability is your priority, PVC and square tubing are the better options.
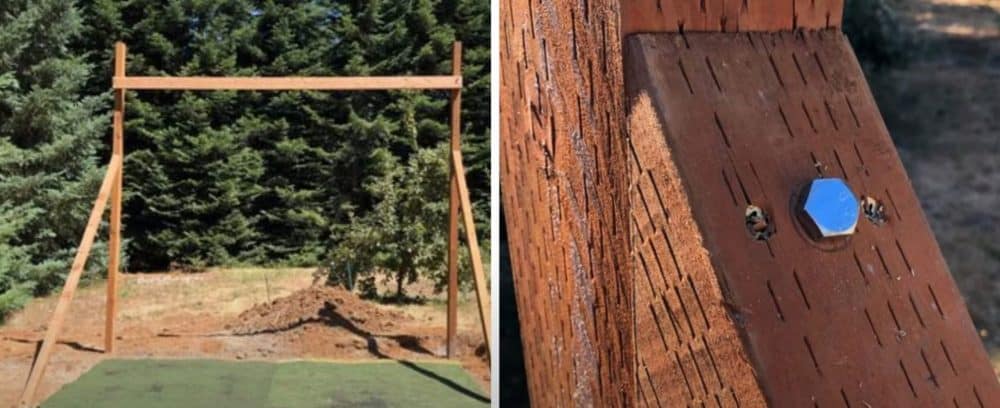
Step 5: Set the Posts
Before getting to this step, double-checking your measurements is critical.
4 posts with 2 on either corner provide enough support for your net with the extra help from header cables.
Attach eye bolts near the top of your extended 13-15 feet tall posts. One should be set facing posts across the length and the other across the width of the cage. Wire ropes running through these bolts will hold up the batting net.
In place of the four corner stakes, dig 4, 3-foot deep holes. Sink your extended poles in about the same depth and fill in the cement to secure. If you wish to be able to remove your net, you can first set a slightly bigger pipe than your post in the cement to create a sleeve.
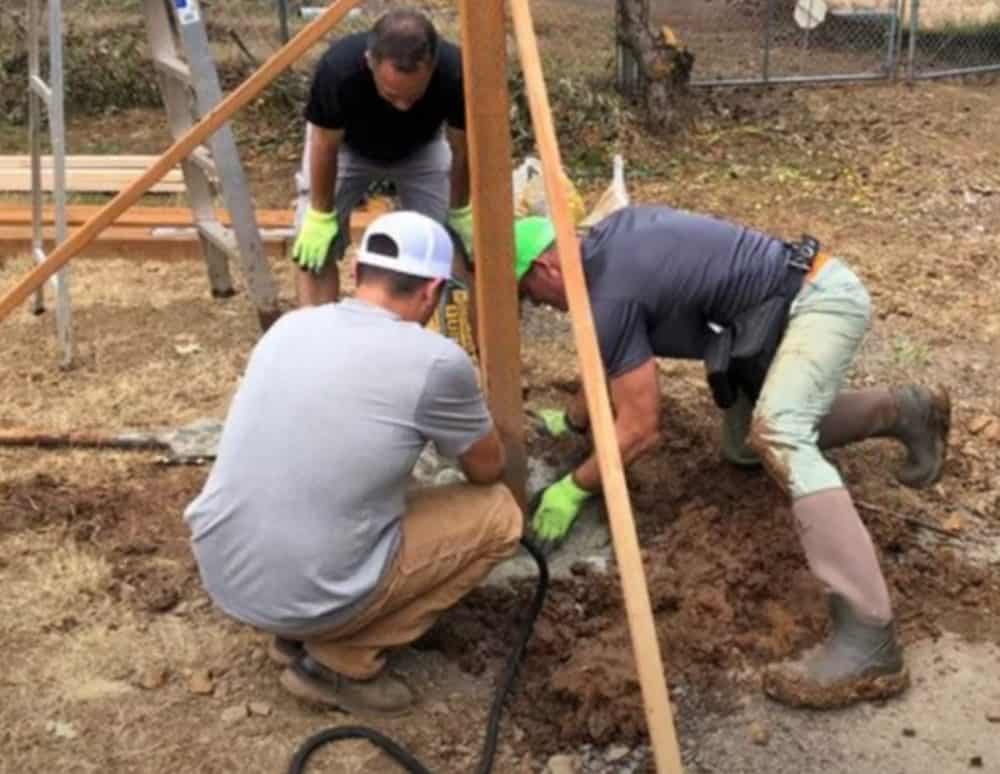
Recruit friends and family to help with this step. Let the cement completely dry before you move on with the next steps.
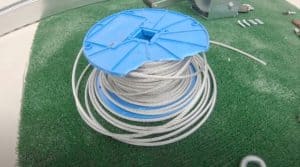
Step 6: Attach the Cables
To attach the wire ropes to the posts, you will use the eye-bolts, straining screw eye and hook, and steel grips.

There are many tutorials available on how to attach grips to wire ropes. Familiarize yourself with the process before you start with this step.
Here is a pretty good video showing you the process.
Connect an eye loop on the wire rope to the eyebolt attached to one of the posts. Run the wire down the length to the post across it, where a screwing eye and hook will be attached.
Here, cut the wire rope keeping in mind that you will need to have enough length to add an eye loop and steel grip.
After that, open the screw and eye hook to the maximum, attach the wire rope and then tighten.
Repeat the same process to secure the wire rope to all the 4 posts.
Secure the header cable using wire grips and carabiners after running the steel wire down to the median length of the batting cage to the header cable on each end.
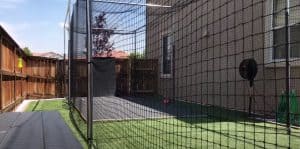
Step 7: Finishing Touches - Connecting the Net
Use end ropes on the net to connect it to each post. Using the carabiners, secure the net to the cables every 3 to 5 feet.

Remember not to stretch the net too tight.
Use tent stakes to ground the net to the base.
When you need to mow your grass, you can remove the tent stakes and slide the net to one side with the help of the carabiners attached to the wire rope.
Add a home plate, pitching machine, and batter’s box or backstop net to your cage. These accessories are easily accessible and cheap.
And there you have it, a batting cage ready to be used in your backyard.
It may just save you thousands of dollars on complete kits or making trips for hitting practice!

How to Build a Batting Cage in Your Backyard
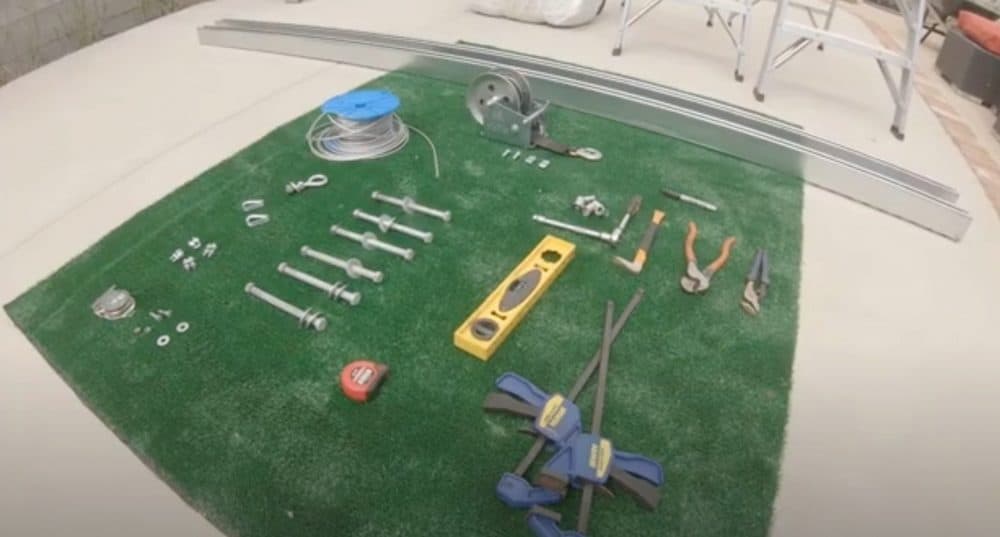
Equipment
- Shovel or Auger
- Level
- Wire Cutters
- Ratchet Set
- Hammer or Rubber Mallet
- Gloves
Ingredients
- Batting Cage Netting
- 4 Wooden Stakes
- 4-6 3-4" Galvanized Steel Posts 13-15' long
- 230 feet 4mm Galvanized Steel Wire
- 55 Galvanized Carabiner 5mm Snap Hooks
- 12 5 mm Galvanized Wire Rope Grips
- 6 5 mm Galvanized Straining Screw Hook and Eye
- 6 Heavy Duty Eye Bolts
Instructions
- Choose your Location. Check for adequate drainage and stake out your posts with the tent stakes.

- Determine the size of the netting you need.

- Measure and mark the corners of the batting cage. Mark midway points along the long sides for additional posts midway if longer than 30 feet.

- Dig 3 foot deep holes in the corners and midway points if applicable and set your posts in cement, leaving about 10-12' of height for your batting cage.

- Attach your cables using the eye and hooks, eye bolts, and steel grips. See video for reference,

- Connect your batting cage net to the cables and tighten.


Leave a Reply