Learn step by step how to prepare perfectly smoked baby back ribs in an electric smoker!
We cover how to prep, season, smoke, wrap, and sauce your baby back ribs using the 3-2-1 Method in ANY electric smoker such as a Masterbuilt, Bradley, Cuisinart, or Char-Broil.
Let's go!
Ribs are one of the most popular meats for smoking, and everyone has their own opinion on how they should be prepared. In addition, some people like their ribs to be fall off the bone, while others prefer that the meat is more firm.
However you like your ribs, we will show you how to get them cooked to your preference by using temperature rather than time. This modified 3-2-1 method simplifies making ribs so you can feel like a pitmaster every time!
Jump to:
Purchasing Ribs
If you are feeding a crowd, you may be trying to decide how many slabs of baby back ribs you need to cook in your electric smoker to feed everyone.
Most hungry adults can easily eat a half a slab which is about 6 ribs.
Take into consideration if you are also serving other proteins or a lot of heavy side dishes in which case folks may only take 3-4 ribs.
Video
Rather WATCH than read? Check out our video for Electric Smoker Baby Back Ribs on our YouTube Channel:

Remove the Membrane

Once you have removed your slabs of baby back ribs from the packaging, you will need to remove the membrane on the back of each rack.
This membrane not only keeps the seasonings from penetrating the meat, but makes the ribs harder to carve and bite into or "fall off the bone" as they like to say, and its well...just generally unappetizing to your guests.
Luckily, it's not hard to remove with a couple tricks used by BBQ professionals all over the world every day.
First, slide a good sharp knife, preferably a good boning knife like our favorite one from Imarku, to get the membrane separated from one of the corners.

- Made of high-carbon German stainless steel to provide maximum sharpness, edge retention, and corrosion resistance. Properly balanced to allow precise close-to-bone slicing
- Lifetime guarantee
Next, once you can grab a little bit of the membrane, use a paper towel to grip it tight and pull down to the other corner.

Sometimes it comes off in one big piece, other times you will need to go back and remove some pieces that didn't come off, but using a paper towel is the best way to get a hold of this slippery membrane.
Once this membrane is removed, you are ready to season your baby back ribs.

Cut the Rack in Half
If you have a smaller electric smoker, like our 30-inch Masterbuilt, you may want to cut your rack of ribs in half at this point so that they fit on the racks of the smoker without being too close to the sides.

A high quality chef's knife works well for this.
Apply the Rub
Although we occasionally use yellow mustard as a binder for pork, with ribs we find the mustard or oil makes a partial barrier preventing maximum smoke flavor to reach the meat.
As long as you apply the rub and allow it to sit on the meat for a bit, the salt will draw out the moisture and form a paste on the outside that keeps the seasoning adhered.
We really like Meat Church's The Gospel All Purpose Rub on ribs. We like to add Kosmos Q Dry Rub Honey Killer Bee to add some sweetness.

Make sure to cover all sides and edges with the rub.

Allow the Rub to Rest
Once you've applied your rub to the baby backs, don't throw them right in the electric smoker just yet.
Give the rub about 20-30 minutes to draw some moisture out of the meat and create a nice paste on the outside of the meat.

This pulled out moisture will absorb a lot of your smoke flavor, and eventually that moisture will make its way BACK into the meat as it rises in temperature pulling your delicious rub and absorbed smoke with it into the meat and also helping to create that coveted pink smoke ring.
The Best Wood for Smoking Ribs
You have a lot of options when it comes to choosing the right wood chips to smoke your baby back ribs in an electric smoker.
Pecan, apple, beech, alder, and cherry wood chips all give great results on baby backs when cooked in an electric smoker.
Hickory and Mesquite have more distinctive flavors if you want to give those a try. In our electric smoker baby back ribs video, we used hickory chips.
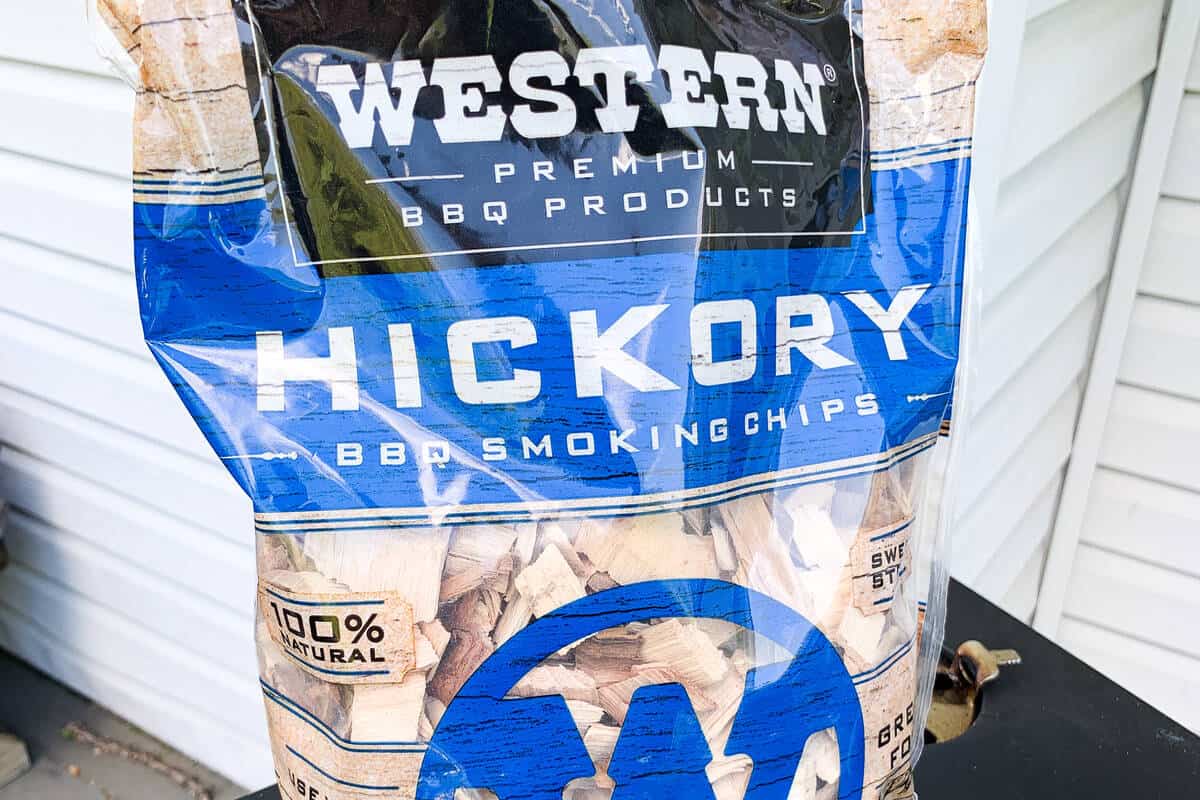
Make sure you are using wood chips, not pellets! Save those pellets for the pellet grills and pellet tube smokers.
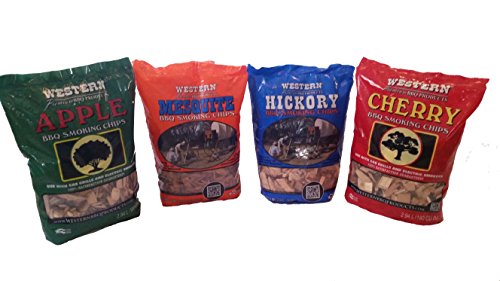
- Contains most popular flavors- Apple, Mesquite, Hickory, and Cherry
- Made in the USA
Since you will need to add more wood chips every 30-40 minutes (unless you using something like the Masterbuilt Slow Smoker Attachment), you can change up which type of chips you add each time.
Typically, the majority of your smoky flavor will come from what you use earlier in the cook when the meat is still cool, so make sure to take that into consideration when layering your flavors.
Setting up your Electric Smoker
For an in depth lesson, check out our full article on how to use wood chips in an electric smoker.
Fill the Water Pan
If your smoker comes with a water pan, use hot water to fill the metal container provided and carefully place it at the bottom of the smoke chamber.
Do NOT mix up your wood chip tray and your water pan.
Some models will have a designated space for the water, but if there isn’t one, you can also choose to use a disposable aluminum foil pan and place it on the bottom shelf of the smoker below where your food will cook to create the same effect. In fact, we prefer using a disposable pan to make clean up easier.

The water will create a more moist environment which will not only prevent your meat from drying out while it cooks, but the moisture also helps facilitate smoke penetration into the meat.
Preheat the Smoker
Next, preheat your smoker by either adjusting the dial control to the required temperature or, on digital smokers, by using the up and down arrow buttons to select your heat setting.
Note that it can take up to 25 minutes for your electric smoker to reach the intended temperature.
For our smoked baby back ribs we want to set the electric smoker to 250°F.
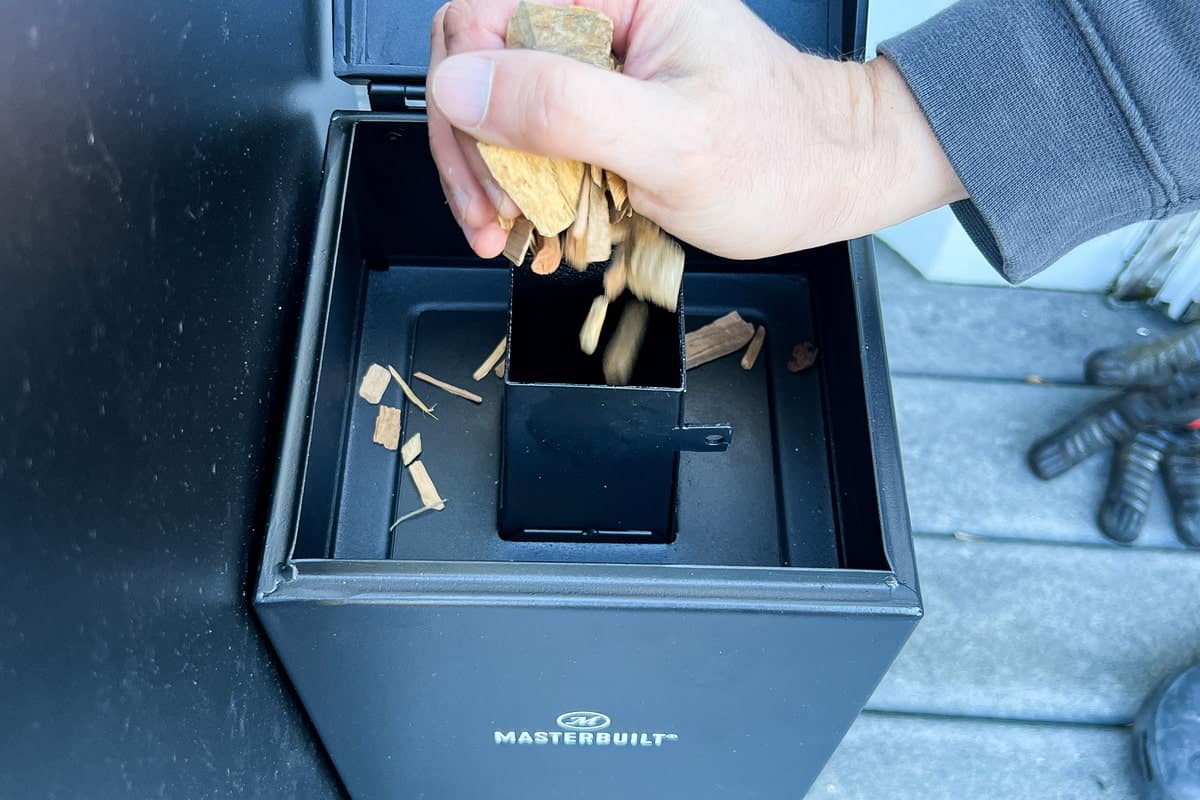
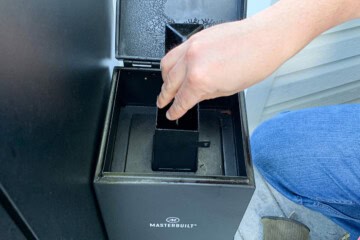
Add the Wood Chips
Depending on the model of smoker, you either have a tray that must be removed from inside the chamber and filled, or a side loading door that allows you add wood without opening the cooking chamber and disrupting the temperature.
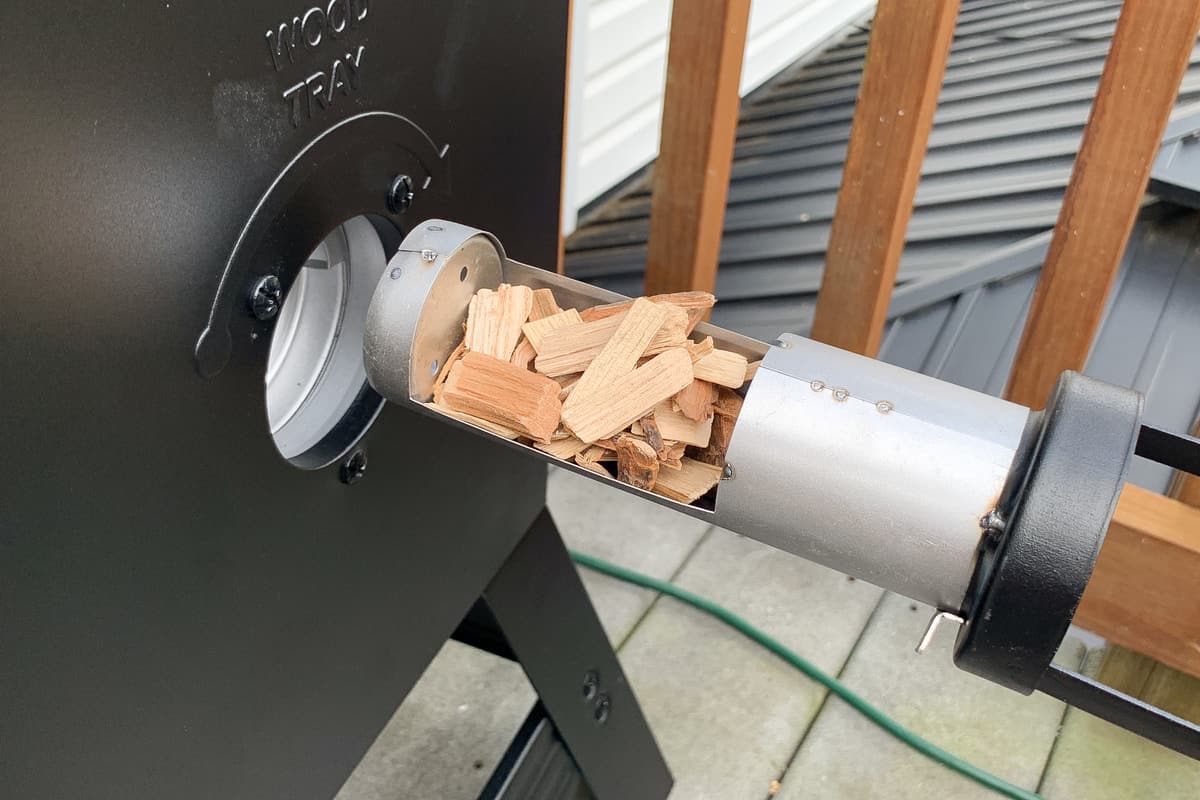
All else being equal the second option is preferable.
Check your smoker's instructions as some smokers recommend adding the chips before you preheat, and others recommend adding them only AFTER the smoker has come up to temperature.
As we've discussed time and time again, there is no need to soak your wood chips in water before using them.
Smoke is created from smoldering the wood chips in a low oxygen environment, NOT from soaking them in water.
Then, close the loading tray door, let the smoke begin to start, and then add your food to the cooking chamber and close the door.

Refill the Wood Chips
Now, as we mentioned, you will need to refill the wood chips every 30-40 minutes as the smolder fairly quickly compared to wood chunks and wood pellets.
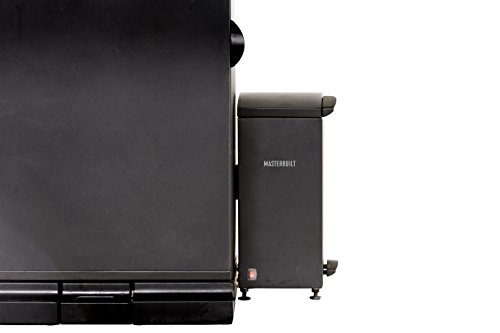
If you are using a Masterbuilt Electric Smoker, check out their Slow Smoker Accessory Attachment.

It allows you to preload the wood chips, much like a pellet hopper on a pellet grill and smokes them more slowly so that you don't need to constantly refill.
This works great for longer smokes like for pork butt and brisket.
- Continuous smoke when cold smoking or hot smoking up to 275˚F
- Automatically heats wood chips with the push of a button
- Continuous wood feed system provides up to 6 hours of continuous smoke without reloading
- Removable ash tray for easy cleanup
Cooking Temperature
Now that the baby back ribs have been seasoned and the rub has rested and permeated the meat a bit, all that's left to do is cook them!
With an electric smoker, this is the easy part!
Like we described above, fill your water pan, turn your electric smoker to 250°F, and add your wood chips and ribs once the smoker is up to temperature.
We recommend initially setting up the smoker to cook at 250°F.
This seems to be the sweet spot where its low enough that the outside doesn't overcook but also high enough that the baby backs don't cook for so long that they dry out.
If you choose to cook at a higher or lower temperature, make sure to adjust your times during each stage of The 3 2 1 Method outlined below.
Target Internal Temperature
In our opinion, ribs are like steak: everyone likes them cooked differently. Some people prefer ribs competition style that have more chew to them, while some prefer the meat completely falling off the bone.
We prefer ribs in between these two styles, where the meat pulls away from the bone but isn't falling apart.

The final target internal temperature for competition style ribs is 190-200°F, for pulling off the bone is 200-210°F and for completely falling off the bone is 210-215°F.
Using The 3 2 1 Method
A popular technique for smoking baby back ribs is what's known as The 3 2 1 Method.
This refers to the following blocks of time:
- The First 3 Hours: Smoking the ribs
- The Next 2 Hours: Wrapping the ribs in foil so that they steam and get tender
- The Last 1 Hour: Taking them out of the foil and putting them back on the grill to firm up and finally saucing
Now, this is just a framework, and a way of simplifying the process. Understand that in BBQ there are no absolutes. We prefer to go by internal temperature at each stage rather than time.
You can keep your electric smoker pegged at 250°F throughout this whole process.
The First 3 Hours - Smoke
Three hours is a suggestion. You may only need to smoke the ribs for 2 hours before wrapping.

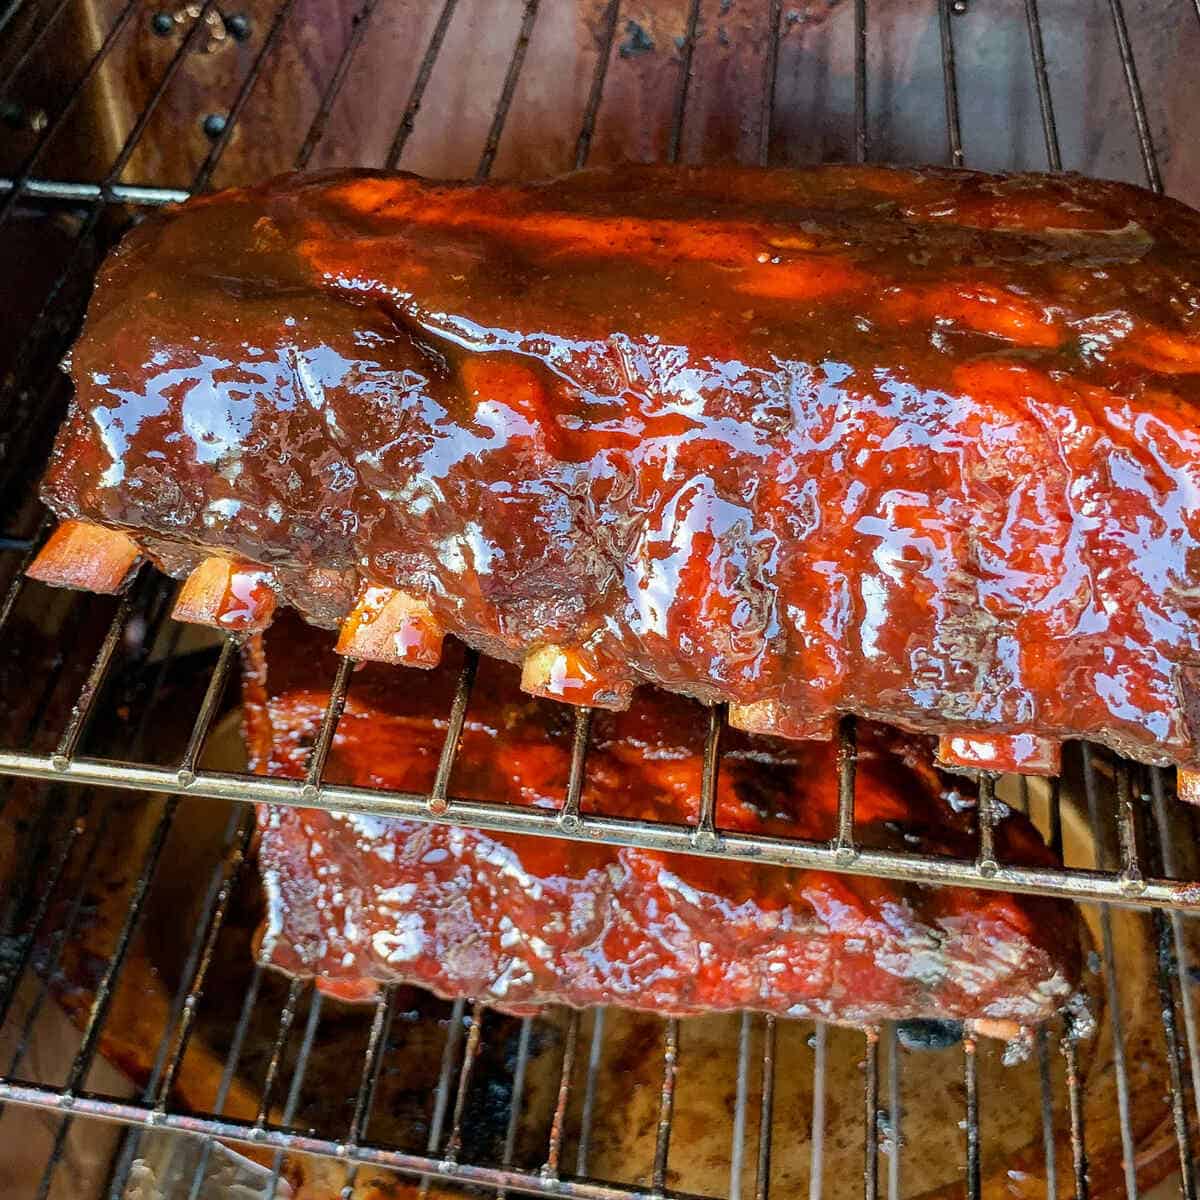
The idea is to get a nice smoke flavor on them and get them to turn a nice dark red and amber color without completely drying them out.
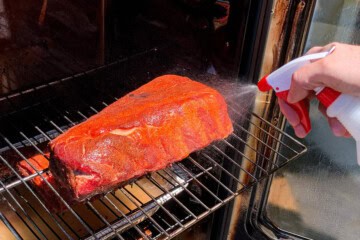
One way to keep them from drying out is to spritz them with some sort or flavorful juice, cola, or beer during this part of the cook.
Many BBQ pros like to use a mixture of 75% apple juice and 25% apple cider vinegar. Some use cherry cola and swear by the sugar caramelizing on the surface. We like to use 50% apple cider vinegar, 50% water.

Once you have a nice color of the ribs after about 1.5 to 2 hours, keep a close eye on them if you cook any longer.
You want to avoid burnt edges and big splits across the top of the meat.
You can rotate them a bit during this time if maybe the back of your electric smoker is hotter than the front.
Ideally you'd like to cook them to 155-165°F internal temperature before proceeding to the wrapping stage.
The Next 2 Hours - Wrap
Again, 2 hours is a suggestion, and with baby backs, unlike their fattier sparerib counterparts, you probably won't need to wrap a full 2 hours.
We'd recommend going by temperature, not time, when deciding how long to wrap the ribs.
The longer you wrap, the more the ribs will steam and become fall off the bone tender.
But over do it and you'll end up with a foil bag of bare bones and loose shredded pork.
Have fun with your ingredients inside the foil.
Many BBQ competitors use a combination of Parkay squeeze butter, brown sugar, and honey to make a sweet glazy bath for their baby back ribs in the foil.
We like to place pats of butter on a large sheet of aluminum foil and squeeze some of our favorite BBQ sauce, Blues Hog Champions' Blend, on top. Then place the ribs, meat side down, into the sauce.
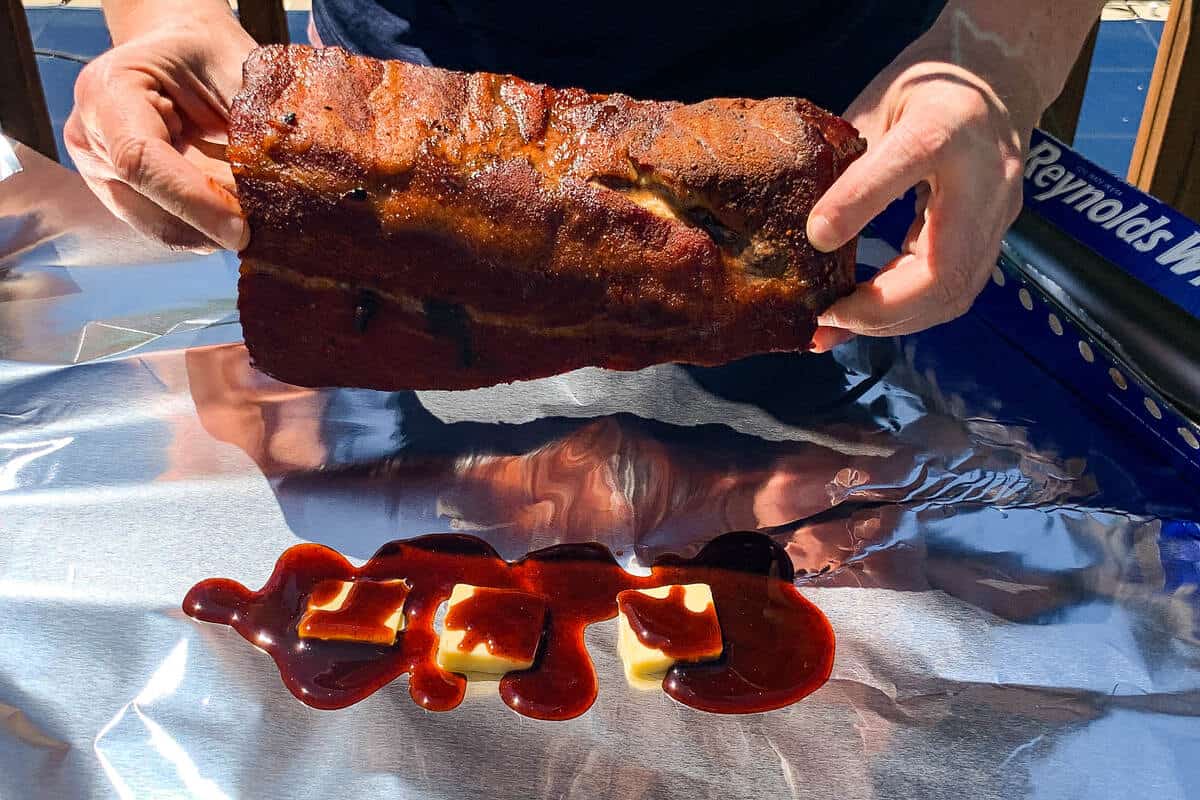
Double wrap the ribs and place them back in the smoker, meat side down. You may raise the temperature to 275°F at this point to aid fat and collage rendering.

Since the ribs are wrapped and won't be absorbing smoke anymore, you can stop adding wood chips at this point.
For competition style ribs that have bite to them, aim for an internal temperature of 190-200°F, for pulling off the bone aim for 200-210°F and for completely falling off the bone aim for 210-215°F.
We prefer our ribs pulling off the bone, which took 1.5 hours to reach the perfect internal temperature.
PRO TIP: For more moist, fall off the bone meat, place the ribs upside down into your foil wrap of ingredients, wrap, and then place on the grill upside down this way. Then turn them back over right side up to firm up later when you remove form the foil in step 3.
Once the ribs reach the target internal temperature for the way you like them, they are ready to be removed from aluminum foil.
The Final Hour - Firm and Sauce
Once you are ready to remove them from the foil be careful, the steam and liquid will be EXTREMELY HOT!
PRO TIP: Save the liquid in the foil to mix with BBQ sauce for the final saucing step.
We recommend a good pair of insulated meat handling gloves to easily pick up the hot rack of baby backs rather than trying to awkwardly use forks and tongs.


- 1, SAFETY FOR BOTH DRY& WET USE▶ Premium flame resistant neoprene coated outside protects your hands from burning coal, hot grill, sparks,boiling water and other heat sources. 14-inch length provides more protection above your wrist
- 3, OIL RESISTANT& EASY CLEANING▶ The chemical stable and liquid & steam resistant material makes it handy for grabbing meat and spraying sauce.Simply wash them in the sink with your gloves still on with hot water and soap when finishing your job.
For one, you don't want to burn yourself, but you also don't want to end up with a hot slippery slab of ribs on the ground.
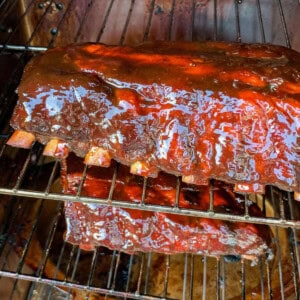
Place the baby back ribs back in the electric smoker unwrapped and right side up and give them about 15 minutes to firm up a little before you start putting on any sauce.
Then baste your favorite sauce on for the last 15-20 minutes with a basting brush. We like mixing Blues Hog Champions' Blend with the foil liquid. Champions' Blend is a combination of our two favorite Blues Hog sauces, Blues Hog Original and Tennessee Red.

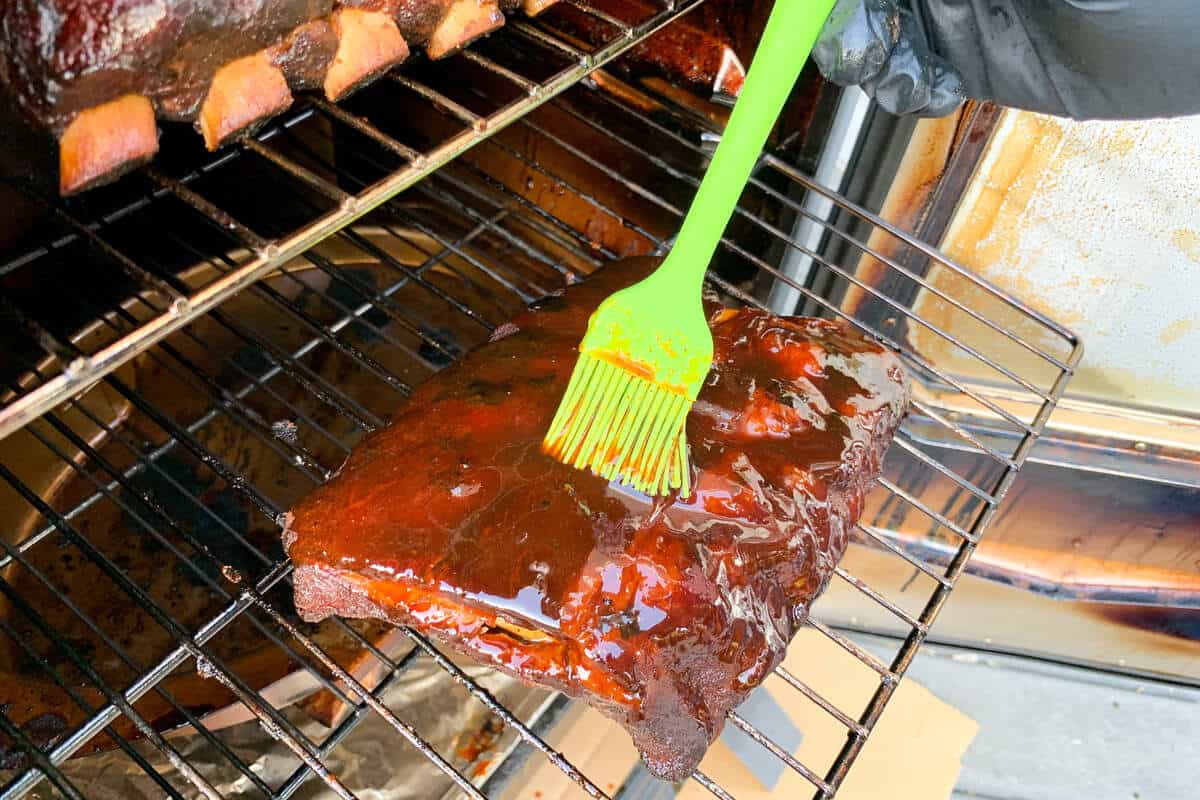
This will give the sauce some time to caramelize on the ribs a bit and stick to the meat.

Cut the Ribs
When it comes to slicing up and serving your electric smoker smoked baby back ribs, you can stand them upright to see the lines of the bones easier and cut top to bottom.

A good meat slicing knife makes all the difference and will keep the baby backs from falling apart as you slice.
We particularly like this meat slicing knife from Mairico.

- IMPECCABLE PERFORMANCE: The long, ultra sharp blade is engineered to deliver highly precise cuts with minimal effort.
- PROFESSIONAL DESIGN, SUPERB QUALITY: Most desirable length by professionals. Sharp blade with premium stainless steel engineered to excel on all cuts of meats, including big roasts. It is also designed to last.
We don't recommended cutting every rib up individually before serving or they are more likely to dry out.
Depending how many guests you are serving, you can either give each person their own ⅓ to ½ slab, or put them on a platter cut up in 2-3 rib sections for people to take with tongs.
Serving Suggestions
Serve some extra sauce on the side for those who want it, and enjoy!
Some of our favorite sides to go with ribs are Smoked Baked Beans, Smoked Corn on the Cob, Smoked Cornbread, and Smoked Twice Baked Potatoes.
Also check out all of our other Electric Smoker recipes!
Storing and Reheating Leftovers
Store leftover ribs in the refrigerator for up to 3 or 4 days. To reheat, we recommend an oven like we do to reheat prime rib or an air fryer like we use to reheat steak.
📖 Recipe
Smoked Baby Back Ribs in an Electric Smoker
Equipment
- Electric Smoker such as a Masterbuilt
- 4-5 handfuls of Wood Chips
- Empty Spray Bottle
- Aluminum Foil or NON-WAXED Pink Butchers Paper
- Heat Resistant BBQ Gloves
- Basting brush
- Meat Slicing Knife
Ingredients
- 1 Rack Baby Back Ribs
BBQ Rub
- ¼ cup Your Favorite BBQ Rub or combination of rubs
Spritz
- ½ cup Apple Cider Vinegar
- ½ cup Water
Wrapping Seasonings
- ¼ cup Your Favorite BBQ Sauce such as Blues Hog
- 3 tablespoon Butter cut into 6 pieces
BBQ Sauce
- ½ Cup Your Favorite BBQ Sauce
Instructions
- Start up the electric smoker, add your chosen wood chips to the loading tray, and set the temperature to 250°F.

Prepare the Ribs
- Remove the membrane from the back each rack of baby back ribs using a knife to get it started in one corner, then grabbing on with a paper towel and pulling towards the opposite corner.
- If the rack of ribs is too long for the rack of your smoker, cut the rack into two equal pieces down the center of the rack.
- Apply a generous amount of BBQ rub to the fronts and backs of each slab of baby back ribs. Its ok to leave some rub leftover to apply more throughout the cook if needed.
- Let the rub set on the ribs at room temperature for about 20-30 minutes before putting them in the electric smoker.


Prepare the Spritz
- While the rub is setting, mix the apple cider vinegar and water together in a spray bottle.
Smoke the Ribs
- Once the electric smoker is making smoke and up to 250°F, place the ribs on the grates.
- Close the door and let the ribs cook for about 90 minutes or until the internal temperature of the ribs reaches 155-165°F, rotating and flipping the ribs occasionally. You can spritz gently as necessary to keep the meat moist if it begins to look dry.
- Every 20-30 minutes, check the wood chip tray and dump charred chips and replace with fresh DRY wood chips as needed throughout this first stage.
- While they are smoking, you can prepare your foil and wrapping ingedients.

Wrap the Ribs
- Lay out 2 long pieces of heavy duty aluminum foil or NON-WAXED pink butchers paper on top of each other on the counter, long enough to double wrap the rack of ribs front and back with the two pieces. Repeat with the other half rack if you cut the rack into two pieces.
- Place 3 pieces of butter on each set of aluminum foil, then drizzle with the BBQ sauce.
- Place the baby back ribs face down into each pile of aluminum foil and ingredients.
- If you would rather not use the wrapping ingredients listed above, place the ribs in the foil face up and add a small amount of apple juice, soda, or beer to the aluminum foil to add some moisture.
- Wrap the ribs tightly in the double layer of aluminum foil or butchers paper and place back in the electric smoker.
- You can turn the smoker up to 275°F at this step to ensure proper breakdown of fat and collagen.
- Cook until the ribs reach an internal temperature of 195-200°F for competition style ribs, 200-210°F for pull off the bone ribs, and 210-215°F for fall off the bone ribs. This may only take 1 to 1.5 hours rather than 2.
- Remove the ribs from the electric smoker using tongs or heat resistant gloves.


Firm and Sauce the Ribs
- Carefully remove the ribs from the foil and save the juices in the foil to add to your sauce later. Place the ribs back in the electric smoker, face up, and cook for about 15 more minutes at 275°F before saucing.
- While the ribs are cooking, prepare your sauce by mixing your favorite sauce(s) together with some of the juices retained from the foil. Mix in a cup or bowl and set aside.
- After the baby backs have been back in the electric smoker unwrapped for about 15 minutes and firmed back up a little, gently brush the sauce on with a basting brush.
- Close the door and continue cooking for another 15-20 minutes to let the sauce thicken and set on the meat.


Carving and Serving
- Remove the ribs from the electric smoker. There is no need to allow the meat to rest.
- Turn the ribs upright on their edge so that you can more easily see the ribs running along the bottom up and own.
- Using a good meat slicing knife cut from top to bottom between the bones in the center of the racks to serve a half rack to each person. Or you can cut them into 2-3 rib portions on a serving platter to a larger crowd.
- Include some sauce on the side for guests to add extra if they desire and enjoy!

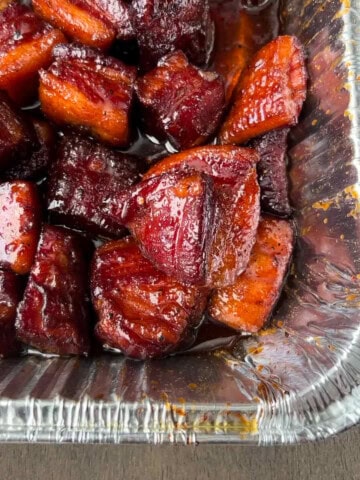
Jake says
These were fall off the bone good. I might even wrap them less time next time.