Learn how to quickly install and remove the top rack of a Pit Boss pellet grill and how the top rack can increase the functionality of your grill.
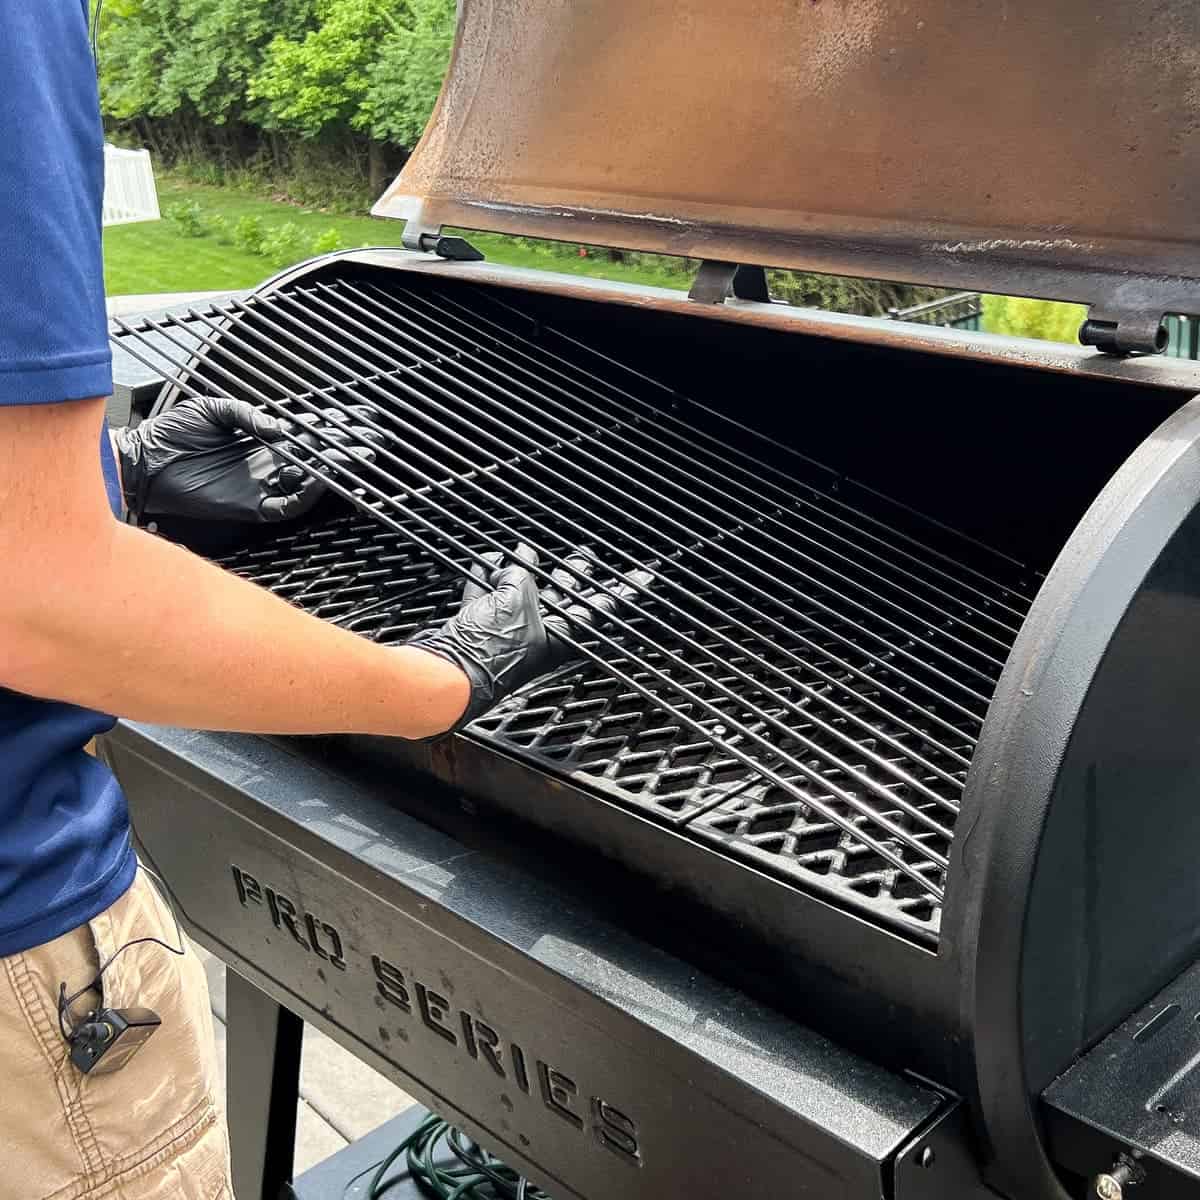
The top rack of a Pit Boss pellet grill can serve as an additional cooking surface when smoking a lot of food at once, as well as a way to distance your food from the heat source when doing low and slow barbecue.
We use our top rack when cooking steaks, ribs, and even salmon to prevent the food from cooking too quickly.
When we cook larger foods like whole turkey and pork butt, we remove the rack to give additional vertical space in the smoker.
The top rack of a Pit Boss pellet grill can be installed or removed in about 10 seconds if you know a few simple tricks.
Here, we show you a step by step tutorial for easily getting the rack in and out of your grill.
We also have a complete Pit Boss assembly video if you need help getting the other components of your grill in place.
Jump to:
Video
Rather WATCH than read? Check out our video on the Mad Backyard YouTube Channel.
Uses for the Top Rack
Although not ideal for a large cut of meat, the top rack of the Pit Boss can be helpful when low and slow cooking foods such as salmon, during the smoke stage of reverse searing steaks, and even 3-2-1 Spareribs.
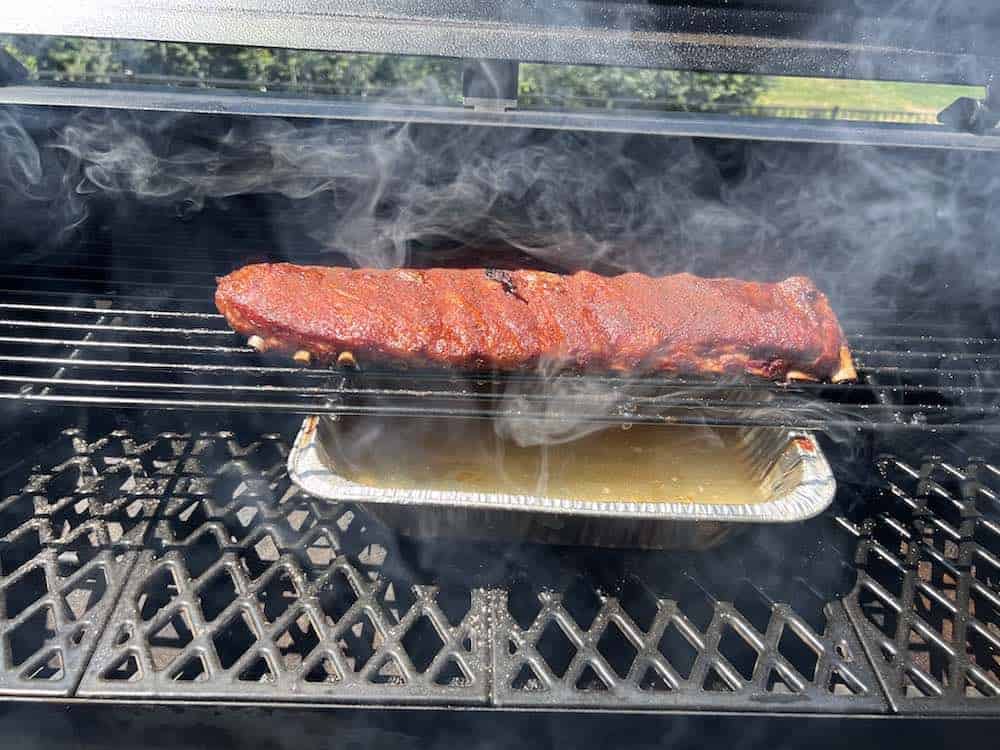
Using the top rack provides distance between what you're smoking and the firepot, as well as leaves room on the bottom rack for a water pan for even more heat diffusion.
How to Install the Top Rack
To install the top rack, first identify how the rack will be positioned.
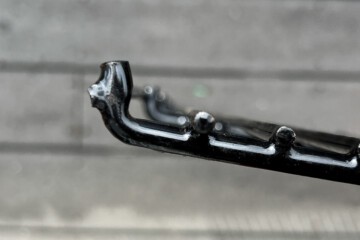
Locate the protruding grate on each side of the rack.

This will be in front, so this side will be closest to you when you're holding the rack.
Also make sure to have the curved edges on the front and back of the rack pointed up like this.

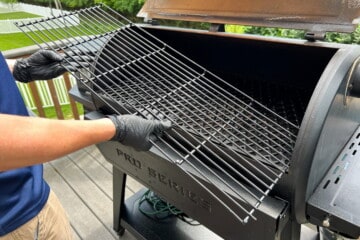
Stand in front of your Pit Boss and hold the grate in the middle. Turn it diagonally, going from one corner to the other, then slide it into the grill. It should just barely fit through.

Still holding the rack at a diagonal, slide it all the way to the side that is higher up. For example, if you are holding the left side higher than the right, then slide the rack all the way to the left.

Before you lift it into place, make sure that the protruding end of the lower side is in front of the side ledge so it will clear it when you lift it up and back.

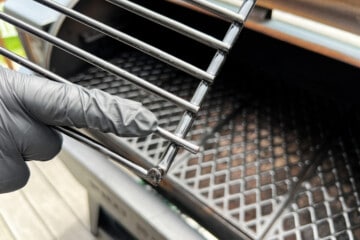
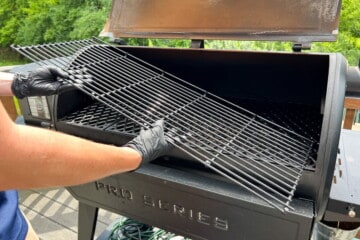
Lift the rack up to clear the ledge, then slide it back and down so the protruding grate on each side fits into the cutout in the ledge.
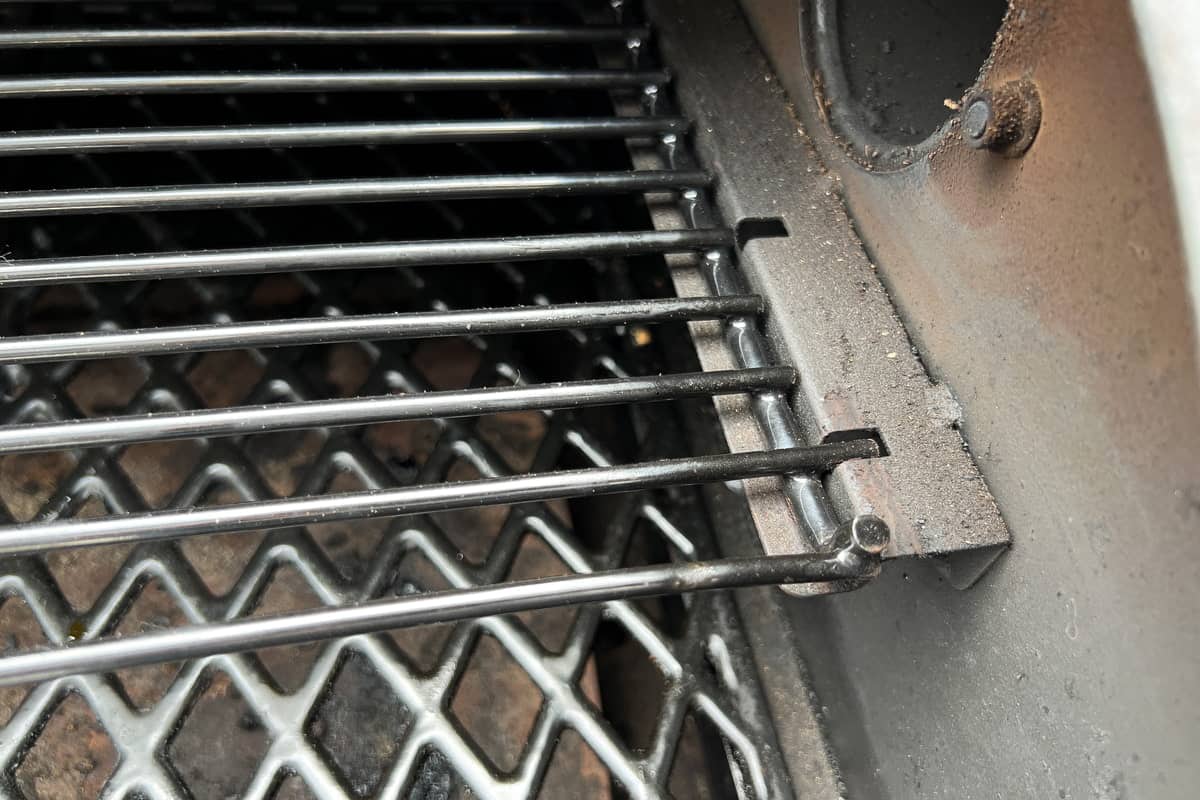
Then repeat on the other side.
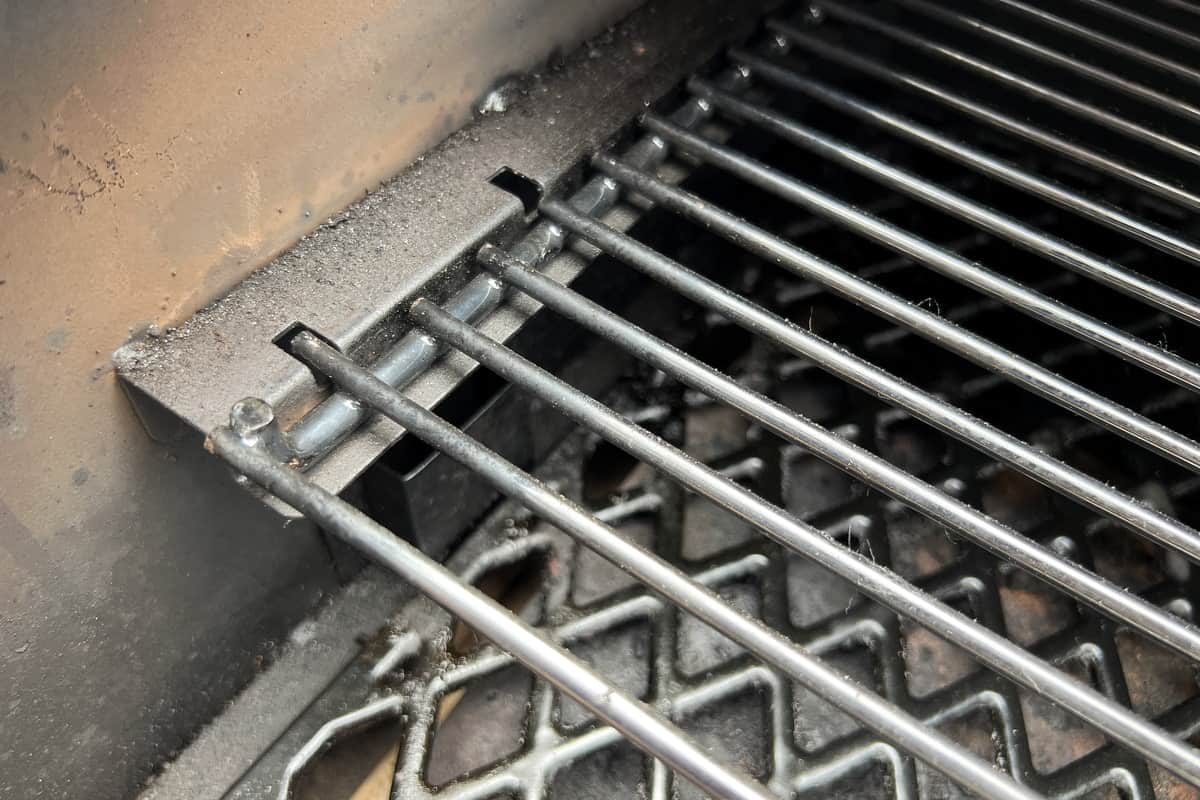
The top rack is now in place and ready to use.

Sliding the Top Rack Forward and Backward
When cooking, you can pull the top rack forward to access your food more easily. Just make sure the front protruding grate comes out of the cutout on each ledge by carefully lifting up and forward.
Keep in mind that the rack can tip forward when not secured into the ledges if the food is too close to the front and throws off the balance.
After you are finished, slide the rack back into place by lifting up slightly while you push it back and then dropping the extended grate back into the cutouts of the side ledges.
Always wear heatproof gloves when moving the rack in a hot grill.
- 🔥 EXTREME HEAT RESISTANT GLOVES: The GRILL HEAT AID gloves can withstand heats up to 1472°F
How to Remove the Top Rack
To remove the top rack to accommodate large cuts of meat like brisket or pork butt, you will just be reversing the steps for installing the rack.
First, lift the rack straight up, then bring it forward so the front protruding grate drops down past the side ledge.
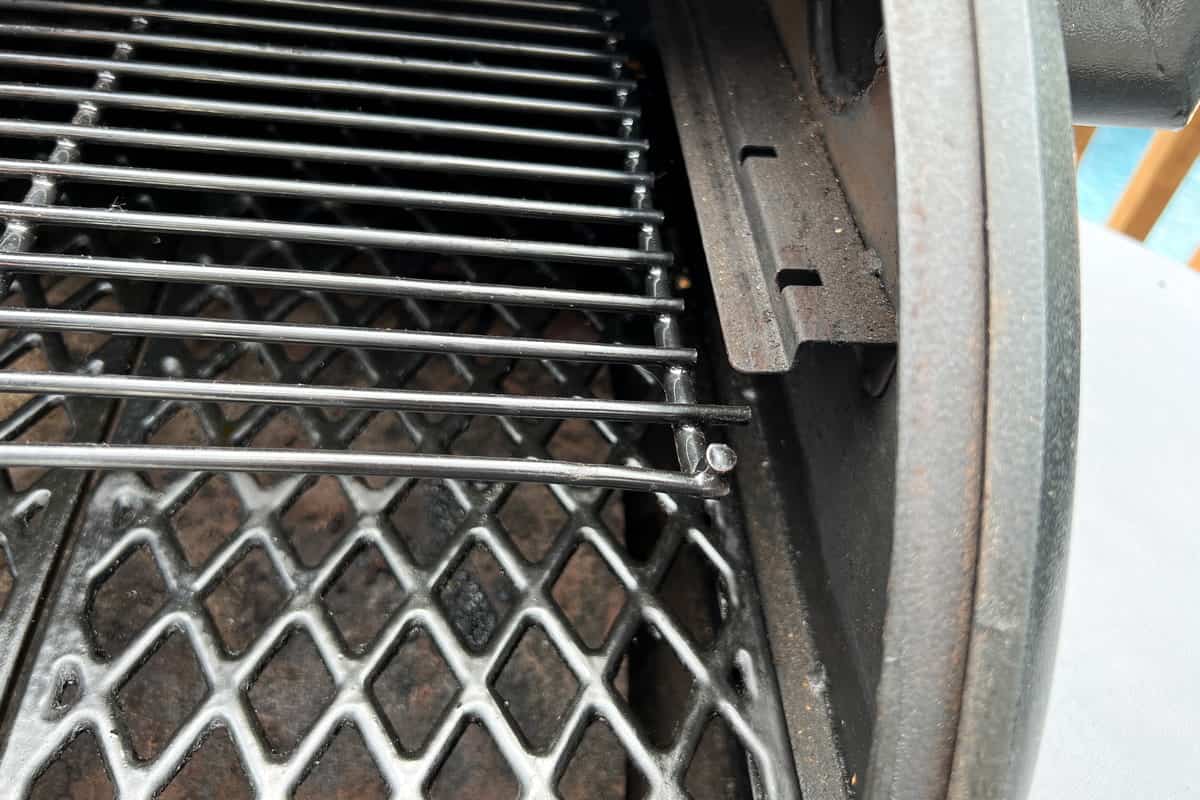
Turn the rack diagonally, then pull it forward to bring it out through the corners.

Additional Pit Boss Resources
If you are a new Pit Boss owner, you're in the right place. We consider ourselves the resource for all things Pit Boss!
Make sure to check out all of our Pit Boss Guides, including How to Start a Pit Boss and How to Season a Pit Boss. We also have tutorials on How to Empty the Hopper and How to Deep Clean a Pit Boss.
Most of our Pit Boss guides also have videos on our YouTube Channel, as well as our many Pit Boss recipes.
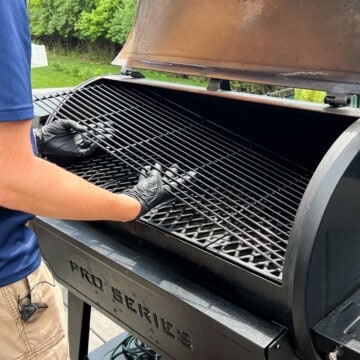
How to Insert and Remove the Top Rack of a Pit Boss Pellet Grill
Ingredients
- 1 pair Heatproof Gloves
Instructions
Installing the Top Rack
- Before installing the top rack, make sure that the grate with protruding ends is facing the front, near you.
- Also, ensure that the edges of the rack are curved upward.
- Stand in front of your Pit Boss, hold the grate in the middle, and turn it diagonally, going from one corner to the other.
- Insert it into the grill at this angle. It will fit snugly inside the grill.
- Once the top rack is fully inside the grill, slide it all the way to the side that is higher. For example, if the left side is higher, slide it all the way to the left. Make sure that the front protruding ends are forward enough to clear the side ledges of the grill.
- Bring the rack up and then back and down so that the protruding ends on both sides fit into the designated cutouts on the ledges.
Accessing the Top Rack During Cooking
- Once the top rack is installed, you can carefully lift it up so that the front grate comes out of the cut outs on each side ledge. Then slide the rack forward. This provides easier access to the food on the top rack.
- Keep in mind that having too much food on the front of the rack can cause the rack to tip because it is not secured into the ledges at this point.
- Always make sure to wear heat-proof gloves when handling the hot rack to avoid burns.
Removing the Top Rack
- To remove the top rack, simply lift it straight up, bring it forward and down on one side so that the front protruding edge drops down past the side ledge.
- Turn the rack diagonally, then pull it forward out of the grill through the corners, just like you did when you installed it.




Leave a Reply