Learn everything you need to know about how to open an above ground pool with these simple step-by-step instructions!
Above ground pools are an affordable option for anyone seeking a summer splash, but like most good things, they require a bit of work.
Maybe the weather has warmed up and you've bought some great furniture and cleaned your patio, but you still might be wondering exactly how to open your above ground pool for the first time.
Luckily, you don’t need to enlist a professional to open an above ground pool—with the right supplies and a little patience, you can easily learn how to open an above ground pool on your own for a summer of fun.
Jump to:
- Equipment You'll Need
- Step 1: Clean, Remove, and Store the Cover
- Step 2: Remove Winter Plugs and Skimmer Plates
- Step 3: Add Water and Start the Equipment
- Step 4: Shock your Pool Water
- How Long to Wait After Shocking Your Pool
- Step 5: Vacuum and Clean the Above Ground Pool
- Brush the Pool Walls First
- Robotic Vacuums
- Manual Pool Vacuums
- Step 6: Test and Balance the Water Chemistry
- Common Mistakes to Avoid
- Enjoy Your Pool!
Equipment You'll Need
Before the weather gets too warm, you'll want to gather all of your materials for the job.
Here’s what you’ll likely need:
- Pool Cover Pump
- Pool Cover Cleaner
- Soft Pool Brush
- Extension Pole
- Pool Vacuum
- Pool Skimmer Net
- Pool Opening Kit and Chemicals
- Pool Test Kit
Your opening kit should have all the necessary pool startup chemicals, including algaecide, pool shock, chlorine tablets, a chlorine stabilizer, and a pH increaser and decreaser.
Or, you can buy these items individually.
It might already include test strips, but if not, you’ll want to grab a pool test kit too.
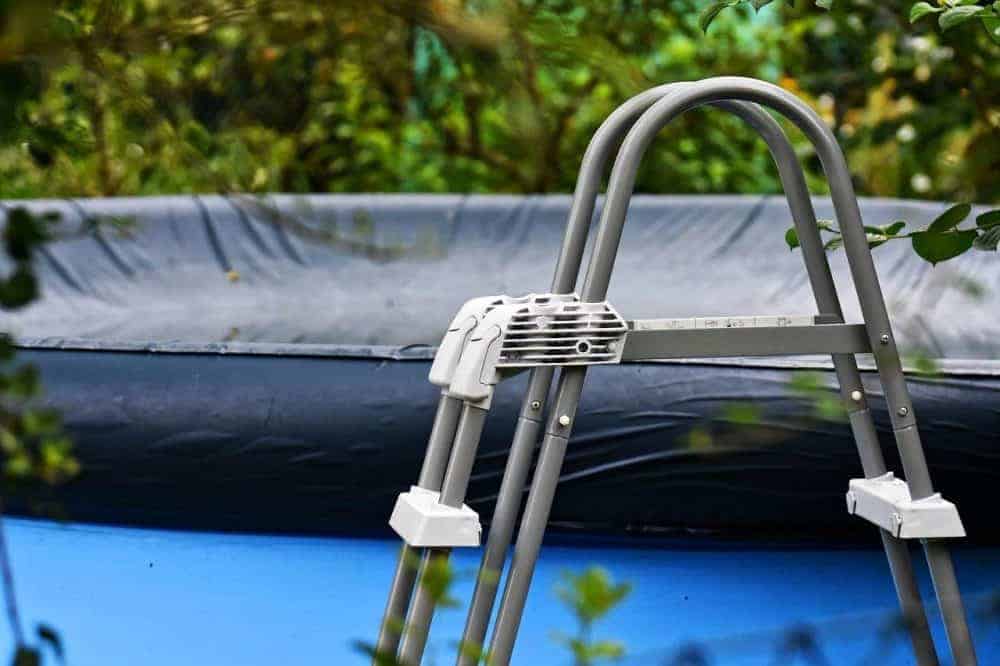
Step 1: Clean, Remove, and Store the Cover
Over winter, there’s a good chance that your pool cover has accumulated all sorts of leaves and twigs, and possibly some nasty standing water.
We recommend using a good automatic pool cover pump over the winter to help keep standing water from accumulating on the cover.
This standing water will not only soil and stain your cover, but can attract mosquitoes, frogs, and other pests you don't necessarily want hanging around your property.
So it's best to try and keep it dry.
Before you rush to take that cover off, make sure to clear off any debris using a soft broom or skimmer net, and remove excess water with the pool cover pump.
Then, carefully remove the cover and set it gently to the side—having an extra set of hands around can help with this!
It’s alright if some debris falls into the water, but clearing as much as possible off the cover first can make your job a lot easier later.
Spread your pool cover out on a flat surface such as your patio or driveway and scrub both sides really good with some pool cover cleaner and a soft scrub brush. Rinse the cover well and let it completely dry in the sun laid out flat.
This might seem like an unnecessary step, especially when you want to jump in and get to work on your pool itself, but keeping your pool cover clean will help prevent mold growth and give your cover a nice, long life.
Finally, once the cover is completely dry, roll it up and tuck it away for safekeeping in a tightly-sealed plastic tub or storage container to prevent insects and other pests from getting at it over the summer.
Step 2: Remove Winter Plugs and Skimmer Plates
Pull out the winterizing pool plugs from the return jets and skimmer bucket. If you used an ice compensator or skimmer plate, don’t forget to remove those too.
Then, reinstall your skimmer baskets and eyeball fittings into the return line.
Step 3: Add Water and Start the Equipment
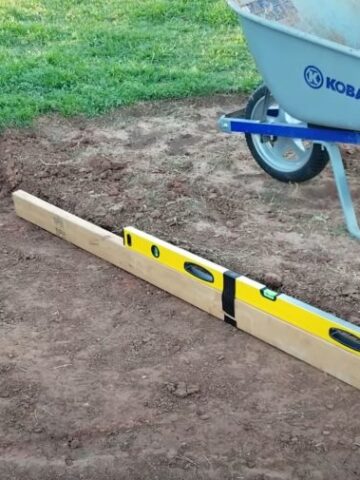
If your pool’s water level dropped over the winter, top it off to the halfway mark of your skimmer’s opening—but make sure to check for leaks and cracks first!
Get your filter system ready by replacing any broken drain plugs and pressure gauges.
To get your pump and filter up and running, attach your skimmer’s drain hose to the pool pump, connect the pump to the filter, and connect the filter to your heater, chlorinator, or other equipment (if you don’t have any extra equipment, just attach the hose directly to the return inlet).
Once everything’s connected, it’s time to fire your system up make sure the pump, filter, and heater (if you have one), are all working properly.
Also take the time to assess for any leaky joints in your plumbing that need to be sealed or replaced.
Step 4: Shock your Pool Water
Over the winter, algae and other organic matter will accumulate in the pool and turn it green. You will need to quickly raise the chlorine level in your pool to kill all this organic material and sanitize your water.
You can shock your pool by adding a certain number of gallons of pool shock, as well as some pool algaecide based on the number of gallons of water in your pool. Be sure to check the instructions on your pool shock to make sure you are adding the correct amount.
The best time to shock your pool is in the evening and to let it circulate overnight.
If you add shock during the day, the UV rays from the sunlight can cause the shock to burn off too quickly.
As the shock circulates and increases the chlorine level, the dead algae and other organic matter will get picked up in the filter, or fall to the bottom of the pool.
How Long to Wait After Shocking Your Pool
Normally when swimming you want to keep the chlorine level of your pool between 1.0-3.0 ppm.
When shocking your pool, the chlorine level may reach as high as 15-20 ppm so make sure to keep your kids and pets away from the pool after adding shock.
Also always use chemical resistant safety gloves when handling ANY pool chemicals and wash your hands well after touching the shocked pool water if it comes in contact with your skin.
Let the chlorine level decrease to at least 5.0 ppm, and then test and add a chlorine stabilizer at a rate of 1 pound per 5,000 gallons. This stabilizer, sometimes called a conditioner, will keep the sun's UV rays from burning up the chlorine you add to your pool.

Always check the instructions for your specific stabilizer though.
Finally, once the water has cleared and you have gone through a few rounds of washing your filters and vacuuming your pool bottom, you can add your chlorine tablets.
Or, if you have a saltwater system, add your salt and flip on your chlorine generator.
Let the new chlorine circulate for at least 24 hours with the pump running.
Then re-test your water before balancing any other chemicals to ensure you are now maintaining the correct chlorine level in your pool.
Step 5: Vacuum and Clean the Above Ground Pool

Fair warning, this is the worst part of opening your above ground pool.
Even small pools can accumulate quite a bit of debris on the sides and bottom over the winter.
But, your pool must be clean before you can add any more chemicals, so don’t skip this step!
Unless you’re lucky enough to have a sparkling clear pool after months of winter, it’s time to get your hands dirty, and slow and steady wins the race when it comes to vacuuming your pool.
After shocking your pool for about 24 hours you should now see the once floating and suspended green algae is mostly gray and lifeless at the bottom of the pool.
You will need to vacuum this up, as it will never make its way to the skimmer intake from the bottom of the pool.
Brush the Pool Walls First
Work top to bottom to clean the organic matter out of your pool. Skim the surface with a pool skimmer net to get any floating debris out first.
There will likely be dead algae and other gunk stuck to your pool walls. Give your pool walls a good, thorough scrub with a soft bristled pool brush.
Make sure to scrub well behind any ladders and around the jets and skimmer return panel(s).
Much of this will fall to the bottom, but that's ok because next you are going to vacuum the bottom of the pool.
Robotic Vacuums

Robotic vacuums aren't cheap, but they ARE pretty cool to watch work.
And they will save you a LOT of time and energy throughout the season. This is one of our favorites for above ground pools:
If you use an automatic robotic vacuum, make sure to use the mesh screen filters you can hose off rather than the fine paper filters.
If you are using a robotic vacuum to clean up algae and other heavy organic matter, empty and clean it OFTEN!
Manual Pool Vacuums
Manual pool vacuums rely on the suction from your skimmer intake line.
Make sure to completely submerge your pool vacuum head and hose underwater and get all the air bubbles out before connecting it to your skimmer intake.
This will ensure you don't end up with air in your lines.
Once connected, switch your pool filter setting to "Waste" and direct the waste line to a storm sewer so that it does not flood your yard. Otherwise that nasty dead algae will all go straight to your filter and possibly back into your pool.
Run a hose with fresh water to the pool so that you are adding water as you lose it and your water level does not drop too low.
Take breaks and let the water level rise back up while vacuuming if it starts to get close to going below the skimmer level.
Start at one end and move towards the other in long, slow strokes until all the gray looking matter is sucked up. Try to work quickly so that you don't lose too much pool water in the process.
As soon as you are done, switch your pool filter back to the usual "Filter" setting so you don't lose any more water.
Step 6: Test and Balance the Water Chemistry
At this point, the water should have cleared up and the chlorine levels have come back down to a normal range after the initial shock.
The walls and bottom of your pool should be clean from all the brushing and vacuuming.
Do not bother adjusting the water chemistry until the chlorine level is back to between 1.0-3.0 ppm.
If your Chlorine level will not come back down after shocking the pool, try dumping some water via the "Waste" cycle on your filter and adding some more fresh water.
You can then start your normal chlorine sanitation either with chlorine tablets or with a saltwater chlorine generator.
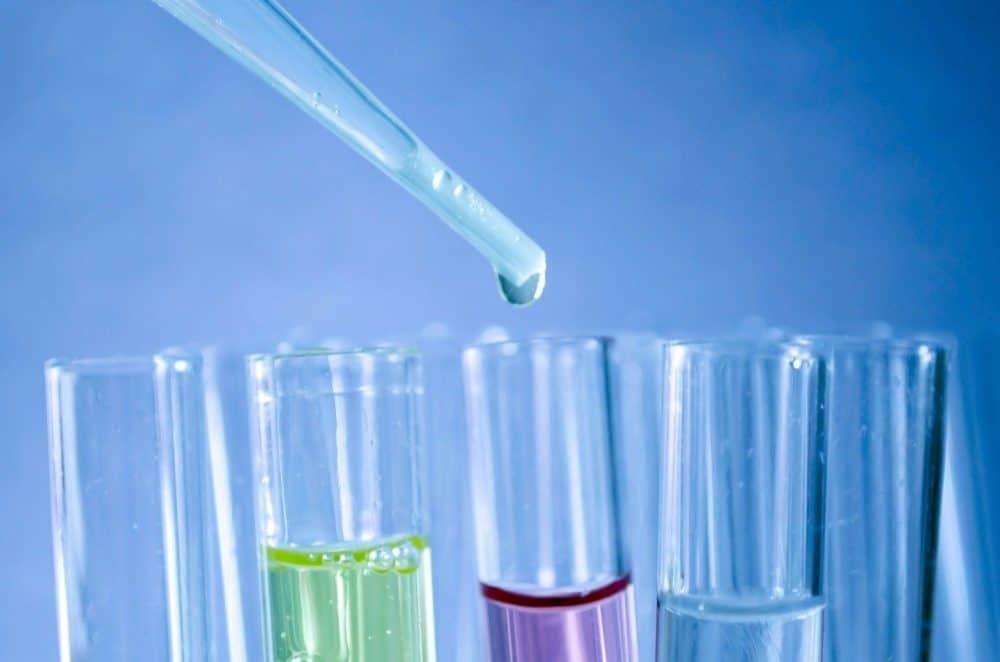
Now, it’s time to get the rest of your water chemistry balanced.
Using a good pool test kit, test the water’s chlorine level, pH, alkalinity, calcium hardness, and cyanuric acid (CYA) level (the chlorine stabilizer mentioned above).
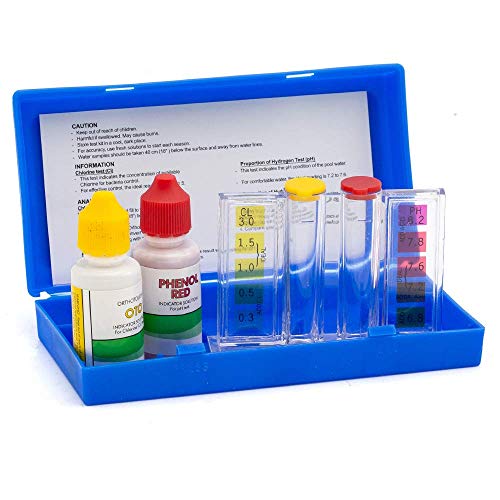
- 2 Way Pool Water Test Kit For Test For OTO, CL, and PH Level
- Includes clear view water testing unit with accurate measuring scale and integrated color for easy reading chemical leaves
- Includes one ½-ounce bottle chlorine test solution, one ½-ounce bottle pH test solution, plastic tester and carrying case
You’ll need to know the volume of your above ground pool to ensure proper chemical levels.
It’s best to test and adjust alkalinity and hardness first, because the alkalinity will buffer the pH.
Then make any necessary adjustments to the pH and CYA (chlorine stabilizer) using the chemicals in your start-up kit.
Make sure you adjust each chemical one by one, rather than adding all of them in at once. Follow the directions on each chemical carefully as they will need to be applied in different ways.
If you are diluting a chemical in a bucket before adding it to your pool remember the following rule:
Always Add Chemicals to Water, NOT Water to Chemicals.
This will help you avoid harmful splashback of full strength chemicals to your skin or eyes.
Always wear proper eyewear, gloves, and clothing when handling ANY pool chemicals as well.
Common Mistakes to Avoid
- Forgetting to clean your pool cover.
- Forgetting to pull out all of the winter plugs.
- Not giving the shock, algaecide, and filter 24 hours to work.
- Balancing your water before chlorine levels have come back down.
- Adding chemicals to the water before cleaning and vacuuming your pool.
- Vacuuming your pool on the "Filter" setting rather than "Waste"
- Adding all your balancing chemicals at once.
- Not regularly retesting the water.
Enjoy Your Pool!

Make sure to routinely test your water chemistry throughout the season, continue to clean your skimmer and filter, brush the sides and vacuum the bottom regularly either with a manual or robotic vacuum.
If you’ve made it this far, then congratulations, you’re done! You've successfully opened your above ground pool DIY style!
Now it’s time to sit back, relax, and enjoy that above ground pool!
How to Open an Above Ground Pool
Equipment
- Pool Cover Pump
- Pool Cover Cleaner
- Soft Pool Brush
- Extension Pole
- Pool Vacuum
- Pool Skimmer Net
- Pool Test Kit
Ingredients
- Pool Opening Kit and Chemicals
Instructions
- Clean, Remove, and Store the Above Ground Pool Cover
- Remove Winter Plugs and Skimmer Plates
- Add Water if Needed and Start Up the Equipment
- Shock your Above Ground Pool Water
- Vacuum and Clean the Above Ground Pool
- Test and Balance the Water Chemistry