How to Remove the Pit Boss Safety Grate
Learn how to remove the Pit Boss safety grid and replace the holes so water does not get into the hopper.
Cost $5
Equipment
- 1 Philips Head Screwdriver
Ingredients
- 6 #8-32 Wing Nuts
- 6 #8 diameter Flat Washers
Instructions
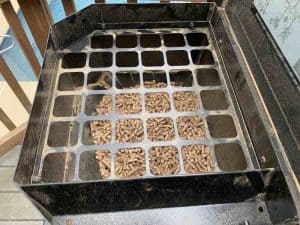
- Open the hopper. Locate the 6 screws that hold the safety grate in place. Two are on the front of the hopper, two on the left side, and two on the back.
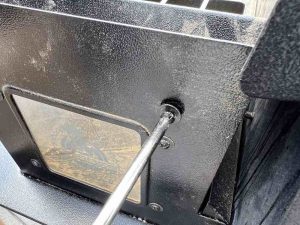
- Using a Philips head screwdriver, turn one of the screws to loosen it and carefully remove the screw and washer. Set both aside and repeat with the remaining 5 screws. We do NOT recommend using an electric screwdriver as it could scratch the surface of your Pit Boss.
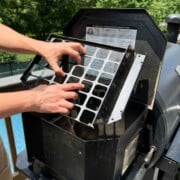
- The grate is held in place through tension. To remove it, stand behind the Pit Boss hopper and place both hands on the front of the grate where the metal goes up into a triangle shape.
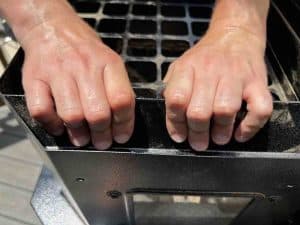
- Pull in and up to remove the grate.

- To plug the holes, replace one screw with the original black washer on the outside. On the inside, add a silver washer and then screw on the wingnut. Tighten it by hand. Repeat with the 5 remaining screws.

- You can then store the grate in a safe place in case you ever need to re-install it.